


Astrophotography has quickly become one of my very favorite genres of photography. There is something mesmerizing about the night sky and it is incredible the way the camera captures the night in ways that our naked eye cannot see. Being out in the dark under the vast night sky is exhilarating and it is even more so when you see what your camera can capture. That said, it can be a bit nerve-racking being out in the dark and a bit overwhelming trying to figure out the best techniques to capture it well.
Today I’m sharing Part 1 of two blogs posts with tips on capturing the night sky.
1. A Tripod Is Essential - Ambient light at night is extremely low and in order to capture the scene, a slow shutter speed will be necessary. A tripod is required to keep your camera steady throughout the long exposure. Choose one that is sturdy and comfortable for you to use. This will be essential working with it in the dark.
2. Use a remote shutter - Triggering the shutter with a remote will take away the chance that manually pressing the shutter will create movement and reduce sharpness of the image. An intervalometer will also be useful for programming if you want to try shooting star trails.

3. Shoot in RAW - Shooting in RAW will give you more ability to work with the exposure and white balance in post processing than a JPEG. It is always best to get exposure and white balance correct in camera but shooting in RAW maintains all the information from your file so you can work more creatively while editing.
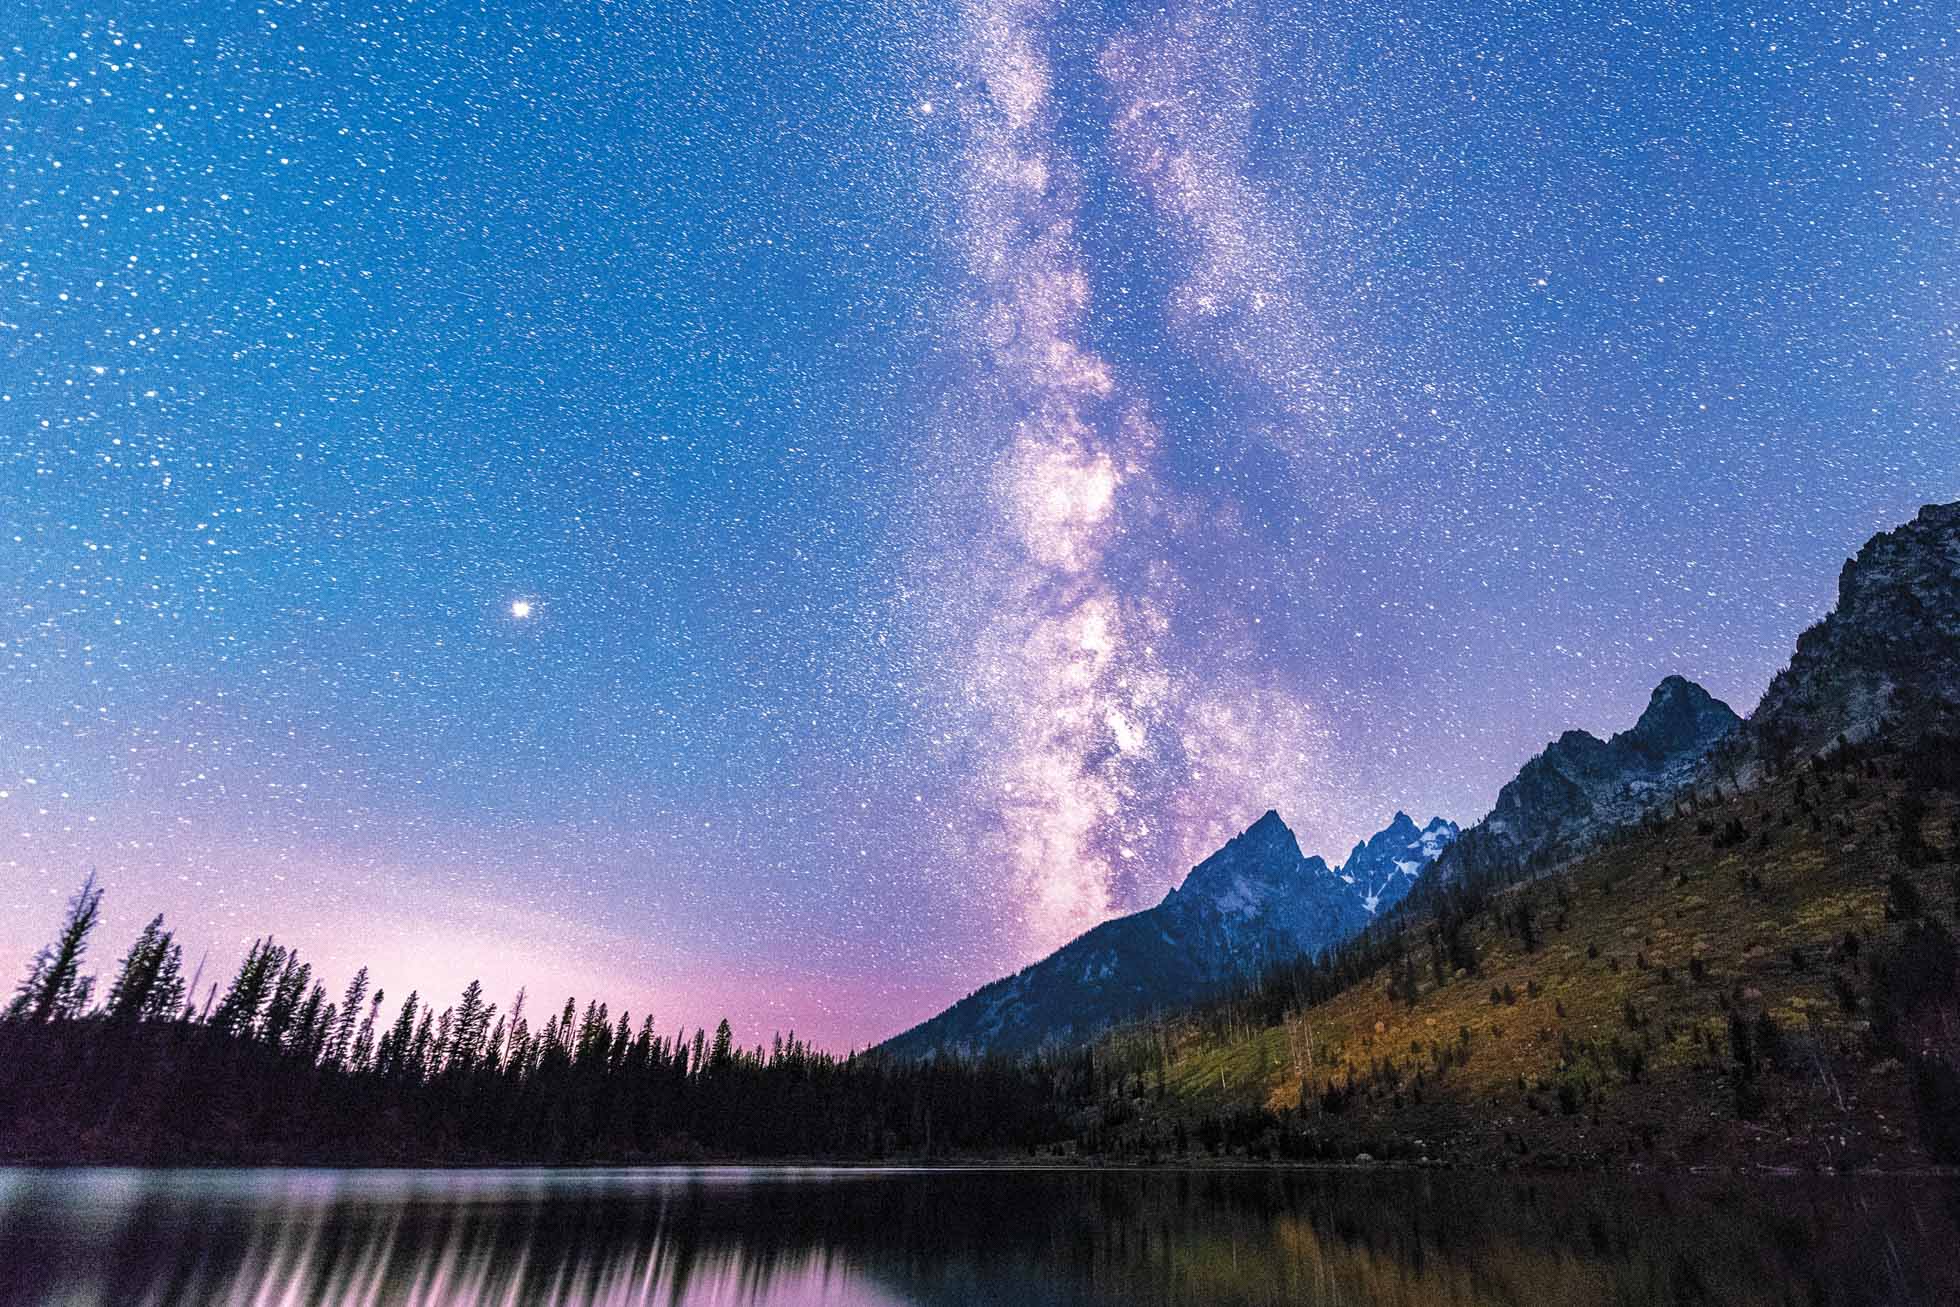
4. Choose a wide angle lens - The night sky is vast and a wide angle lens will allow you to capture a much larger expanse. A 24mm lens or wider is ideal for astrophotography. My two favorite lenses for astrophotography are my Sigma 14mm f/1.8 and my Nikon 14-24mm f/2.8.
5. Shoot in Manual Focus - In the extreme low light, your camera cannot autofocus so you must focus manually. Make sure you have your camera and lens set to manual focus so that your shutter doesn’t try to focus once you have achieved a sharp frame. Focusing is the trickiest part of astrophotography. A few options for finding focus in the dark are 1) Get to your location earlier in the evening and find your composition and focus and stay there until dark without changing your setting. 2) Find where your lens focuses at infinity and remember it so you can manually set focus. Keep in mind that zoom lenses will not focus in the same spot relative to the infinity symbol for all the focal lengths in the range. 3) Use a very bright flashlight or car headlights to focus on an area as far from you as possible to set focus. After setting focus and taking a test shot, zoom in and check your focus. If it is not quite sharp, manually tweak the focus just slightly left or right until you get it in sharp focus. Once you get focus, leave it!

6. Use a wide & fast aperture - Ideally the wide angle lens you are using will be able to open wide to f/2.8 or wider. This will allow you to let in as much light as you can in the dark shooting conditions. Because the sky is so far away, the stars will still be in focus with a wide aperture.
7. Choosing a Shutter Speed - For static stars, you want to choose a shutter speed that gives you sharp pinpoint stars. At longer shutter speeds, the stars begin to look like trails in the sky. If this is your vision, you can play with various shutter speeds for creative effect. For static stars, you can start with the 500 rule which says to take 500 divided by the focal length to give you the maximum shutter speed. So for 24mm, 500/24 = 20. 20 seconds would be the longest exposure time you can choose before your stars begin to trail. I generally find 15-20 seconds is the ideal range. If you are shooting on a crop sensor, take your focal length and multiply it by 1.5 to get the full frame equivalent and then do your 500 rule division. So a 16mm lens on a crop X 1.5 = 24. Then 500/24 = 20 seconds.
8. Set your White Balance on ‘Daylight” - The Daylight white balance setting, or around 5500 Kelvin, is a good starting point for your white balance. If it looks too warm at that setting, adjust from there. If you are shooting in RAW, you will also have the ability to tweak it in post processing.
9. Look for Dark & Clear Skies - Ideally, a very clear night will be your best bet for capturing the stars in the night sky. Dark skies without a lot of light pollution will also reveal the most stars. A few wispy clouds in the sky can also be beautiful though, so don’t get discouraged if it isn’t 100% clear. Also, some clouds move through the sky more quickly than others. More about dark skies and planning coming in Part 2.

10. Be safe and bring a buddy with you! The most important thing is always to be safe and make wise choices. The darkness prevents us from easily seeing what is around us and dark skies are often found in the middle of nature where you always should be prepared for the unexpected. It’s always smart to shoot with a buddy or bring a friend with you to keep you company. Safety is always more important that any images.
Look for “Tips for Astrophotography” part 2 coming up in the next couple weeks!
Kristen Ryan is a landscape and fine art photographer residing in the Midwest suburbs of Chicago. All images can be purchased in the Fine Art Store. Kristen leads ladies landscape photography retreats in the Tetons, Chicago, and the Canadian Rockies, offers private mentoring and teaches an online landscape photography workshop twice a year.