


Creating star trails can be a fun and creative way to add interest and intrigue to your night sky images. They do take quite a bit of time and patience to create in the field as well as in post processing, so keep that in mind as you prepare for the task. Below are a few tips as you shoot star trail images.

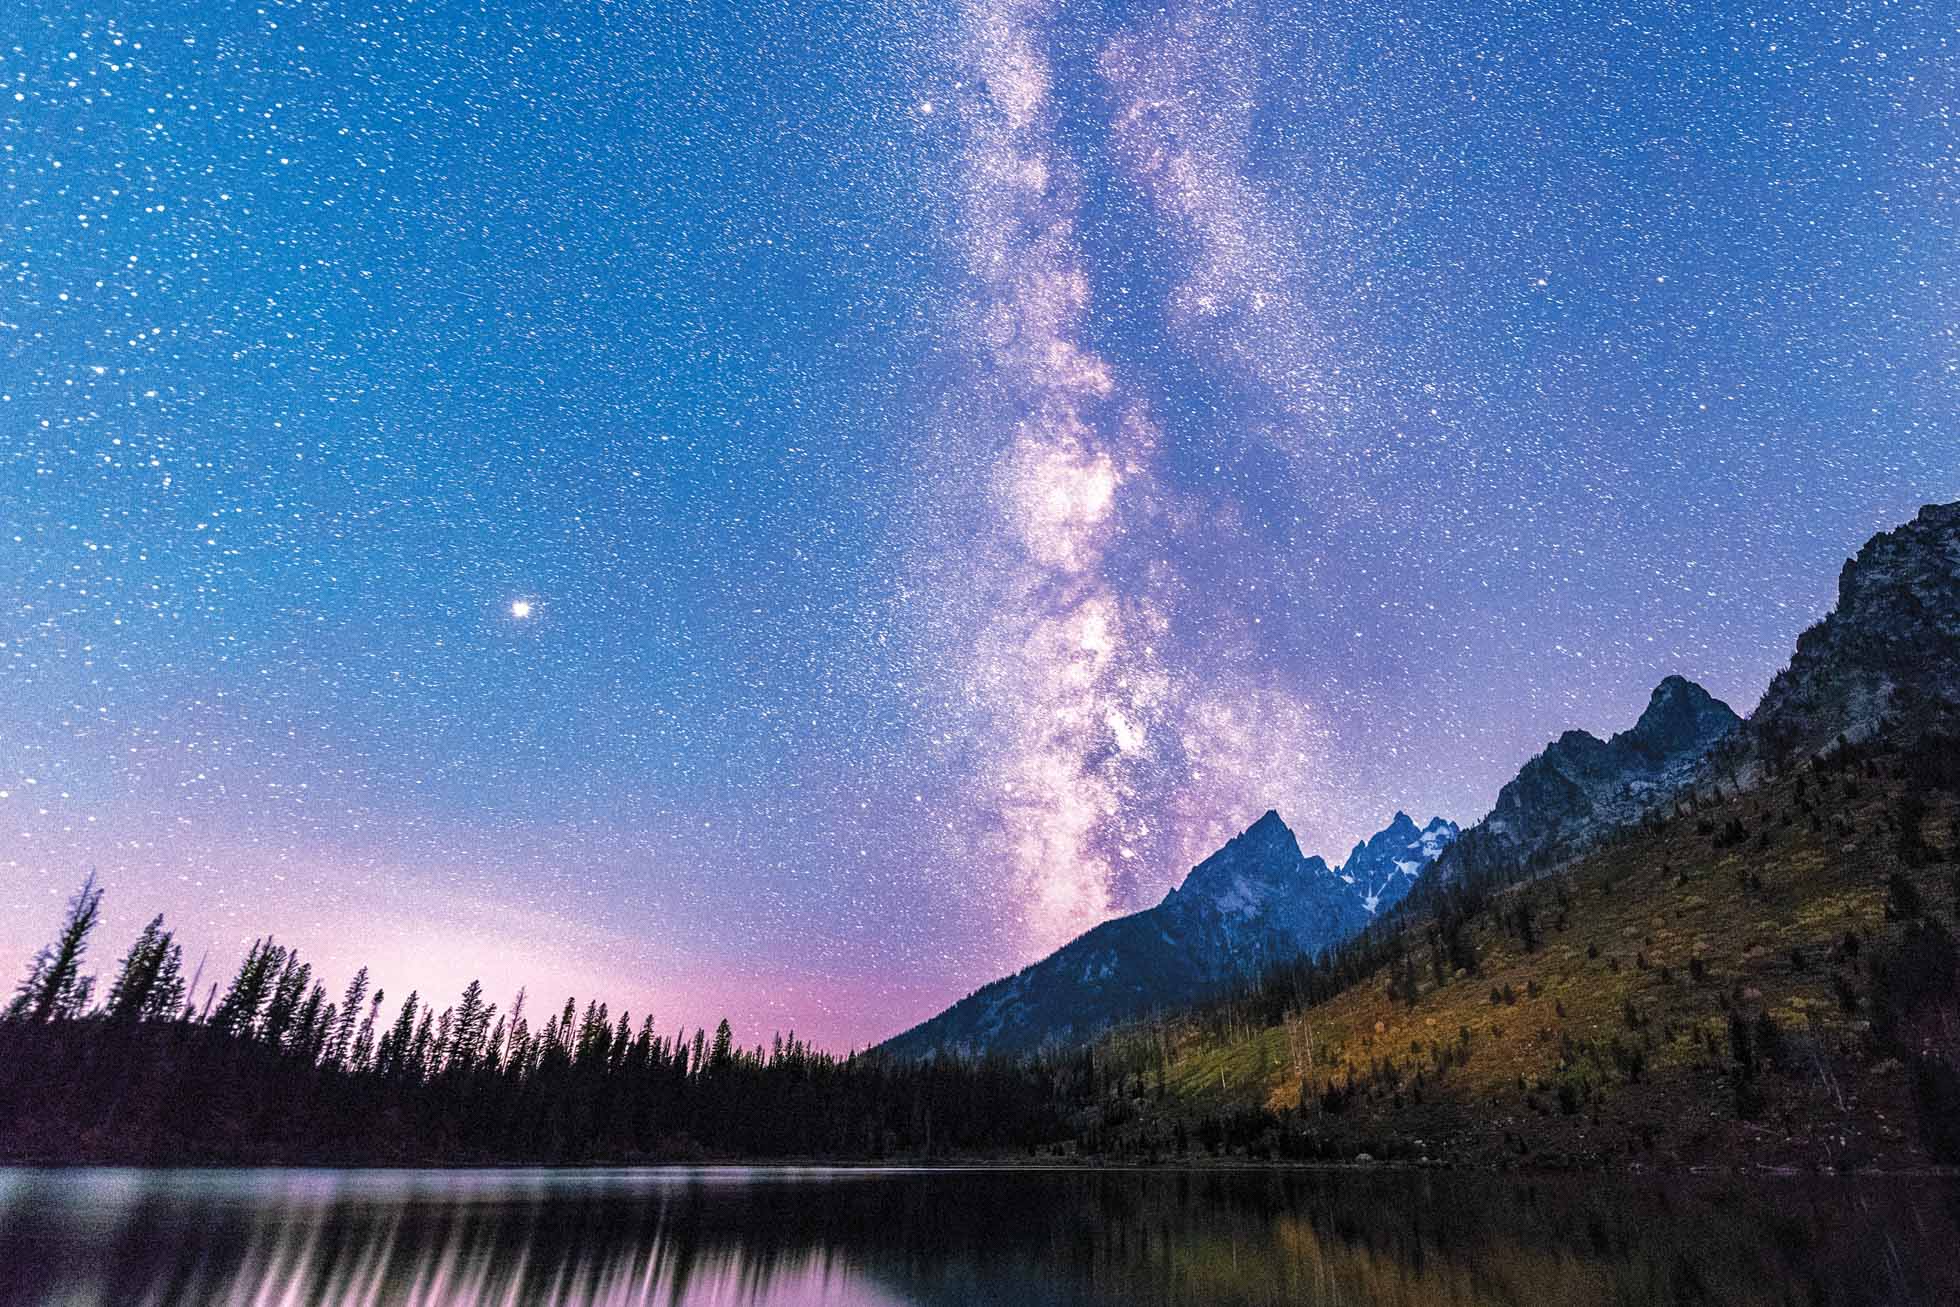
Star Trails at Oxbow Bend in June 2019
1) Prepare the right Gear: A sturdy tripod is essential for shooting star trails as you will need your tripod to stay solidly in one place for extended periods of time. An intervalometer is also a recommended tool for star trails. If shooting 30 second exposures, you can use your in camera intervalometer but if you want to shoot longer than 30 second exposures, you’ll need to be in bulb mode and use an external intervalometer. A wide angle lens will be the best choice for capturing those vast night skies.
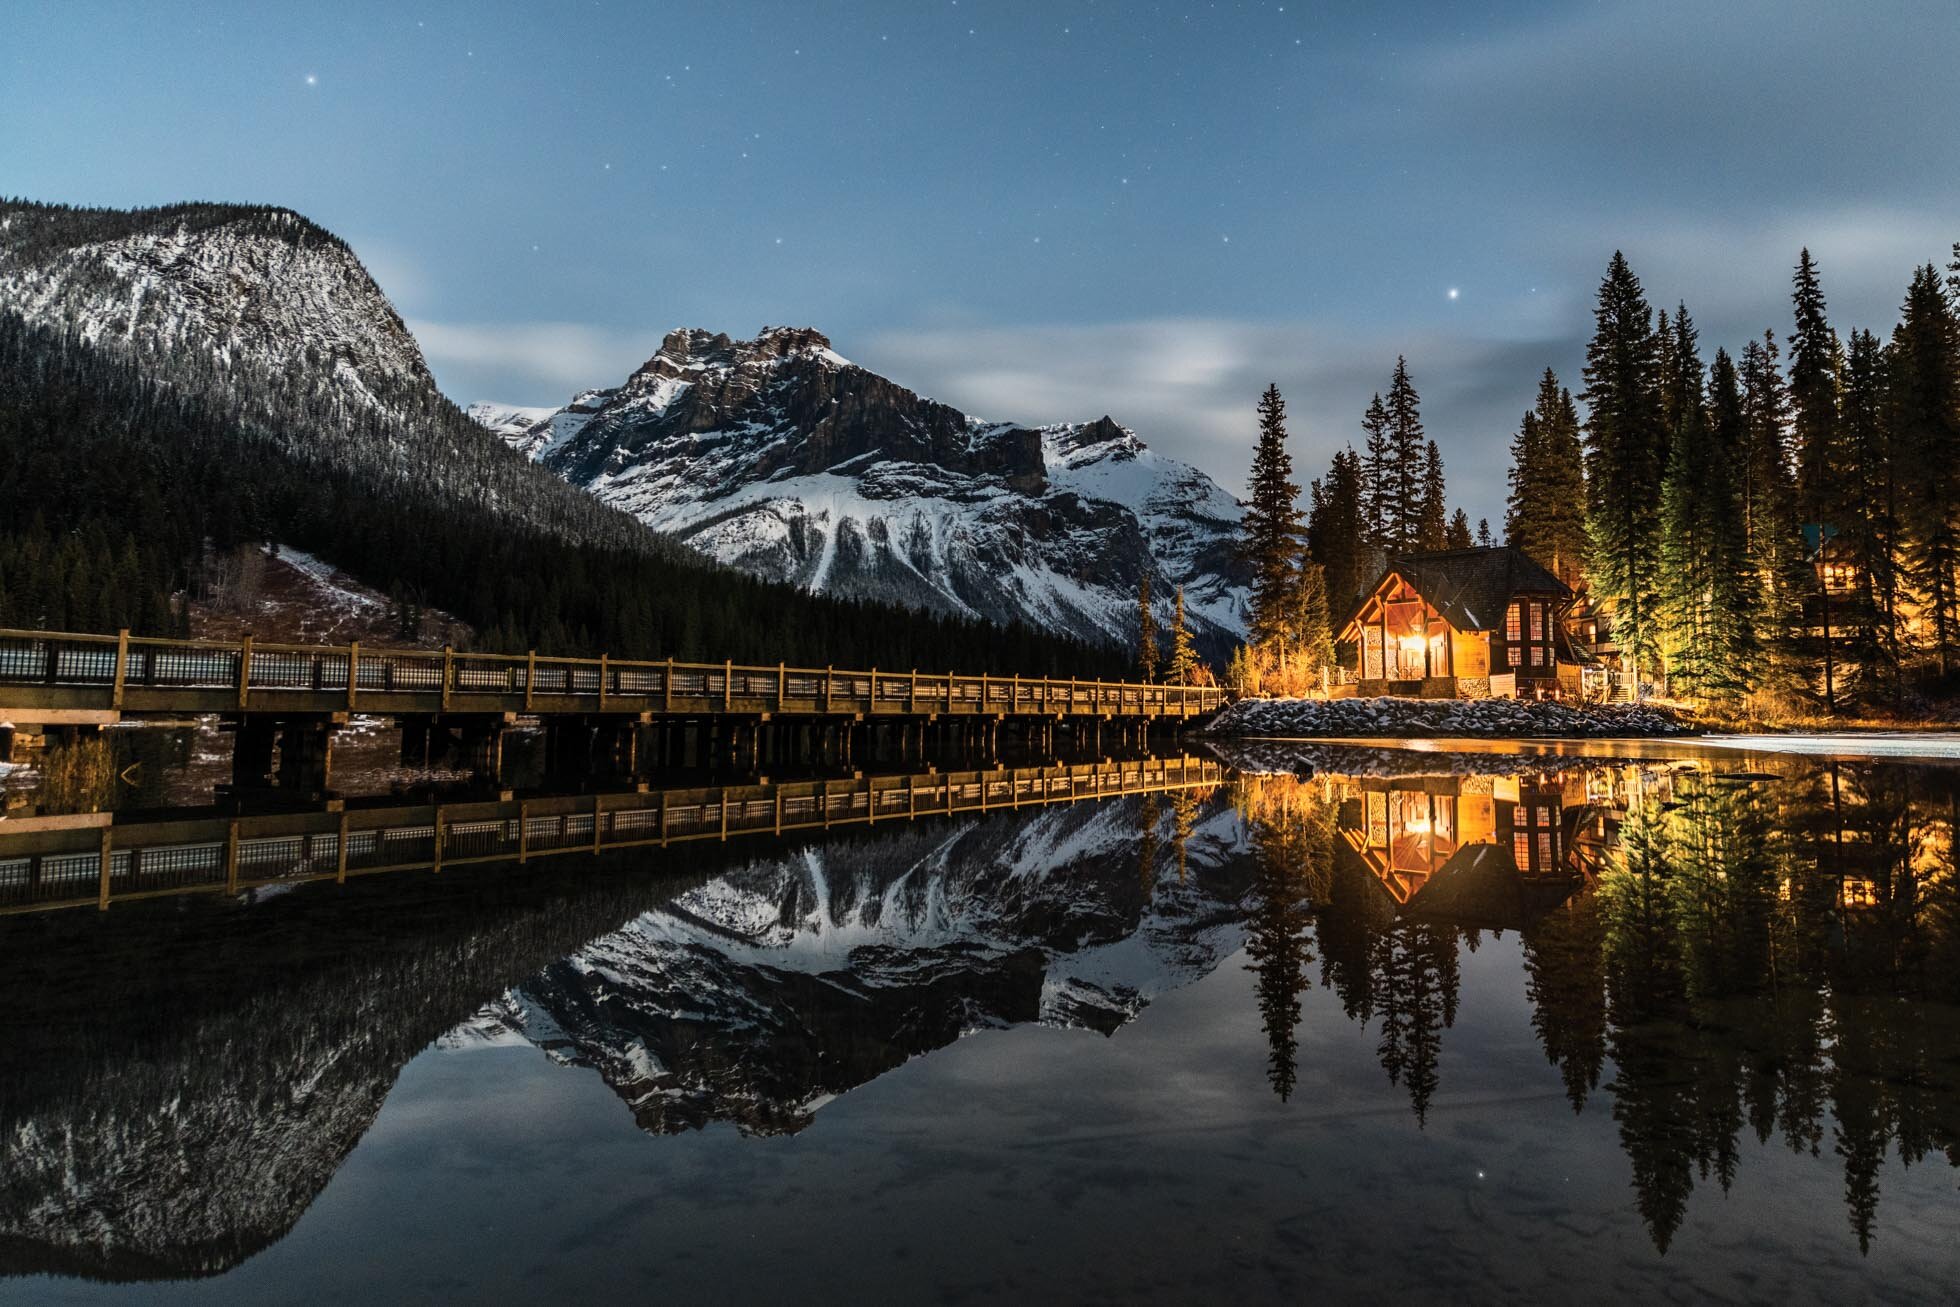
2) Find Dark Skies & Clear Nights - Dark and clear skies are needed for bright star trails against a dark night. Look for nights without moon interference and no clouds. I love using the Sun Surveyor app to find information for the moon phase, rise and set. Despite clear skies being ideal, I wouldn’t shy away from shooting if there are a few clouds about. This image below is one of my very favorite star trail images and there were clouds interspersed with the stars.

Star trails amongst the clouds at Vermilion Lakes in Banff National Park
3) Long Trails or Short trails? Choose the effect you are going for. If you want to get many long and continuous trails of stars, you will need to shoot for a long time, at least 30 minutes but ideally an hour or longer. For shorter trails where the star trails are broken and just little lines across the sky, you can shoot a single exposure in the 8-15 minute range. (Such as the Vermilion Lakes shot above)
4) Exposure Time - To decide on your exposure time, consider what effect you are going for. You could shoot one very long exposure, or you could shoot many 30 second exposures and stack them together in Photoshop to create the trails. There are a few benefits to the shorter exposures. First, you can more easily check your exposure with a test shot and adjust before you set the camera to shoot for minutes, or hours. Second, if random light comes in and messes up an exposure, it can be easier to fix than if you have had your exposure running for an hour’s time. And third, you also have static star shots in addition to the trails. This leaves you more options for using these various exposures in post processing from static star images, short trails, longer trails or even a time lapse.

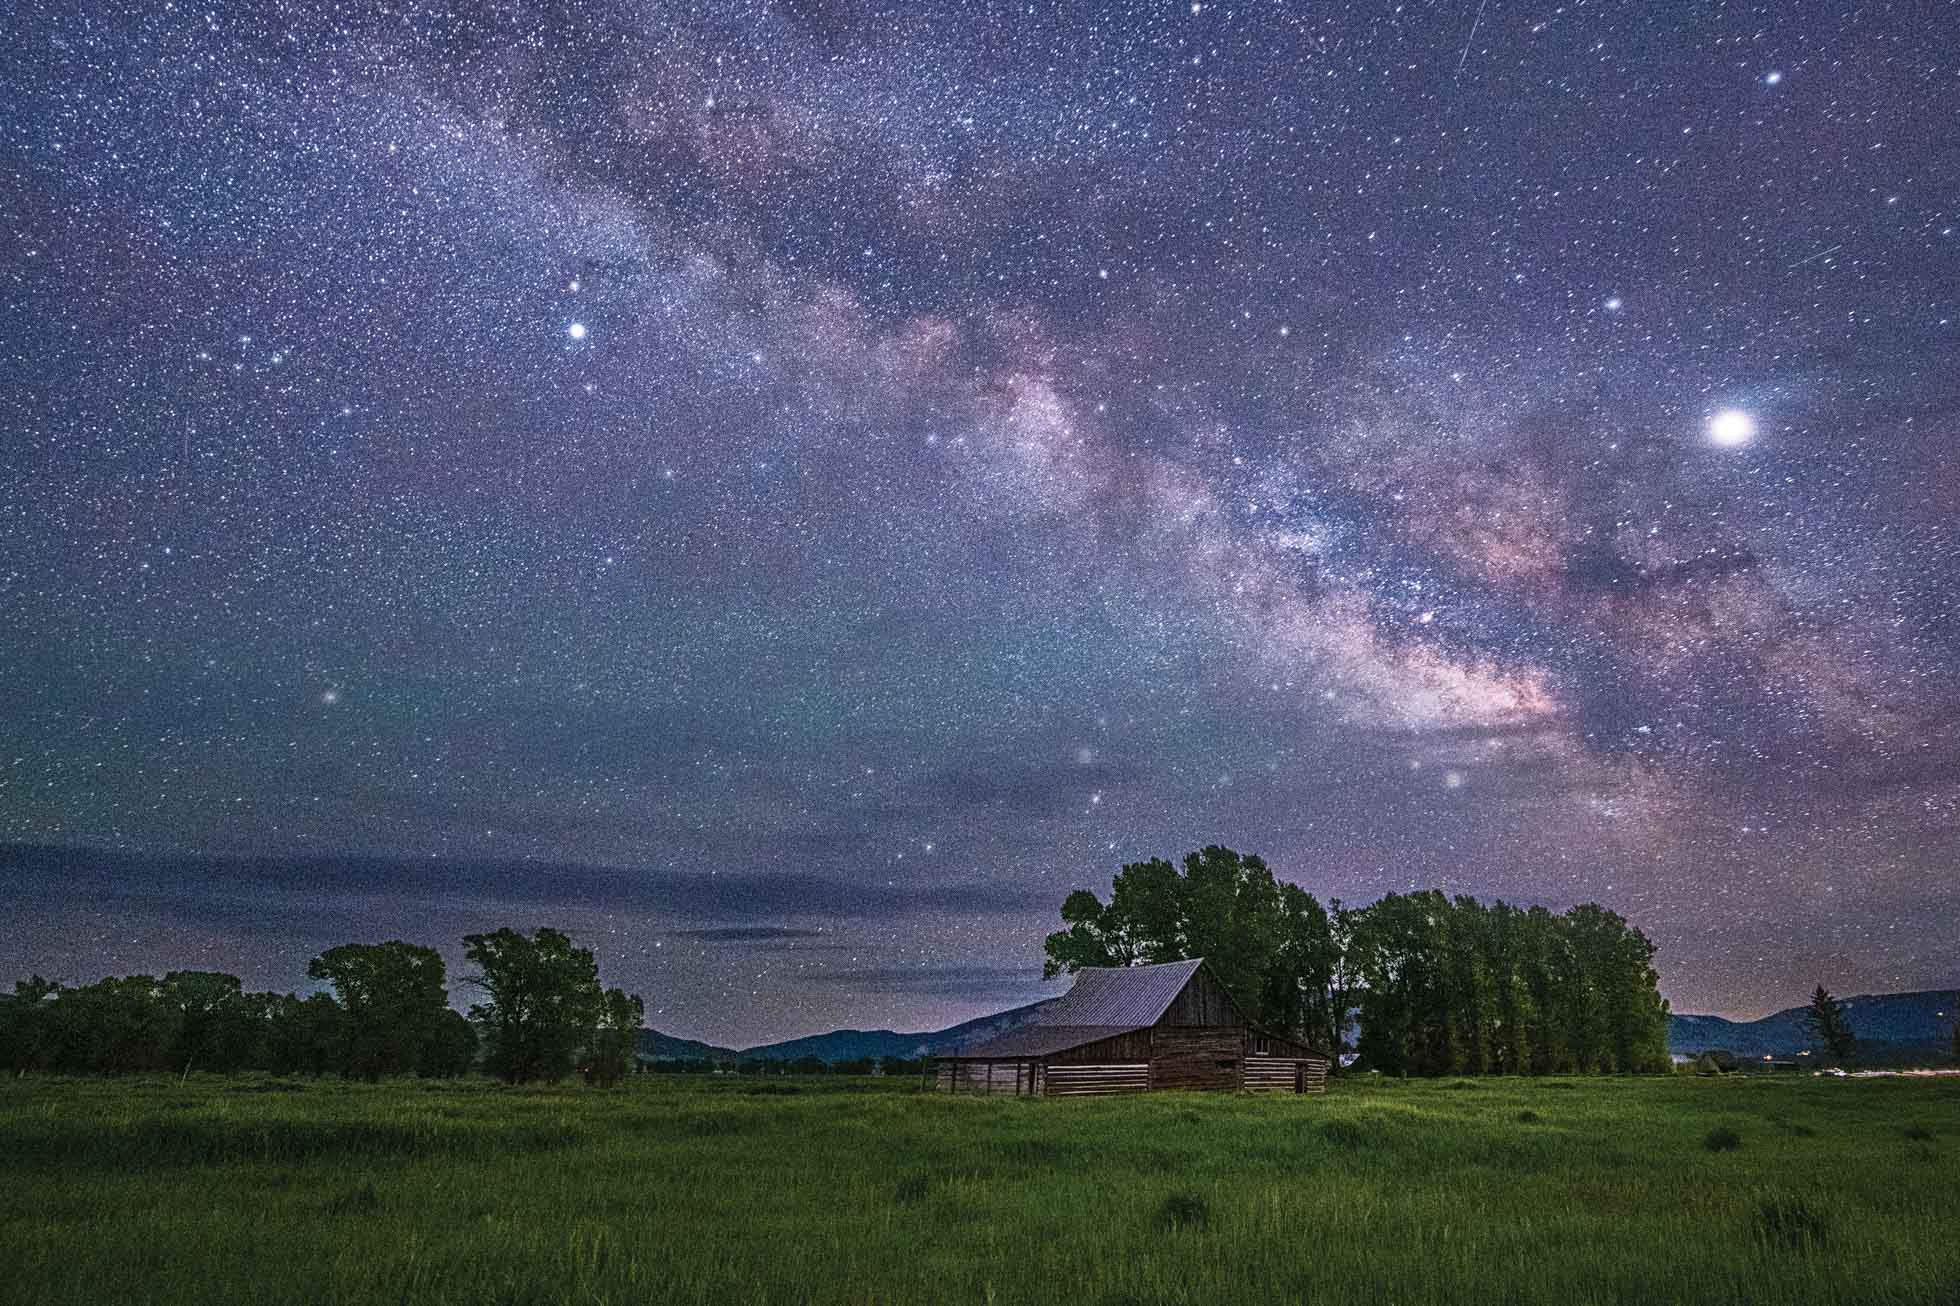
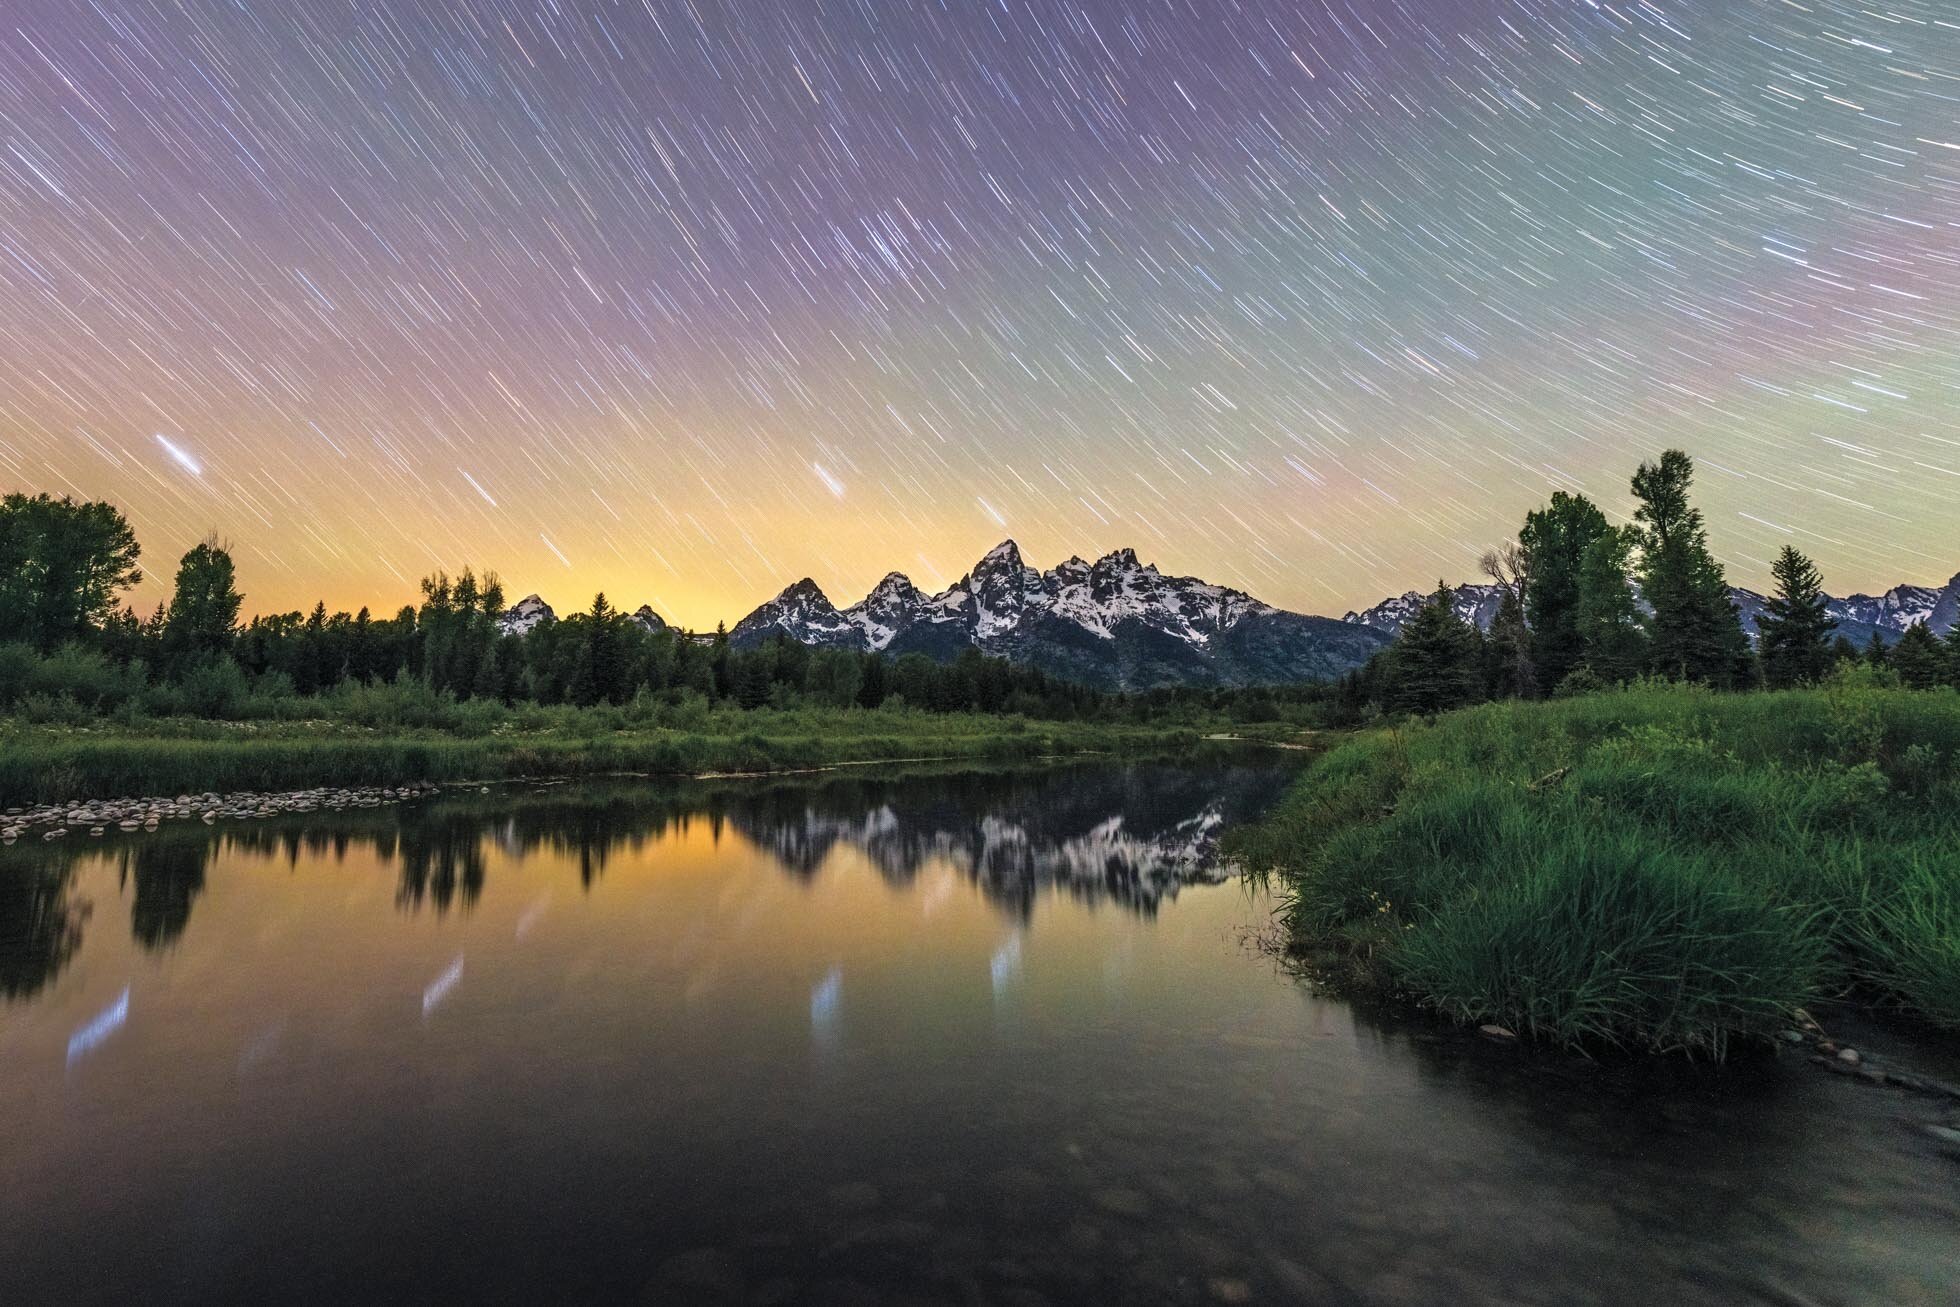
Star trails captured over an hour of time in Wyoming. 30 second exposures stacked into one image.
5) Turn off in Camera Noise Reduction - While the in camera long exposure noise reduction can be helpful for avoiding hot spots, it must be off when shooting star trails because the exposures need to be continuous with the least amount of time between them as possible to avoid breaks in the trails.
6) Switch to Manual Focus - Make sure you have your camera in manual focus so that your camera is not trying to focus during the many star captures.
7) Scout Location during the Day - Use the daytime to find a great location with interesting foreground to add to your star trail image. Heading out with a plan will greatly increase your chances of success!
8) Be Creative! While there are techniques that will help you succeed in getting focused and well exposed star trail images, don’t be afraid to experiment and be creative.
For more tips on Astrophotography see Astrophotography Tips Part 1 and Part 2. Also check out Part 1 in the Night Photography Series: Preparation for more general tips.
Kristen Ryan is an award winning and published landscape and fine art photographer and educator residing in the Midwest suburbs of Chicago. All images are available for purchase in the Fine Art Store or by request. Kristen leads ladies landscape photography retreats in the Tetons, Chicago, and the Canadian Rockies, offers private mentoring and teaches an online landscape photography workshop, The World Around You. The next run of The World Around You begins August 17!