Exploring Vertical Panning

Vertical panning is a fun way to add a little creativity to your nature photography. It’s really pretty simple and fun because no two images will turn out exactly the same. Similar perhaps but not exactly the same. Just like horizontal panning, it can create a beautiful painterly effect. 

Aspen Panning Kristen Ryan Photography-001.jpg

You can achieve this technique with a tripod or handheld. A tripod is often used to help you keep straight as you pan up, though it can work handheld as well. 

First, you’ll want to set your settings in order to lower your shutter speed. In bright light, you’ll need to max out your aperture and your ISO. So ISO 100 and f/22 for example. If you have a Neutral Density filter you may not have to completely max out those settings however. Generally I am looking to get the shutter speed in the range of 1/30s to 1-2 seconds in exposure length. The panning effect changes depending on both the shutter speed and how fast you move the camera, the latter most significant.  If you use an ND filter, I find it easiest with the 6 stop because this strength filter is great for getting the shutter speed down to about a 1 second or slightly faster. With the 6 stop, I am still able to focus with the filter on, so this makes things move quicker.  With a 10 stop, focus and composition is challenging since you can’t see the scene through the filter.

Aspen panning.jpg

Once I have my settings, I set the frame by choosing my focal length and where the bottom of the frame will be. I focus on the scene and then as I press the shutter I move the camera up. The faster the shutter, say 1/30, the quicker you need to move the camera to get the blur effect. The important thing is to try to stay steady and move the camera up straight. If handheld, keep your elbows close to your body to steady yourself. Faster movement will create more blur while slower will leave a little more detail in the scene.

Aspen Autumn Blur Kristen Ryan Photography.jpg

You can use a longer lens and focus in on the grass or trees, or you can use a wider focal length and get more of the scene. 

Meadow Panning-001.jpg

Get out there and have some creative fun!

Visit Seascape Panning for trips on seascape and horizontal panning. To shop for a 6 stop ND filter to help you out with your vertical and horizontal panning, visit Breakthrough Photography Filters.*


Kristen Ryan is an award winning and published landscape and fine art photographer and educator residing in the Midwest suburbs of Chicago. All images are available for purchase in the Fine Art Store or by request. Kristen leads ladies landscape photography retreats in the TetonsChicago, and the Canadian Rockies, offers private mentoring and teaches an online landscape photography workshop, The World Around You.

*Affiliate Link

Photographing Water With Creative Exposures

When first learning to shoot in manual mode, we learn that aperture, ISO and shutter speed create the exposure triangle. If we change one of these settings, we then have to alter another one to achieve proper exposure. In the beginning, when I was learning the exposure triangle, I was shooting more portraits of my kids and loving the beautiful blur that came from wide open apertures. In creating this blur and bokeh, my shutter speed was typically fast to counterbalance the wide apertures in the exposure triangle.

Over time and especially as I fell in love with landscape photography, I learned to consider shutter speed as not only a part of the exposure triangle and important in freezing the motion of my fast moving toddlers, but as a creative choice. In fact, creative shutter speed use is one of my favorite techniques when shooting moving water within a landscape.

There are 3 main choices when it comes to using shutter speed to capture water: 1) A fast shutter speed used to freeze the motion of the water and maintain texture. 2) A slower shutter speed in the range of say .4 seconds - 3 seconds which will smooth the water a bit but maintain some texture and shape and 3) a very slow shutter speed of at least 5 seconds or longer that will smooth the water completely and create a dreamy quality. Each of these exposure times creates a different texture of the water and mood in the overall image.

Chicago Skyline on a windy and wavy day. Captured with a 1/320 shutter speed.

Chicago Skyline on a windy and wavy day. Captured with a 1/320 shutter speed.

1) Fast Shutter Speed - The image above was captured on a very windy day in Chicago and the waves were crashing hard along the pavement below the steps outside Adler Planetarium. The fast shutter speed freezes the motion of the waves and shows the texture of the water. This exposure choice allows the viewer to see the rough water and feel the mood of the scene captured.

1 second exposure of the rough waves on a windy day in Chicago!

1 second exposure of the rough waves on a windy day in Chicago!

2) Slow shutter speed in the .4 second to 3 second range. This choice of exposure does not freeze the motion of the water and creates a smoother effect than a fast shutter speed. The blur of the movement still maintains some texture in the water and shape in the waves. This choice also maintains a bit of the actual mood of the windy and wavy scene but also adds a creative effect. A shutter speed in this range will typically require the use of a Neutral Density filter unless shot in very low light. This image was captured using a 6 stop Neutral Density filter from Breakthrough Photography *.

60 second exposure after the sun dipped below the horizon

60 second exposure after the sun dipped below the horizon

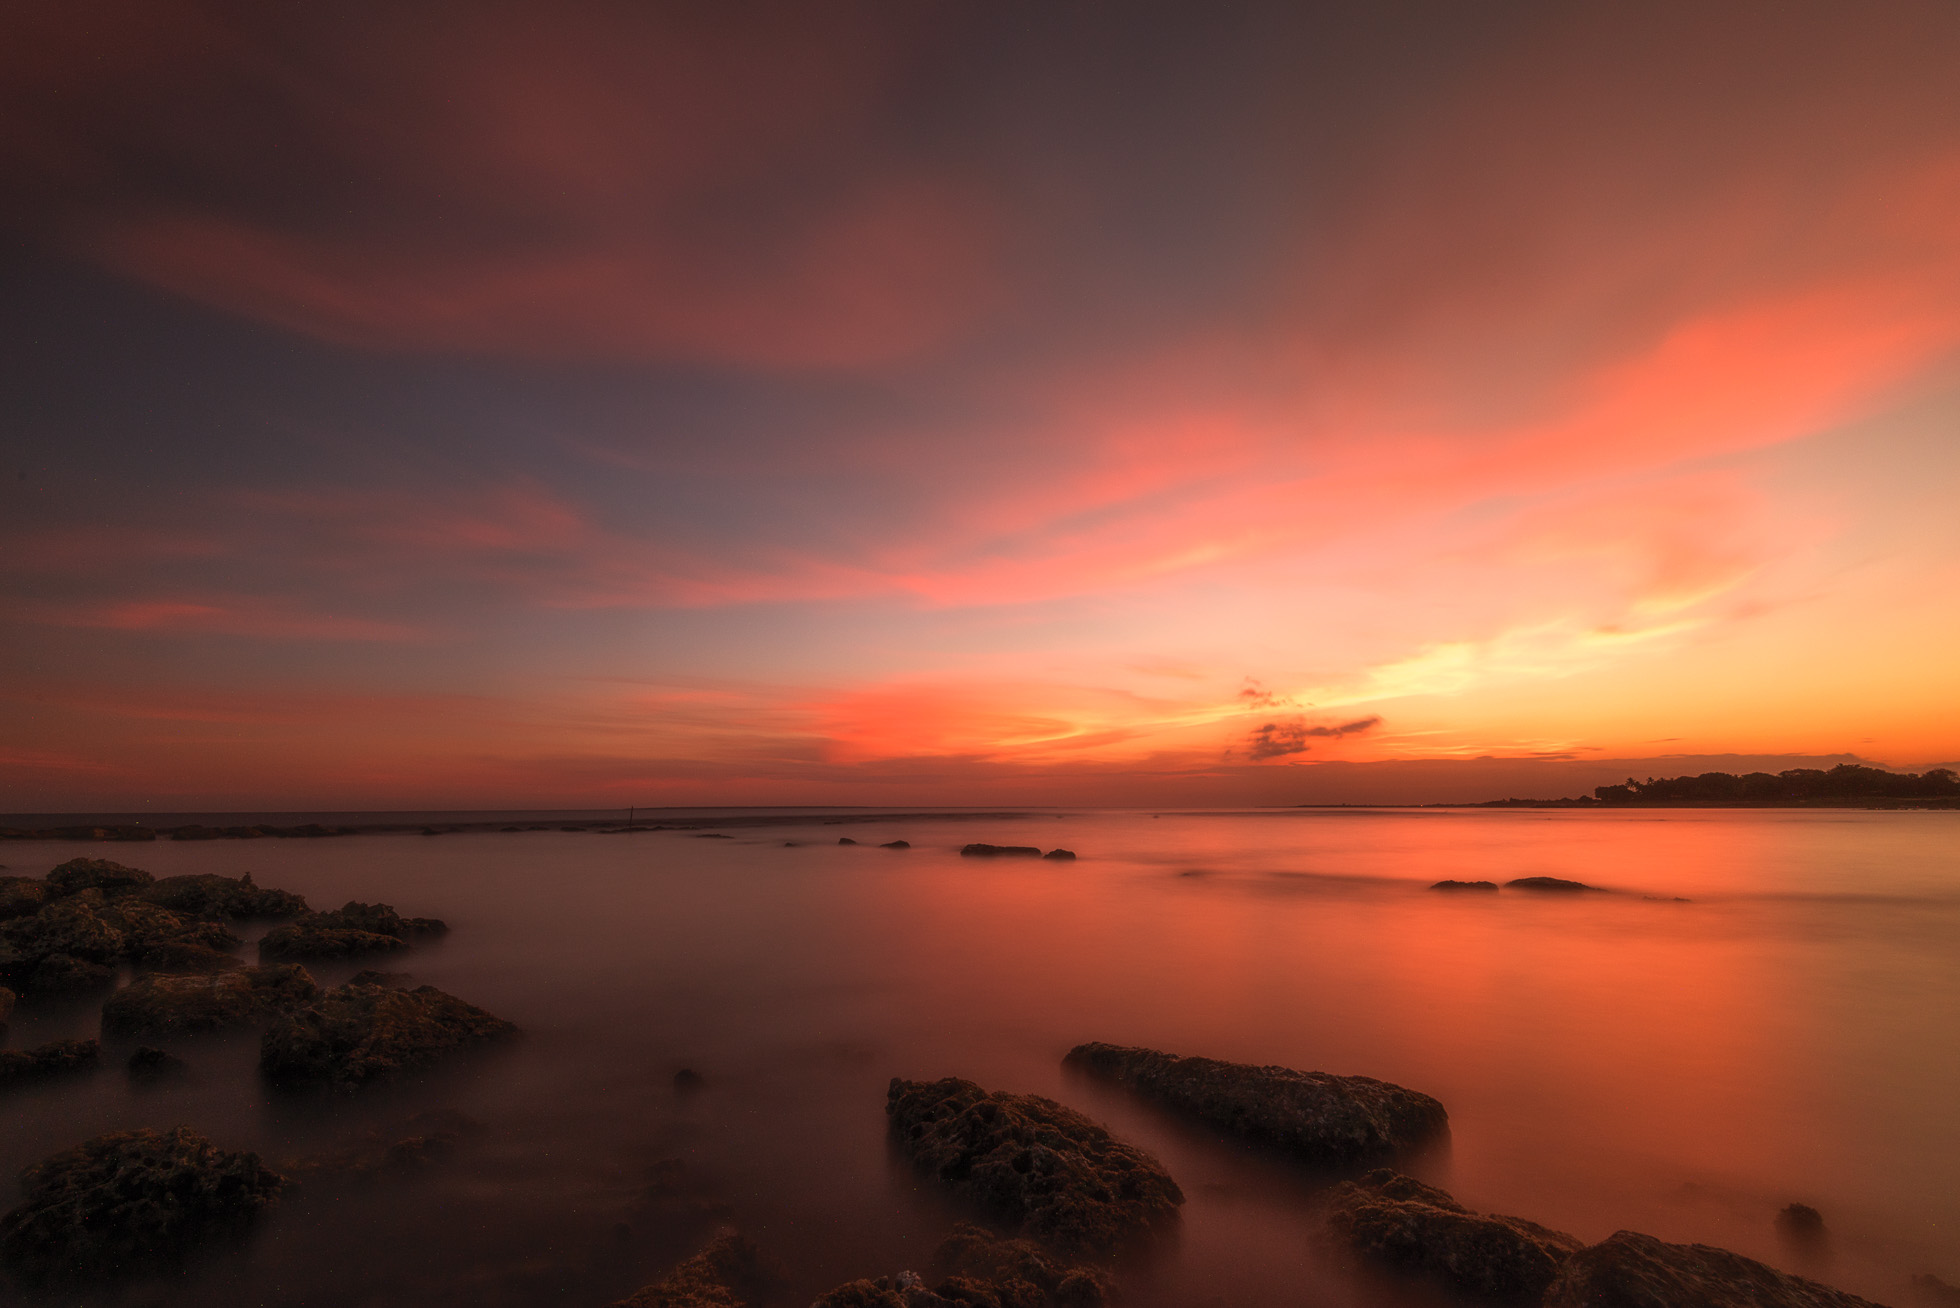
3) Long Exposure 5 seconds or more. These exposure times will smooth out the movement of the water and the longer exposures (15 seconds+) will create a dreamy and serene feel in the image. This moment felt very serene standing on the shores of Lake Michigan watching the beautiful sunset colors light up the sky. While the image does not show the rough waters that existed, it does represent my mood as I captured the scene. Sometimes creative exposures capture how we feel even if the scene appeared a bit different in reality.

Longer exposures in the range of 5 seconds to minutes require the use of a Neutral Density filter except when shooting in the dark. This 60 second exposure also used a 6 stop Neutral Density filter from Breakthrough Photography.* Quite often, exposures of this length will need a 10 stop ND filter.


Kristen Ryan is a landscape and fine art photographer residing in the Midwest suburbs of Chicago. All images can be purchased in the Fine Art Store. Kristen leads ladies landscape photography retreats in the TetonsChicago, and the Canadian Rockies, offers private mentoring and teaches an online landscape photography workshop twice a year.

*Affiliate Link