Kase Magnetic Filters

Shortly before leaving for Spain in late March I received a package with the Kase Magnetic Revolution ND Kit on my doorstep! I had heard great things about these filters and I was so excited to bring these filters along on my trip.  Although this trip was family (not photography) focused, I knew I would be capturing the sights and experiences of our trip and hopefully even get out for a couple sunrises or sunsets.

The Revolution Kit is perfect for me as it includes all of the filters that I use in my work. This kit includes a circular polarizer, 3 stop ND filer, 6 stop ND filter, 10 stop ND filter, and the ring for the filters to attach to the lens. All of these come in a compact filter case. An added bonus that I am really excited about is a magnetic front lens cap. This is a great addition because it means I can cover up and protect the filter when I’m taking a break or moving to a new spot. In the past, I have always had to remove the filter to put on a lens cap.

Case and magnetic lens cap

Another thing I love about these filters is that in addition to the written label on the filter ring to distinguish between the filters, they are also color coded, making it so much easier to grab the filter that I want to use. The 3 stop ND filter is Blue, 6 stop is yellow, the 10 stop is red, and the polarizer ring is silver. For someone whose eyesight is diminishing with age, it is extra helpful to have a way to differentiate the filters without having to try to read the fine print, especially in low light! When trying to grab the right filter as the light is quickly fading or changing, being able to easily identify the one I need means that I don’t miss the shot fumbling with gear.

Color coded filters inside the case

Most importantly, in addition to being easy to use, their quality is fantastic. The color is neutral so they don’t add a color cast to my images. Also, with this magnetic set, there is a magnetic inlaid ring hidden inside the lens screw thread to improve and minimize vignetting.  

I used the filters singularly and stacked during my trip to Spain and was so happy with the results.

30 seconds with the 10 stop neutral density filter in Malaga, Spain

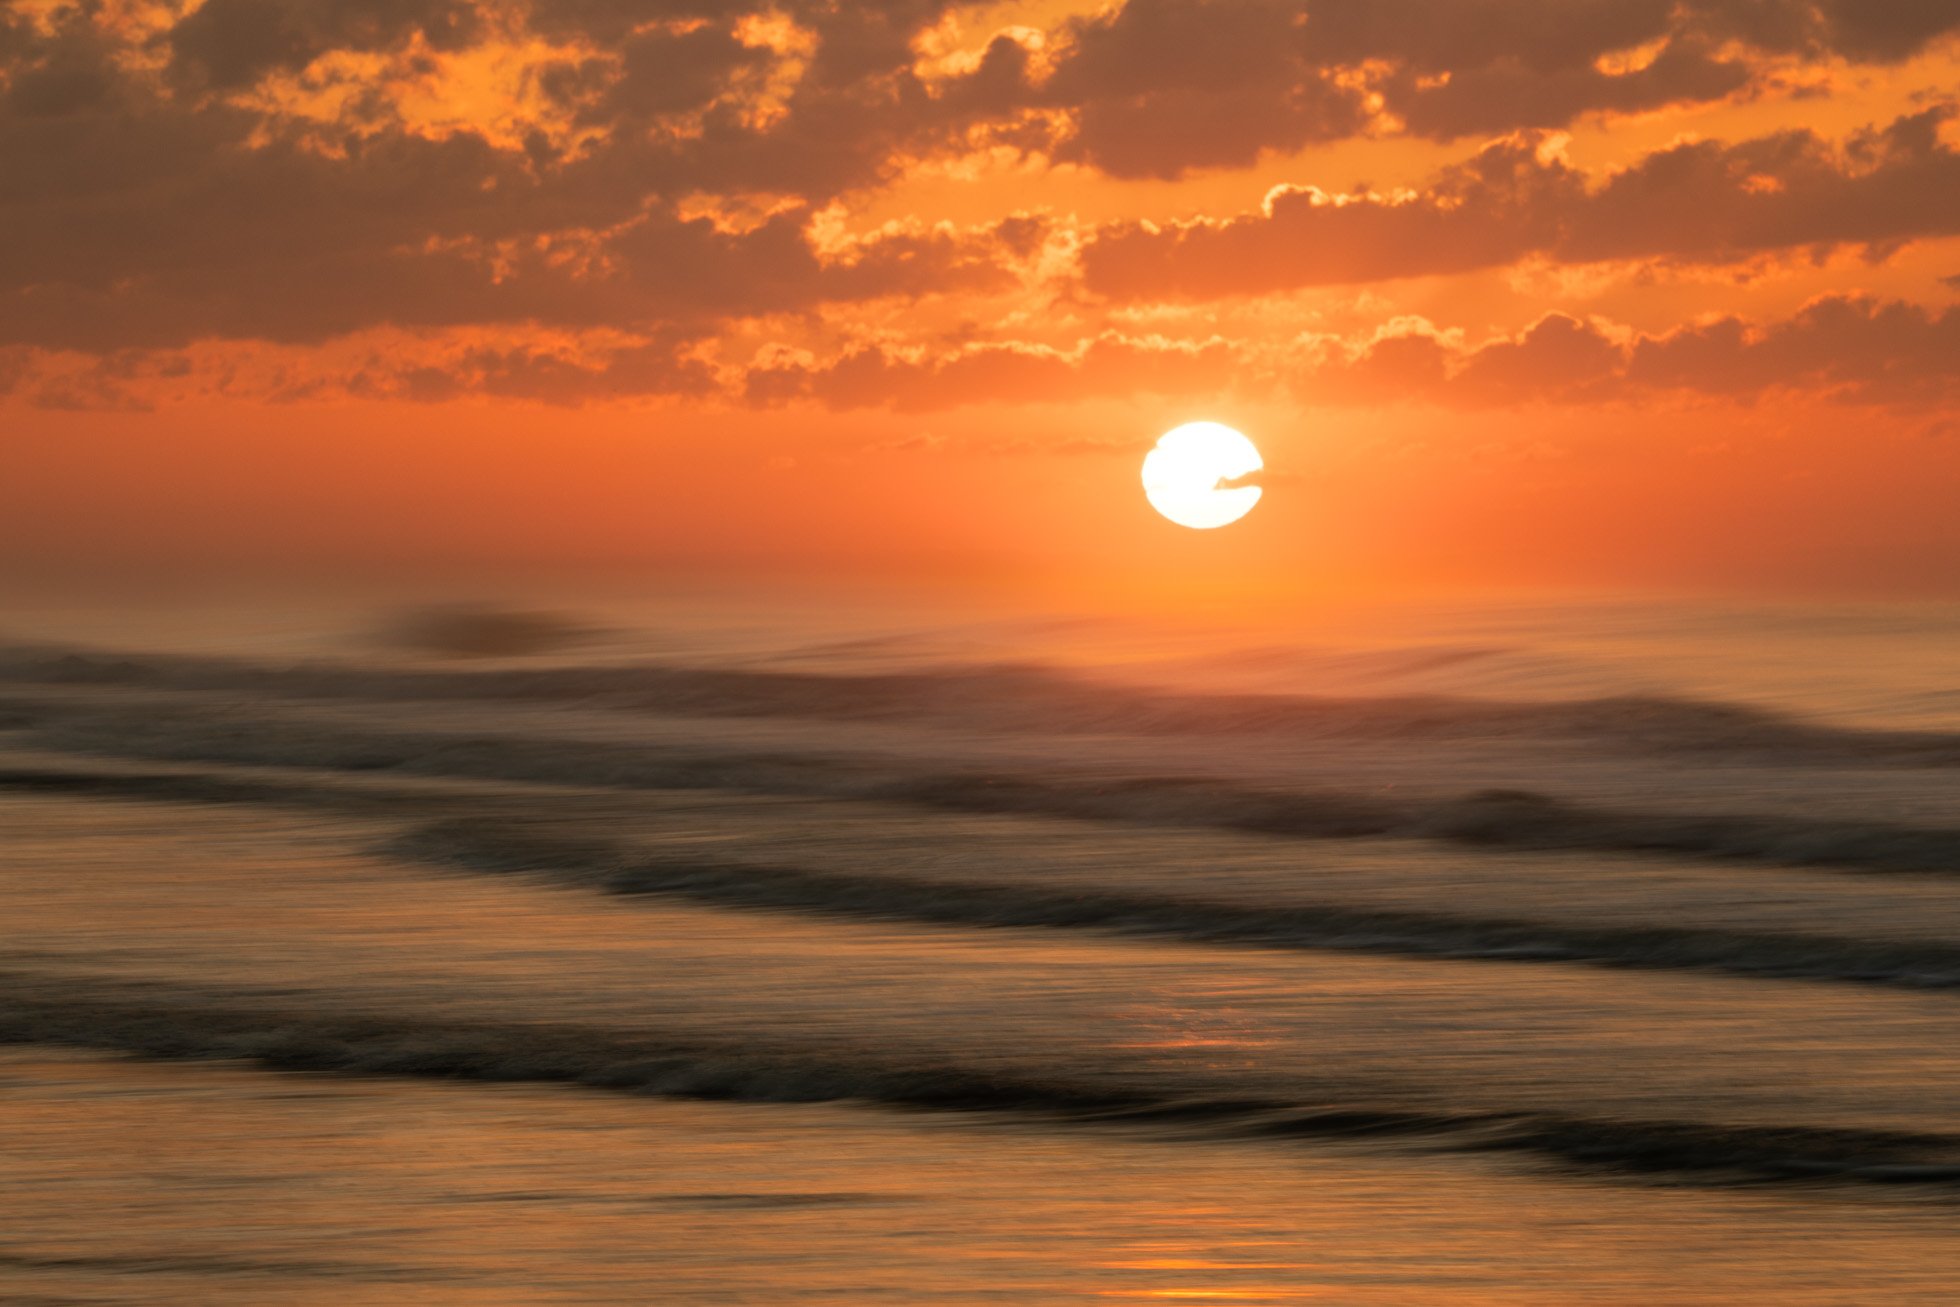
.6 second exposure with the 6 stop Neutral Density filter and using intentional camera movement

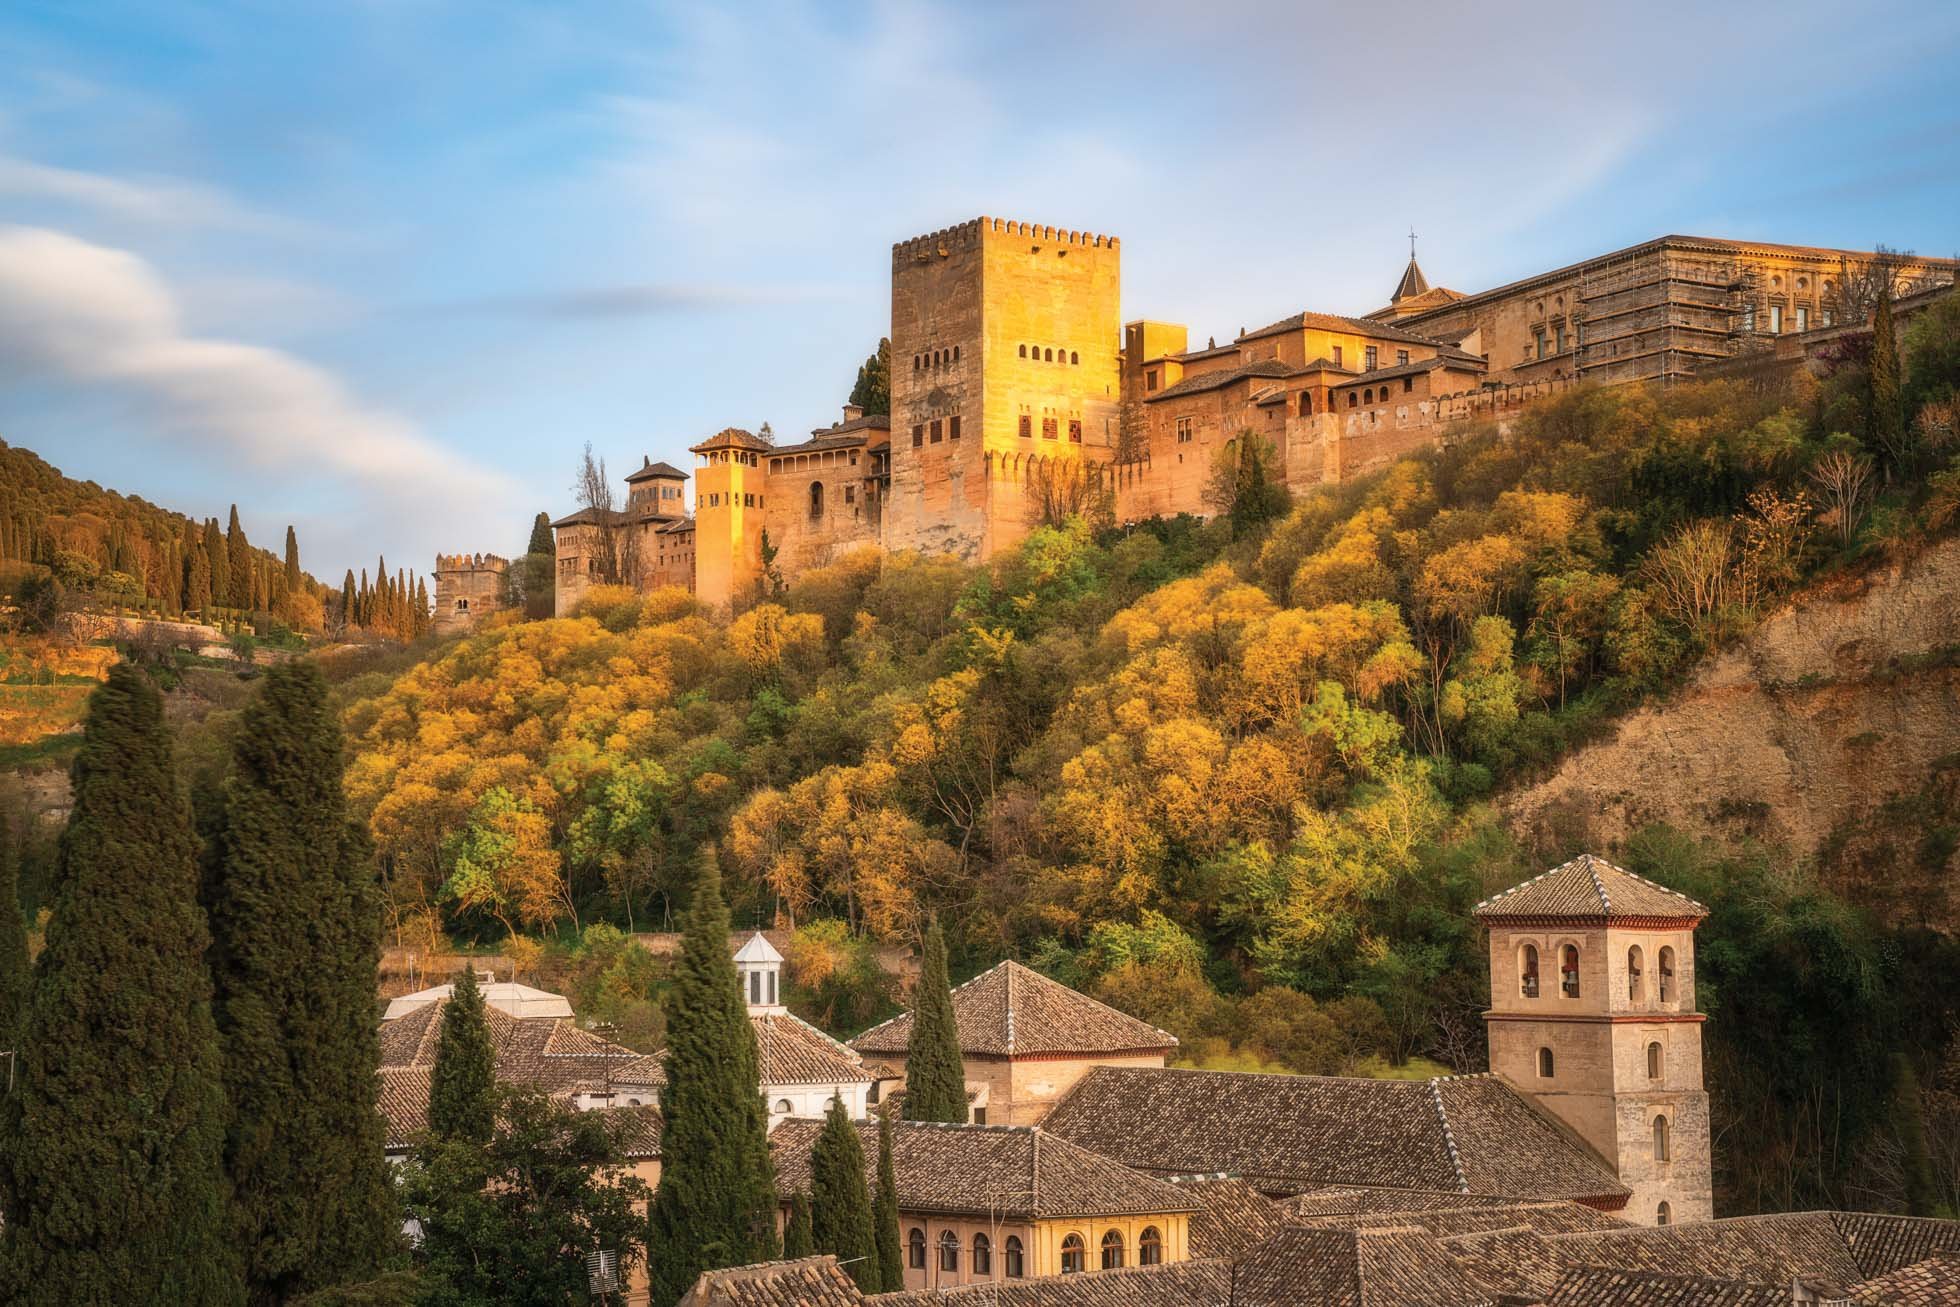
Using the circular polarizer to reduce glare and enhance the colors on this gorgeous sunny day in Ronda, Spain

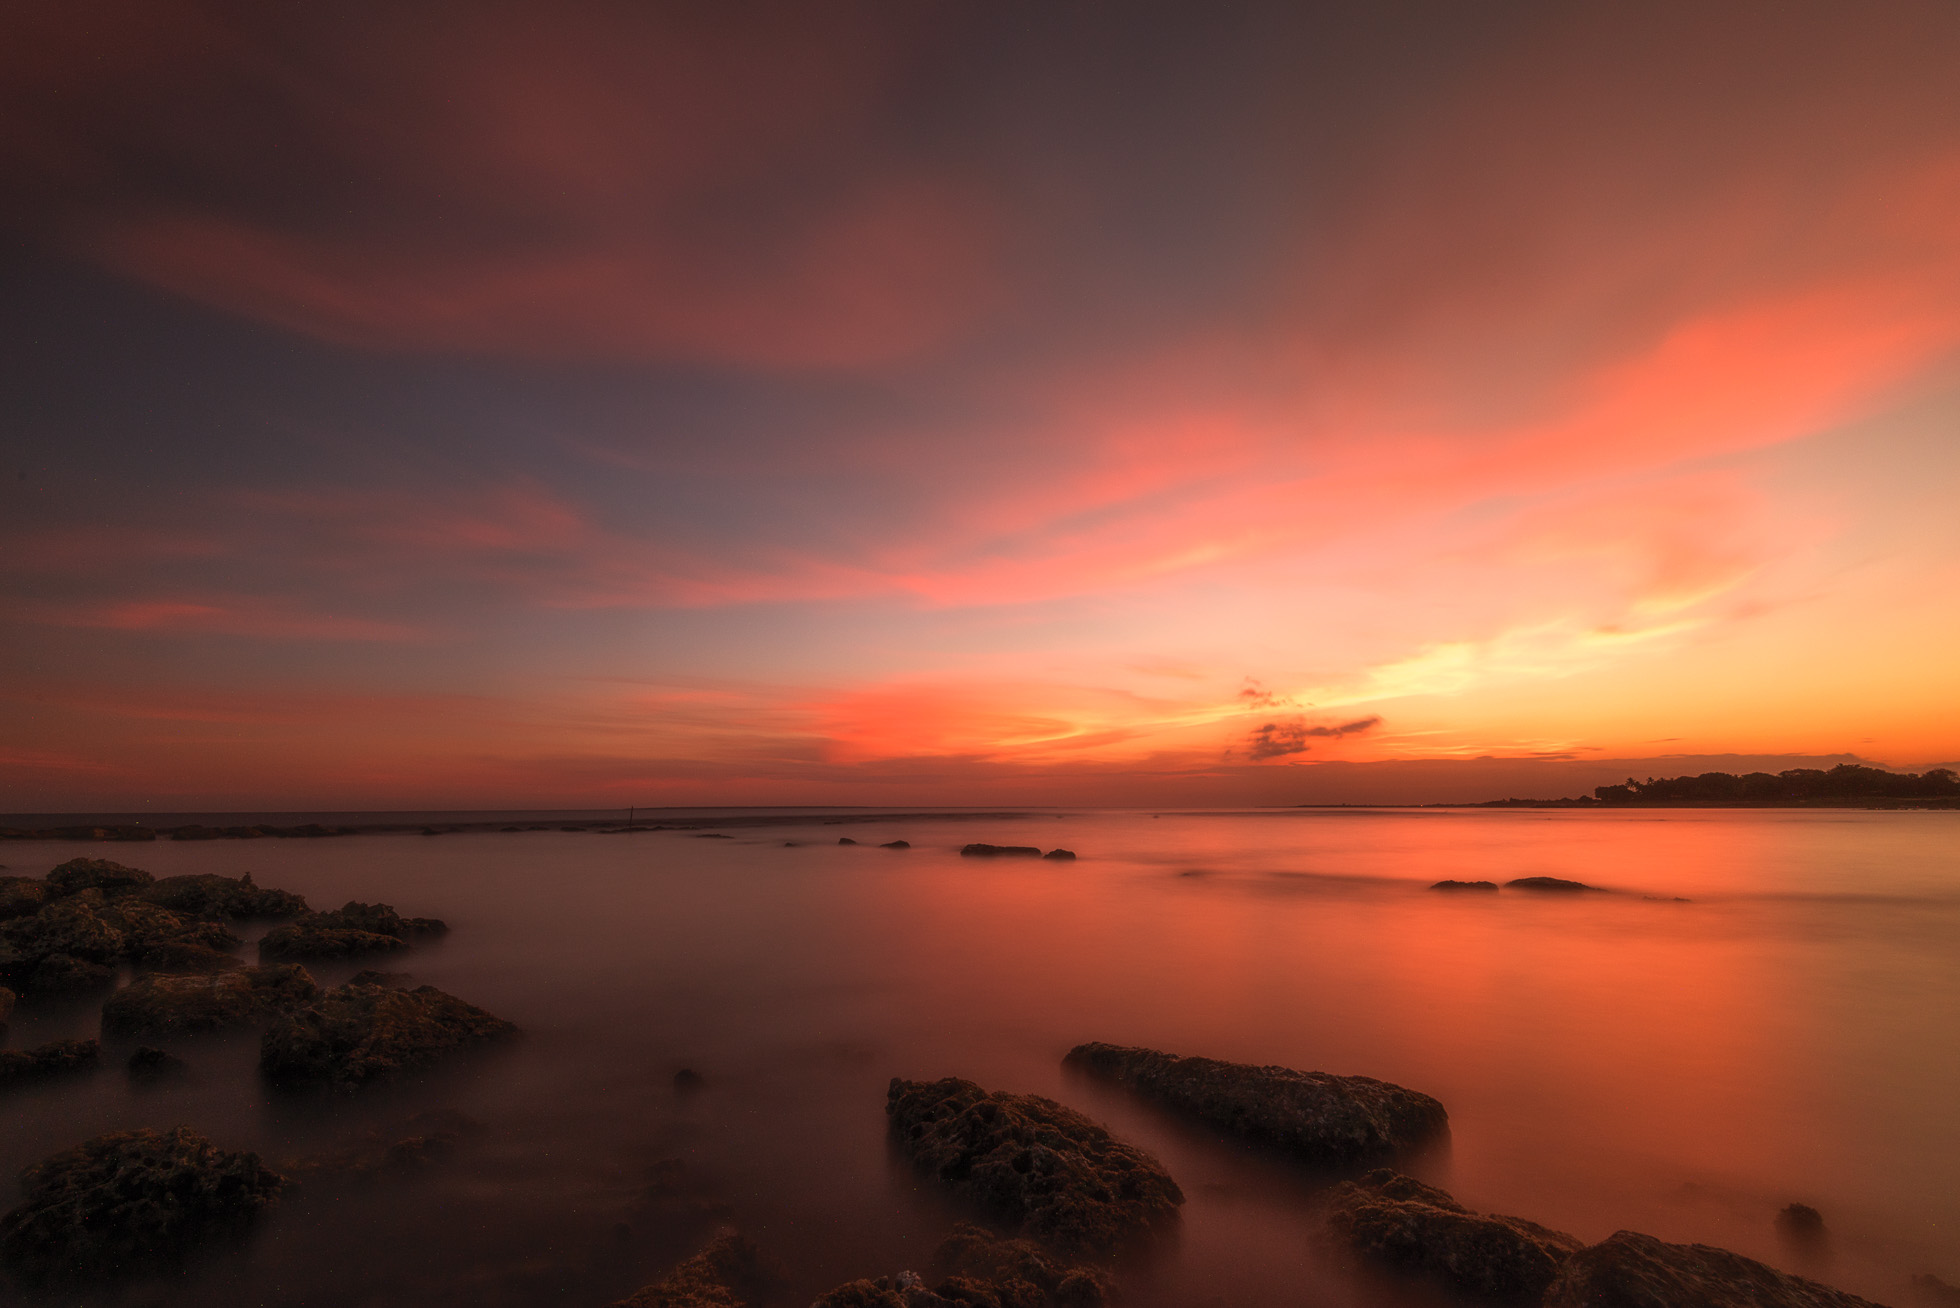
These filters are incredibly easy to stack when you want to use a polarizer and ND filter or to stack more than one ND filter to block more light like in this image below where I stacked the 10 stop and 3 stop neutral density filters to get a 3 minute exposure of these clouds.

After Spain, I traveled to South Carolina in mid April to host my Magic in Hilton Head ladies retreat. This filter kit was a dream to use while on the beaches of Hilton Head Island.

1/2 second exposure with the 6 stop ND filter

1/2 second exposure with the 6 stop ND filter

I cannot recommend this filter set enough. Have questions? Don’t hesitate to reach out to me. I’m happy to share any information I can.


Kristen Ryan is an award winning and published landscape photographer and educator residing in the Midwest suburbs of Chicago. All images are available for purchase in the Fine Art Store or by request. Kristen leads ladies landscape photography retreats in the Tetons, Glacier NP, Hilton Head,  Chicago, and the Canadian Rockies, offers private mentoring .

Exploring Vertical Panning

Vertical panning is a fun way to add a little creativity to your nature photography. It’s really pretty simple and fun because no two images will turn out exactly the same. Similar perhaps but not exactly the same. Just like horizontal panning, it can create a beautiful painterly effect. 

Aspen Panning Kristen Ryan Photography-001.jpg

You can achieve this technique with a tripod or handheld. A tripod is often used to help you keep straight as you pan up, though it can work handheld as well. 

First, you’ll want to set your settings in order to lower your shutter speed. In bright light, you’ll need to max out your aperture and your ISO. So ISO 100 and f/22 for example. If you have a Neutral Density filter you may not have to completely max out those settings however. Generally I am looking to get the shutter speed in the range of 1/30s to 1-2 seconds in exposure length. The panning effect changes depending on both the shutter speed and how fast you move the camera, the latter most significant.  If you use an ND filter, I find it easiest with the 6 stop because this strength filter is great for getting the shutter speed down to about a 1 second or slightly faster. With the 6 stop, I am still able to focus with the filter on, so this makes things move quicker.  With a 10 stop, focus and composition is challenging since you can’t see the scene through the filter.

Aspen panning.jpg

Once I have my settings, I set the frame by choosing my focal length and where the bottom of the frame will be. I focus on the scene and then as I press the shutter I move the camera up. The faster the shutter, say 1/30, the quicker you need to move the camera to get the blur effect. The important thing is to try to stay steady and move the camera up straight. If handheld, keep your elbows close to your body to steady yourself. Faster movement will create more blur while slower will leave a little more detail in the scene.

Aspen Autumn Blur Kristen Ryan Photography.jpg

You can use a longer lens and focus in on the grass or trees, or you can use a wider focal length and get more of the scene. 

Meadow Panning-001.jpg

Get out there and have some creative fun!

Visit Seascape Panning for trips on seascape and horizontal panning. To shop for a 6 stop ND filter to help you out with your vertical and horizontal panning, visit Breakthrough Photography Filters.*


Kristen Ryan is an award winning and published landscape and fine art photographer and educator residing in the Midwest suburbs of Chicago. All images are available for purchase in the Fine Art Store or by request. Kristen leads ladies landscape photography retreats in the TetonsChicago, and the Canadian Rockies, offers private mentoring and teaches an online landscape photography workshop, The World Around You.

*Affiliate Link

Seascape Panning

One of my favorite techniques to play with at the beach is horizontal panning. It is really simple and can create a beautiful dreamy effect of the water, sand, and sky in any combination. 

You will want to use a shutter speed between about 2 seconds up to around 1/30 of a second or so. To do this, you’ll need to set your ISO quite low and close down your aperture significantly. If during the day, you may need a Neutral Density Filter to block some light. A 6 stop or 3 stop filter would be best in this situation. A 10 stop filter will be more than you need and prevent you from being able to see through the viewfinder when the filter is on.   

You can use a tripod or shoot handheld. A tripod may keep you steadier horizontally but handheld works too so definitely don’t hesitate to try this without a tripod. In either case, you’ll want to frame your shot and focus on your scene and then after you press the shutter, or AS you press the shutter with the faster shutter speeds, just pan the camera to the right. When I shoot handheld I hold my arms close to my body and just turn my body to keep steady. If shooting around 1/30 of a second, you’ll need to move quicker to get the effect. With a second or two you can go slower as you have more time. 

Sometimes it helps to start moving and then press the shutter, or you can also try putting your camera on continuous mode and as you twist your body press the shutter and let it take several shots as you move left to right.

The fun thing is that you get a slightly different effect each time. You may get a bunch you don’t like along with one or two that you really love. The painterly effect is subjective so choose the ones that YOU love! 

Have questions, feel free to reach out!

Sunset panning in Dana Point.jpg
Crystal Cove Panning.jpg

Looking for a 6 stop filter to help you reduce the shutter speed? My favorite Neutral Density filters are from Breakthrough Photography! * I always have a 6 stop in my bag for capturing this effect and others!

Kristen Ryan is a fine art landscape photographer from the suburbs of Chicago. You can purchase prints in the Fine Art store or contact her for custom orders. She teaches an online landscape photography workshop, “The World Around You” and hosts in person ladies’ landscape photography retreats.