


Recently I wrote an article for Click Magazine and Sigma about Why I love my Sigma 150-600mm Contemporary Lens for Landscape Photography. Shortly after writing this article, my family flew off to Kauai for spring break. When thinking of photographing the scenery of Kauai, I suspect a wide angle lens comes to mind for capturing the spectacular mountains and coasts of this garden island. And while a wider focal length was a great choice for many scenes, I frequently grabbed a longer focal length to tell the stories that caught my eye.
Carrying a range of focal lengths from 14mm to 600mm allowed me to photograph a variety of unique images that tell a more complete story of the beauty I saw than if I was limited to wider angle lenses.
Today I want to share a small collection of images from my last morning on the island. While my family slept in, I awoke at 4:30 a.m., grabbed my gear and necessary coffee and headed out on an hour and 20 minute drive from my hotel to the famed Kalalau Lookout, arriving shortly before sunrise. My first attempt visiting this view was met with rain and fog and I hoped the early morning would allow me to get a glimpse of the NaPali Coastline. We’ll save these images for another day.
After experiencing the beauty of the Kalalau Lookout, I headed back down the road to Waimea Canyon where the clouds were minimal and the sun was already shining brightly. I pulled into the empty parking lot and walked out to the platform where I enjoyed the view by myself for awhile.
Looking out over the canyon, I was wowed by the vastness and the way the sun streamed into all the pockets, highlighted the many layers and led my eye to the river below. This was not my first time visiting Waimea but the beauty still amazed me!
I took a moment to grab my widest angle lens, the Sigma 14mm f/1.8 to photograph the vast and grand beauty of the canyon.

Grand view of Waimea Canyon with the Sigma 14mm f/1.8 lens
While I love the wide view the 14mm provided, with the many layers from foreground to sky, I could see so many smaller stories within the canyon. Additionally, with the sun as bright as it was, I did not want to include it in all of my images.
I grabbed my Sigma 24-105mm f/4 to get in a little closer. In this first one, shot at 82mm, I zoomed in on this area of the canyon where the light was streaming down and illuminating the ridge below.
And then I zoomed in more at 105mm to capture the way the light was streaming into the canyon below!

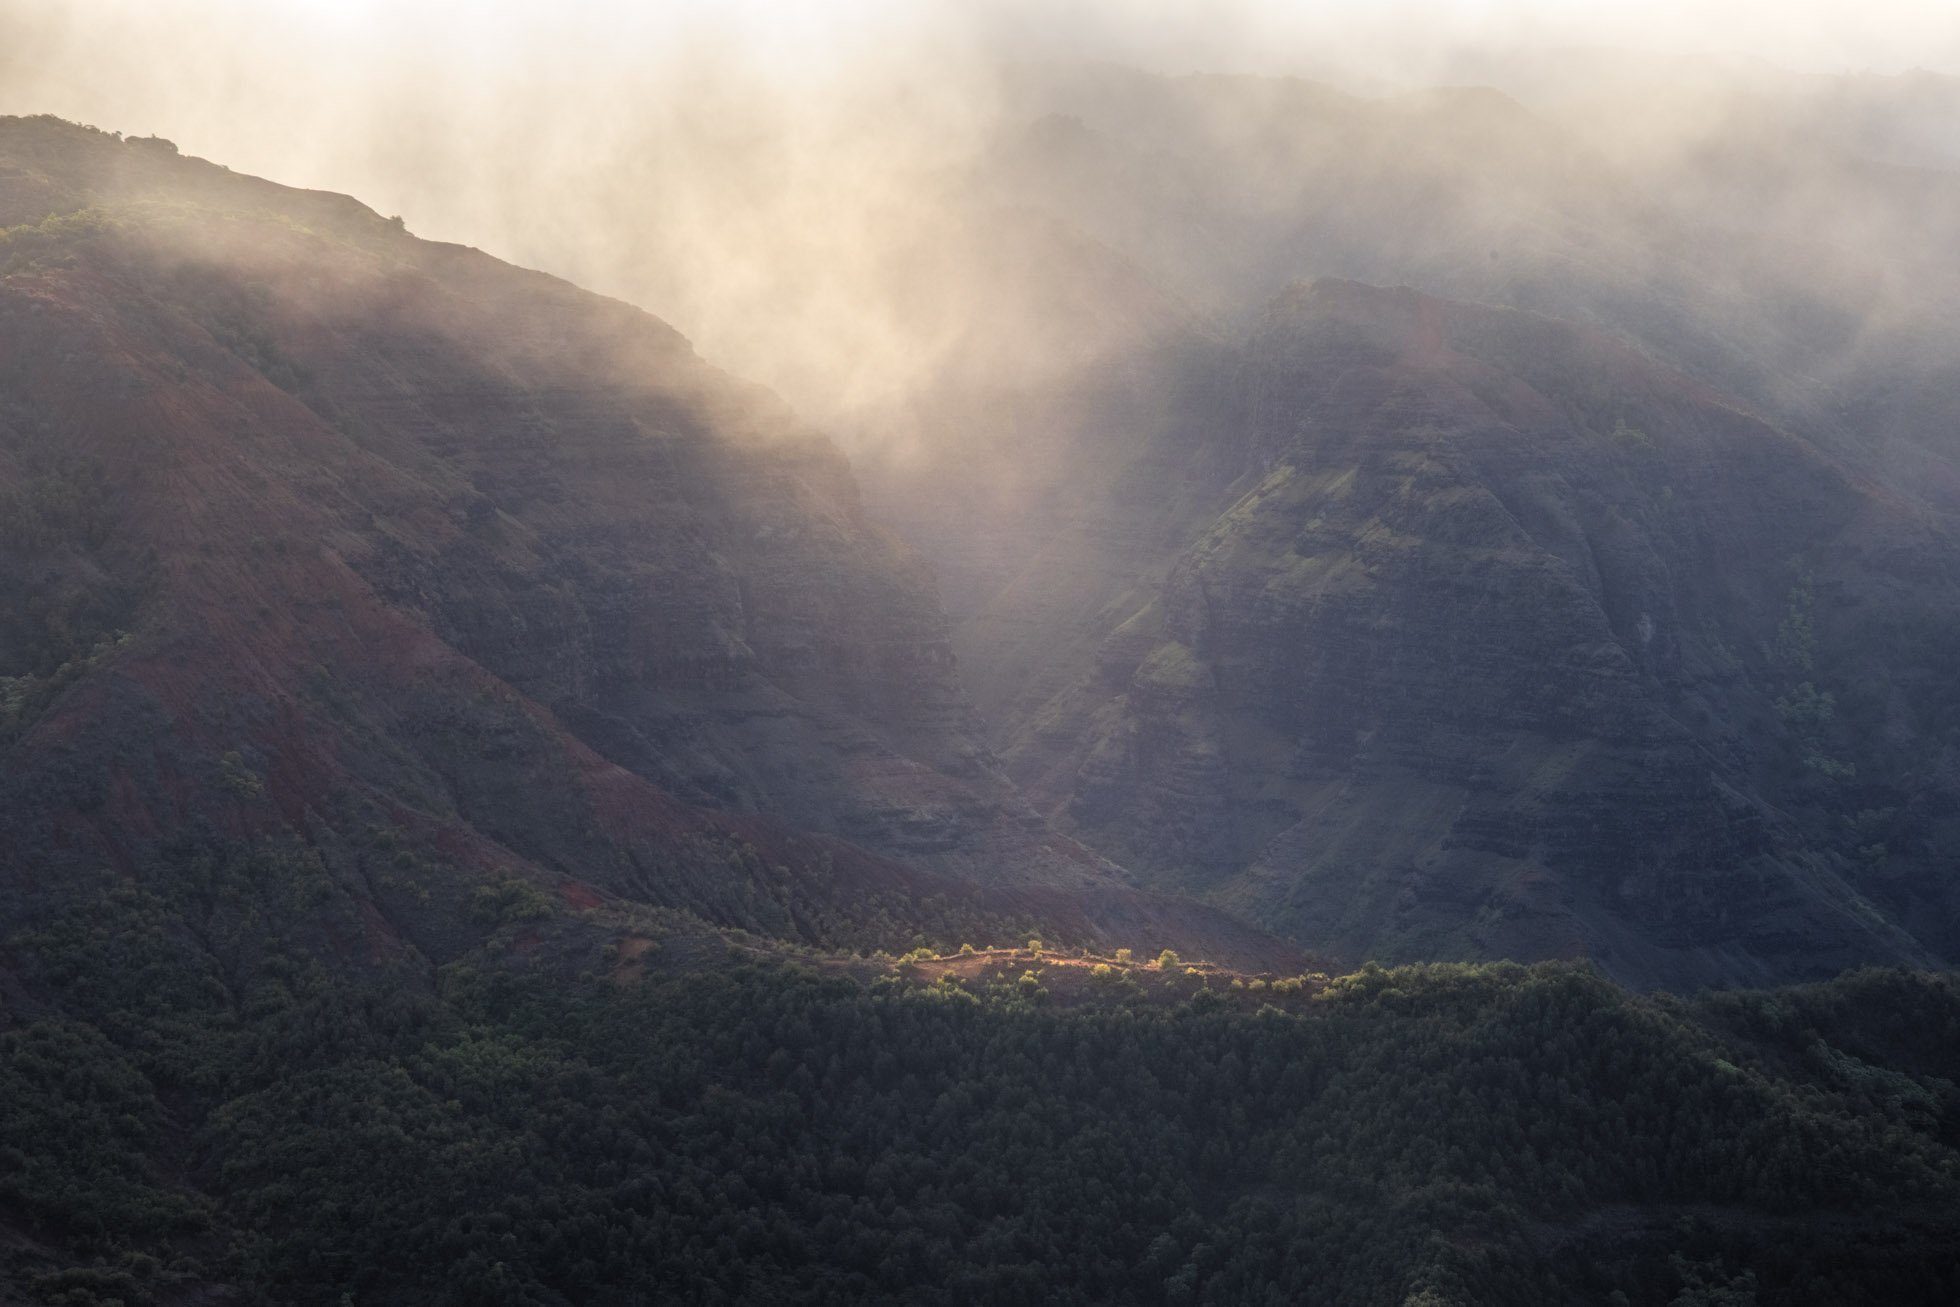
And then I moved on and grabbed the Sigma 150-600mm to get in a little closer and isolate some light and layers in the canyon.

310 mm to focus in on the layers of ridges from foreground to background

150mm focusing in on the light streaming into this pocket of the canyon

150mm giving a close up view of the river flowing through the canyon

440mm gets in close to the details of this ridge as the light hits the edges of the rock
Having a range of focal lengths in my bag with the Sigma 14mm, Sigma 24-105mm, and Sigma 150-600mm lenses allowed me to explore the canyon with my eyes and to isolate various peaks, ridges and light play that grabbed my attention. The longer focal lengths were the perfect tool to zoom in on the highlights, excluding other areas that might have distracted from the story I wanted to tell.
Next time you’re out, consider bringing a variety of lenses to photograph both the grand and intimate stories of the landscape!
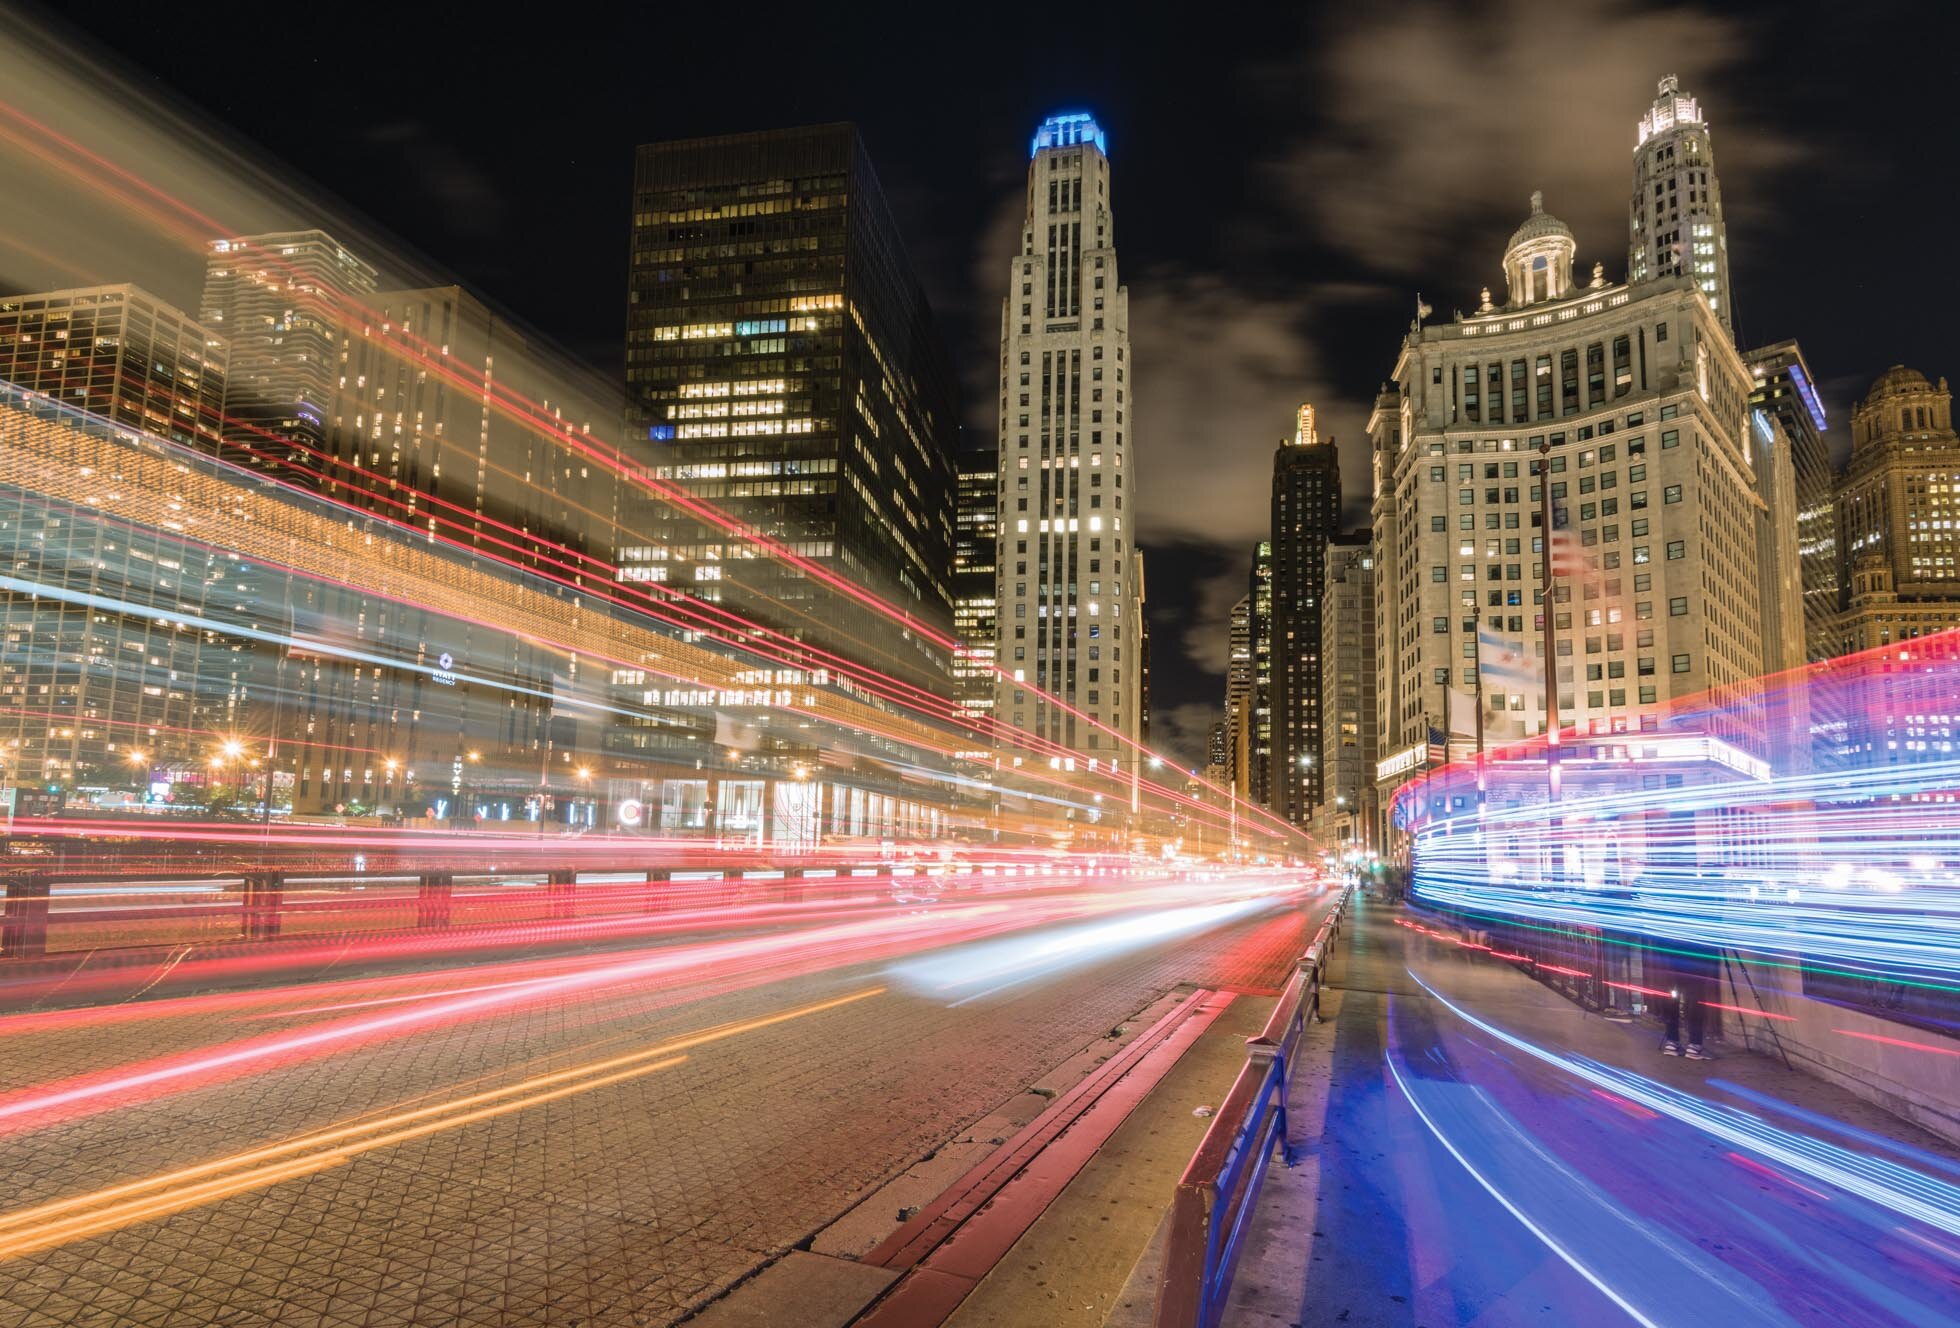
Kristen Ryan is an award winning and published landscape photographer and educator residing in the Midwest suburbs of Chicago. All images are available for purchase in the Fine Art Store or by request. Kristen leads ladies landscape photography retreats in the Tetons, Glacier NP, Hilton Head, Chicago, and the Canadian Rockies, offers private mentoring . New online educational materials are coming soon!