4 Tasks to Prepare Camera Gear for a Photography Trip

Are you getting ready for a photography trip coming up soon? I’m just getting started with my 2022 travels and thought I would share the 4 things I do to prepare my gear before I travel so I’m prepared when I get out in the field. 

1) There is one thing that I do before almost every trip I take and I cannot recommend it highly enough. I clean my camera sensor. If you have gone on a trip and come home to upload your images only to find that you have tons of little sensor dust spots, then you know how truly annoying it can be. It is a tedious and thankless job to have to clone out all those spots.

I know that cleaning my sensor a week or two before a trip is one small thing I can do to start out with my gear in the best shape. And clean gear is one factor that plays a part in creating high quality images.

If you have a camera store near you, you should be able to get your sensor cleaned there. (Note: Take it in with a fully charged battery!) You can also get sensor cleaning kits that allow you to clean your sensor yourself. There are a lot of tutorials out there to show you how to do this for your specific camera. 

In addition to cleaning my sensor, as I get ready to travel, there are a few more things I do as I get ready to travel or prepare for a day of shooting. 

2) As I gather and organize my lenses and filters to pack in my bag, I spend a little time cleaning them and checking them for smudges and spots. Just like camera sensor spots, dirty filters and lenses can also ruin image quality. 

3) I charge up my batteries and make sure I start with a full battery in my main camera, my back up camera and an extra one for each. Then I put my charger right into my bag or suitcase so I don’t forget it!

4) Since I want to start out with an empty memory card with lots of space for my new images, I check to be sure all the images are uploaded and backed up in two places. Then I format my card so it’s ready for more exploring! While it is my typical workflow to upload and back up upon return from a shoot, it’s always a good idea to double check before formatting a card. 

These steps set me up for success with clean gear ready to start off my next photography outing in the best possible way. I hope they serve as a helpful reminder to you for your next trip!

Kristen Ryan is an award winning and published landscape photographer and educator residing in the Midwest suburbs of Chicago. All images are available for purchase in the Fine Art Store or by request. Kristen leads ladies landscape photography retreats in the Tetons, Glacier NP, Hilton Head,  Chicago, and the Canadian Rockies, offers private mentoring . New online educational materials are coming soon!

Make Your Tripod Work For You

As landscape photographers, our closets and bags are filled with gear and gadgets to help us photograph the beauty of the world around us. Among these, a tripod is one of the most useful tools we use, but one of the most cumbersome as well. We often have a love/hate relationship with our tripod. It adds weight to carry and can be annoying to set up, adjust, and pack back up! But it helps us to stabilize the camera and create sharper images especially when we are photographing with slow shutter speeds or shooting focus stacked or bracketed exposures. 

In many cases, the tripod is crucial for the success of creating our visions. But it can also get in our way and hold us back in some ways if we don’t use it right. And I don’t mean whether we tighten the legs properly or adjust the ballhead right. 

When we walk up to a location, it can be really easy to take out the tripod and set it up at the first thing we see. Then proceed to put the camera on the tripod and get stuck right there in that spot, at that height, and then forget to move around and change our perspective. Because it can be cumbersome at times to adjust the tripod, sometimes we get stuck in that one position we set it up in the first place. No doubt when I started out in landscape photography, I made this mistake, only to kick myself later as I reviewed my images.

As I learned to explore my locations more thoroughly before setting down my tripod, I have also learned to make my tripod work FOR me rather than against me. Using all my senses and my camera (handheld), I look around and find the perspective, height and composition that satisfies my vision. Then if my vision requires the use of the tripod, I set it up to put my camera in the position that I found through my exploration. 

Additionally, after exploring a particular area or composition for a bit, make sure to pick up your tripod and go explore other compositions, once again using your tripod as a tool to photograph what calls to you.

So next time you head out, don’t work in the constraints of the tripod, make sure your tripod is one of the tools helping you photograph the composition that speaks to you! While you’re at it, there are MANY tripods out there - if the one you use makes you want to throw it in a lake, find a camera store and play with some until you find one that you’ll be happy to take along on your next hike or photo outing!


Kristen Ryan is an award winning and published landscape photographer and educator residing in the Midwest suburbs of Chicago. All images are available for purchase in the Fine Art Store or by request. Kristen leads ladies landscape photography retreats in the Tetons, Glacier NP, Hilton Head,  Chicago, and the Canadian Rockies, offers private mentoring . New online educational materials are coming soon!

8 of my Favorite Things for my Photography

With the holidays coming up, I thought I’d take a few moments to share some of my favorite things that make my photography more successful and enjoyable! Perhaps one of these items will be a great addition to your wish list or a great gift for a loved one who is a photographer.

1) Sigma 150-600 f/5-6.3 DG OS HSM | Contemporary Lens - If you have read about my favorite lenses for landscape photography, you know that I use focal lengths from ultra wide to telephoto. When I began shooting landscapes, I was so drawn to dramatic skies and vast scenes that my wide angle lens was the one I reached for most. Several years ago, I purchased this telephoto lens, largely for wildlife and some of my kids’ sports. Gradually I also started using it for landscape photography and the more I used it, the more I reached for it. This lens lives on my Nikon Z6 most of the time and many of my favorite landscapes are captured with this combo. I love the way I can zoom into far off details and isolate small scenes that capture my eye. It is definitely my go to lens for photographing intimate landscapes and I used it to capture many of my favorite images this year.

Light & clouds over the Tetons with the Sigma 150-600

Light & clouds over the Tetons with the Sigma 150-600

Distant road in the Great Smoky Mountains at 600mm with the Sigma 150-600

Distant road in the Great Smoky Mountains at 600mm with the Sigma 150-600

2) Peak Design Carbon Fiber Travel Tripod - I received this tripod in the spring of this past year and I absolutely love it! I have used many tripods in my years of shooting landscapes and I have to say that this is one is my favorite for its size and ease of use. This tripod is light and compact for travel and hiking. The flip legs are simple to open and close for quick and easy set up or adjustment. It is sturdy for my heavy Nikon D850 and large lens. Putting the camera on this tripod head is the absolute easiest I have experienced. Additionally, adjusting the camera on this head is smooth and simple. This makes all set up and shooting easier but especially in low light and night. As a lover of long exposure photography, a sturdy tripod is essential to my work.

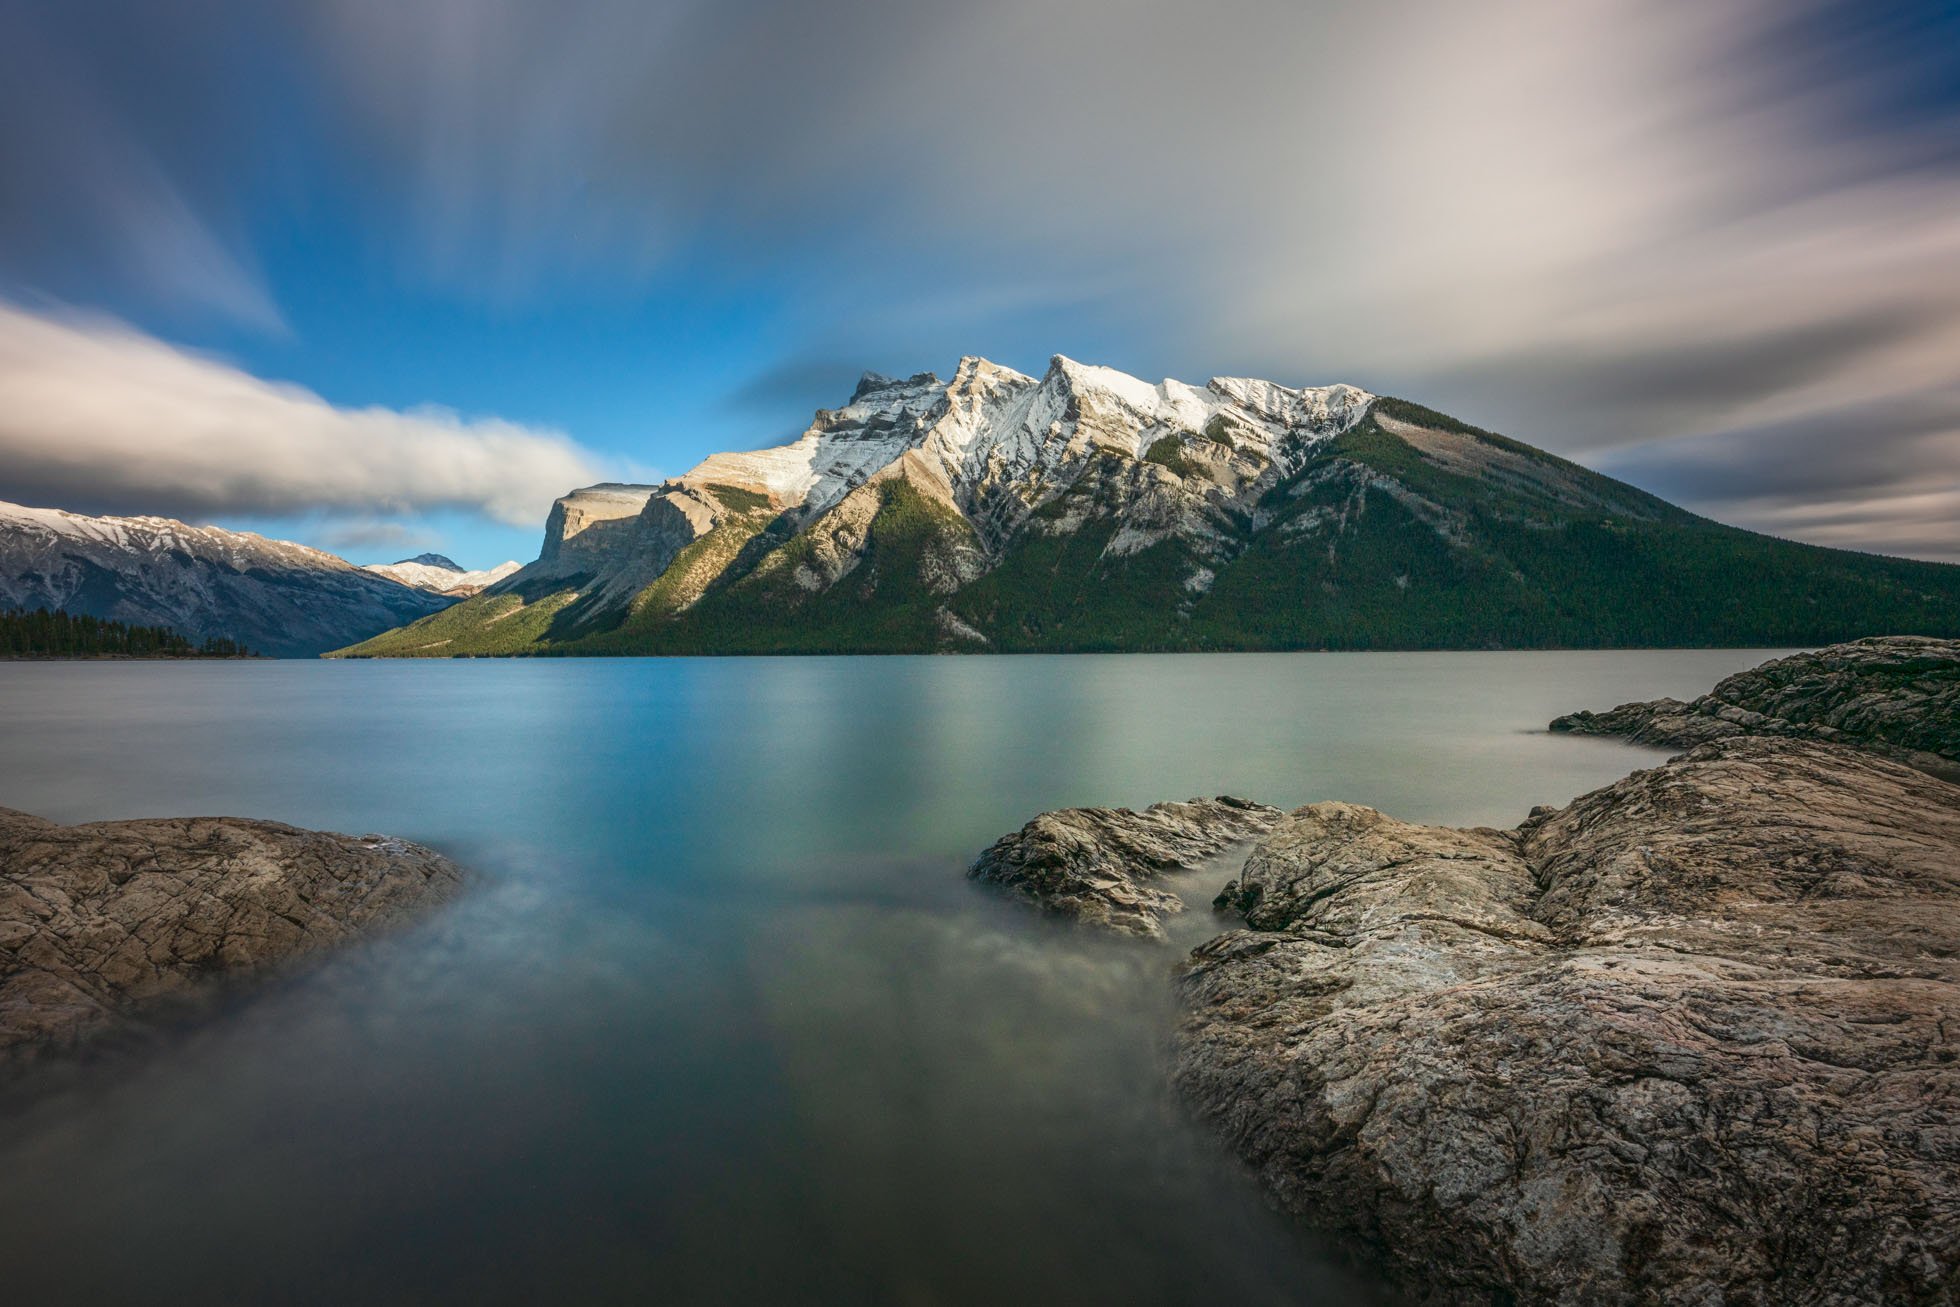
Long Exposure at Colter Bay, Grand Teton National Park with the Peak Design Travel Tripod

Long Exposure at Colter Bay, Grand Teton National Park with the Peak Design Travel Tripod

3) L Bracket - I have L Brackets on all my camera bodies and it is a true game changer. This makes shooting horizontally and vertically simple and no need to get multiple tripod plates for more than one camera either. I can’t believe I didn’t install these on my camera bodies earlier in my career. It has been so helpful in allowing me to capture vertical long exposures. (Note: The Kirk L Bracket is the one I have on both my Nikon D850 and Z6 but there are other brands you can explore)

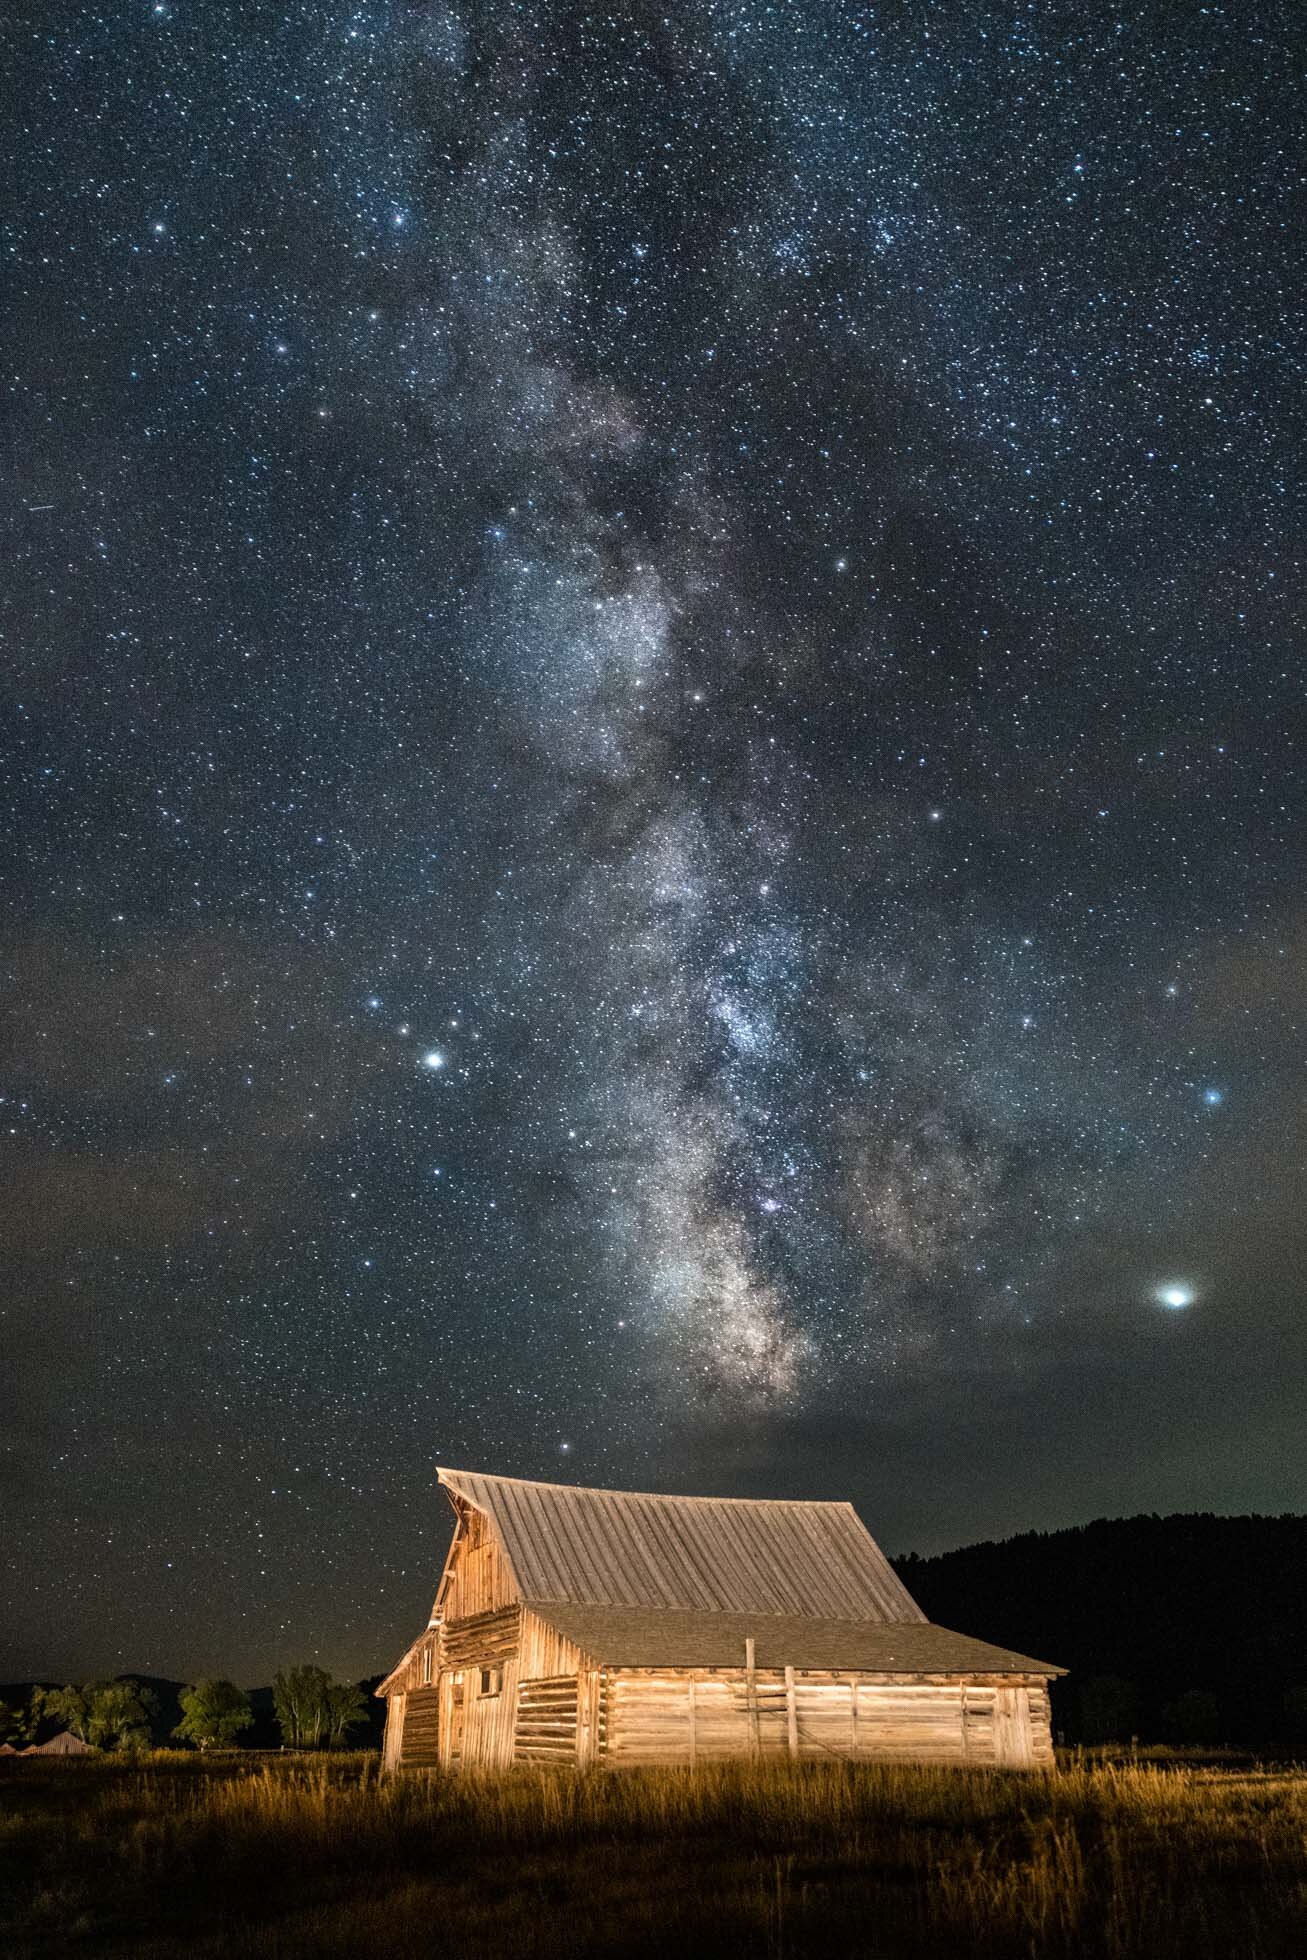
Vertical Milky Way capture over Moulton Barn in Grand Teton National park with my L Bracket

Vertical Milky Way capture over Moulton Barn in Grand Teton National park with my L Bracket

4) Zojirushi Thermos - While not photography gear, this thermos is a go-to for me in all my photography outings. It will keep my coffee hot for hours as I head out for sunrise. While they come in multiple sizes, the 20 oz thermos is perfect to keep me going for a long time. One of the best things about this thermos is the lock on the top. When it is locked, there is absolutely no leak which makes it perfect when I am carrying it with my camera gear or in a carryon with my laptop when I travel. (Just make sure the parts of the top are intact as if they are not, then it does leak!) Sometimes I even have two of these with me - one with coffee and one with ice water as it will keep your ice intact for a crazy long time as well! Each member of my family has one of these for our travels & hiking adventures. (Note: Link takes you to red thermos but various colors are available)

5) Breakthrough Photography Filters - Whether a polarizer or neutral density filter, Breakthrough Photography is my go to brand for my filters. I always carry a polarizer, 6 stop ND filter, 10 stop ND filter and 15 stop ND filter in my bag. I also love the X4 Dark Circular Polarizer for photographing waterfalls and other water scenes. When photographing water and clouds, my favorite thing is to shoot long exposures of various lengths and these filters make it possible. (Note: Link here is my affiliate link. If you choose to use it to order, thank you!)

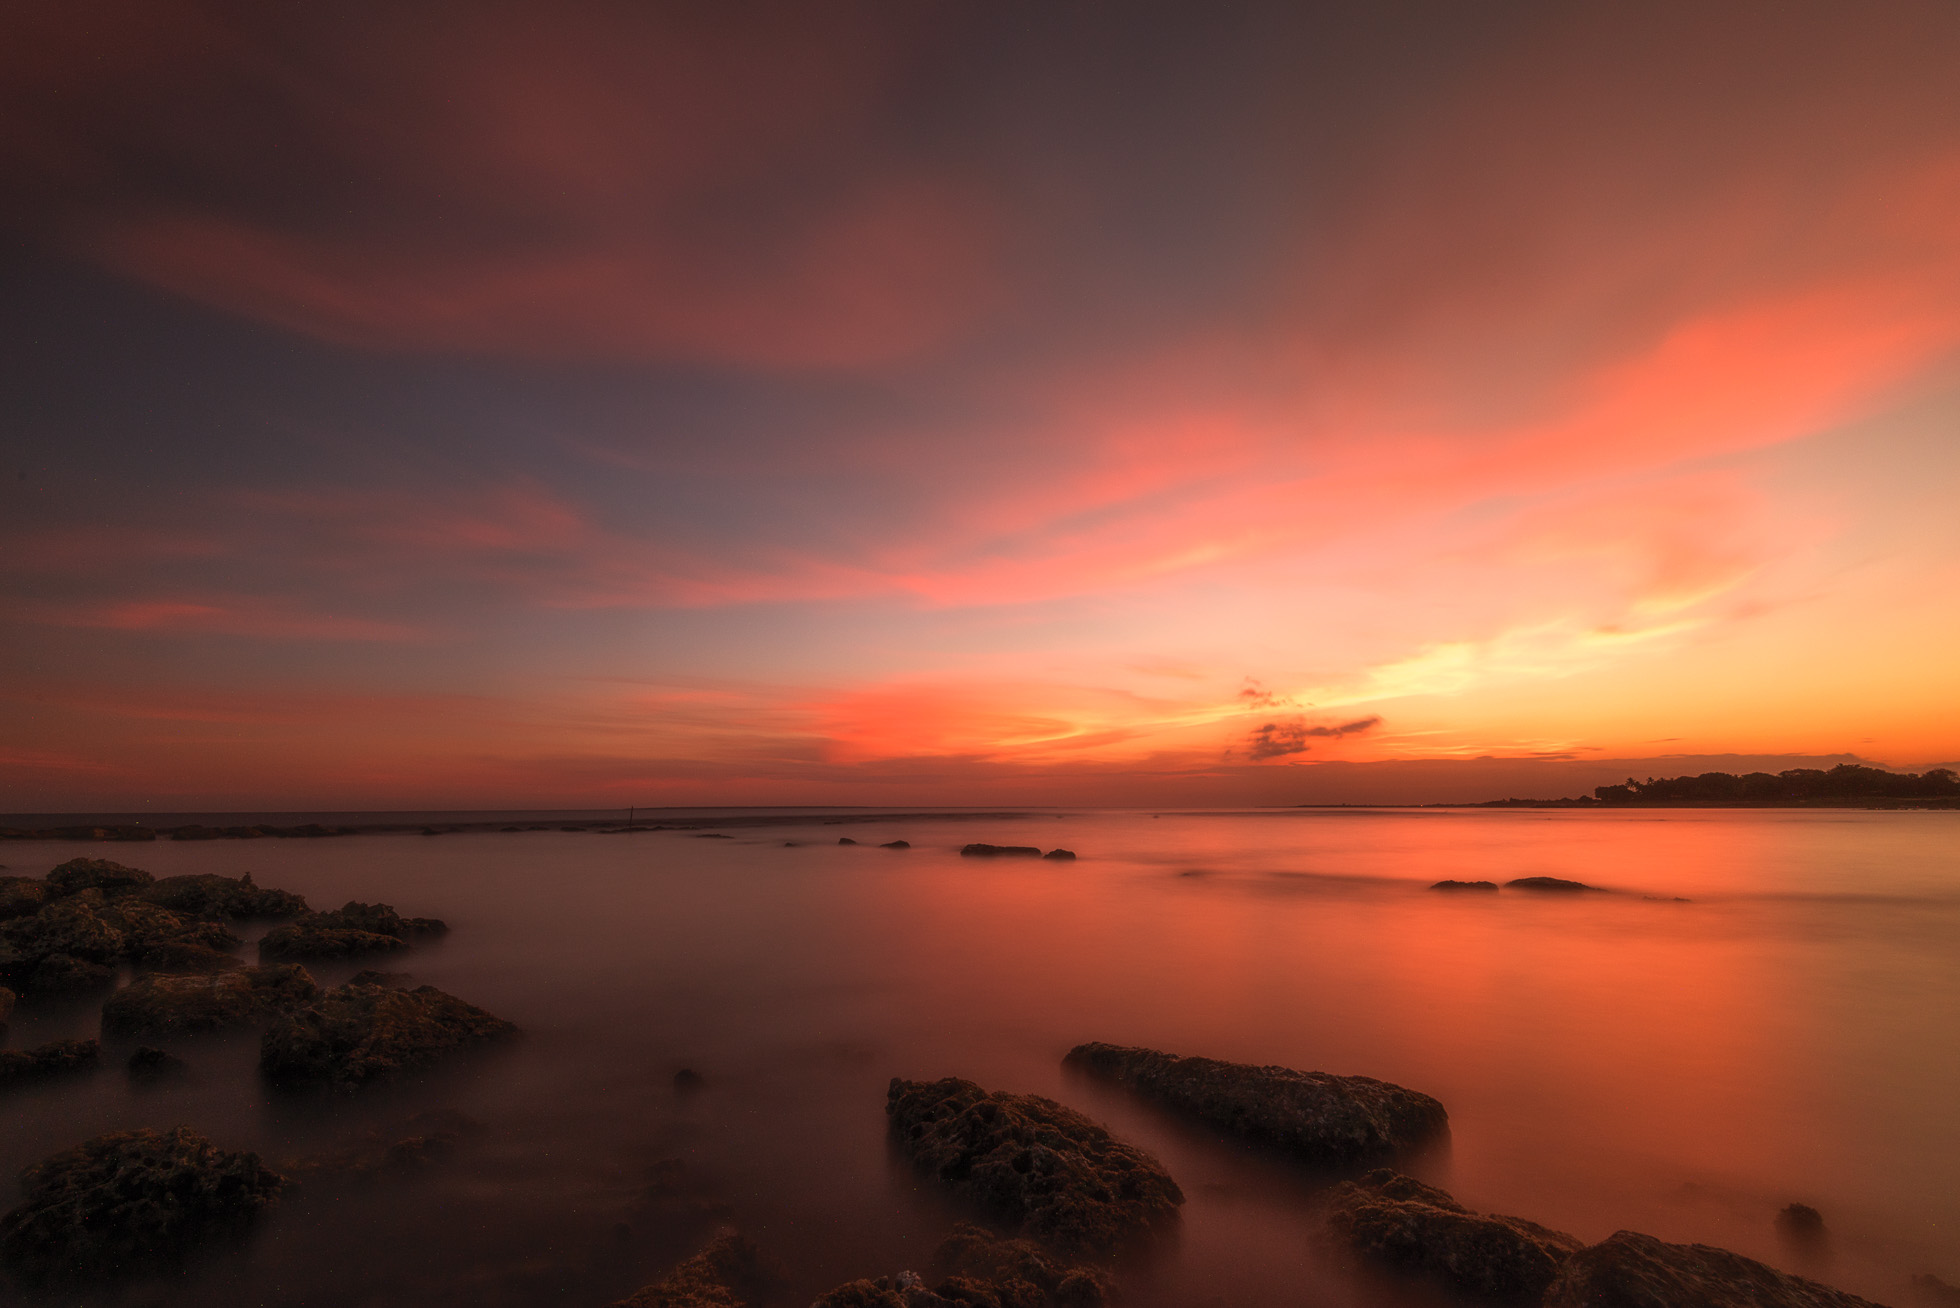
Long exposure using a Breakthrough Photography 6 stop ND filter to smooth the water just a little

Long exposure using a Breakthrough Photography 6 stop ND filter to smooth the water just a little

6) Heat Company Gloves - These gloves save my fingers when I am shooting in the cold winter weather. In truth, they make it possible for me to shoot in the frigid temperatures. I purchased these before my winter trip to the Tetons in 2016 and I discovered I could shoot for hours without my fingers getting frozen and numb as they always had before. These have thin tight linings for your fingers so you can easily maneuver your camera and then have a warm insulated mitten to cover your fingers. There is even a pocket to put hand warmers in. These are absolutely worth the investment if you want to capture those beautiful winter landscapes without frigid fingers. (Note: link goes to just one of various sizes on B&H photo’s website. Various sizes available)

Misty sunrise at Vermilion Lakes in Banff National Park in negative temperatures. Thank good for my Heat Company gloves.

Misty sunrise at Vermilion Lakes in Banff National Park in negative temperatures. Thank good for my Heat Company gloves.

7) Lensbaby Velvet 56 - My Lensbaby Velvet 56 is a go to lens for me when shooting macro and small scenes. I love the creative blur and dreaminess it creates. It always leaves me feeling inspired and it sparks my creativity. When I shoot with this lens I am drawn into how I feel rather than worrying about technical execution. I also love this lens for seascapes and forest scenes.

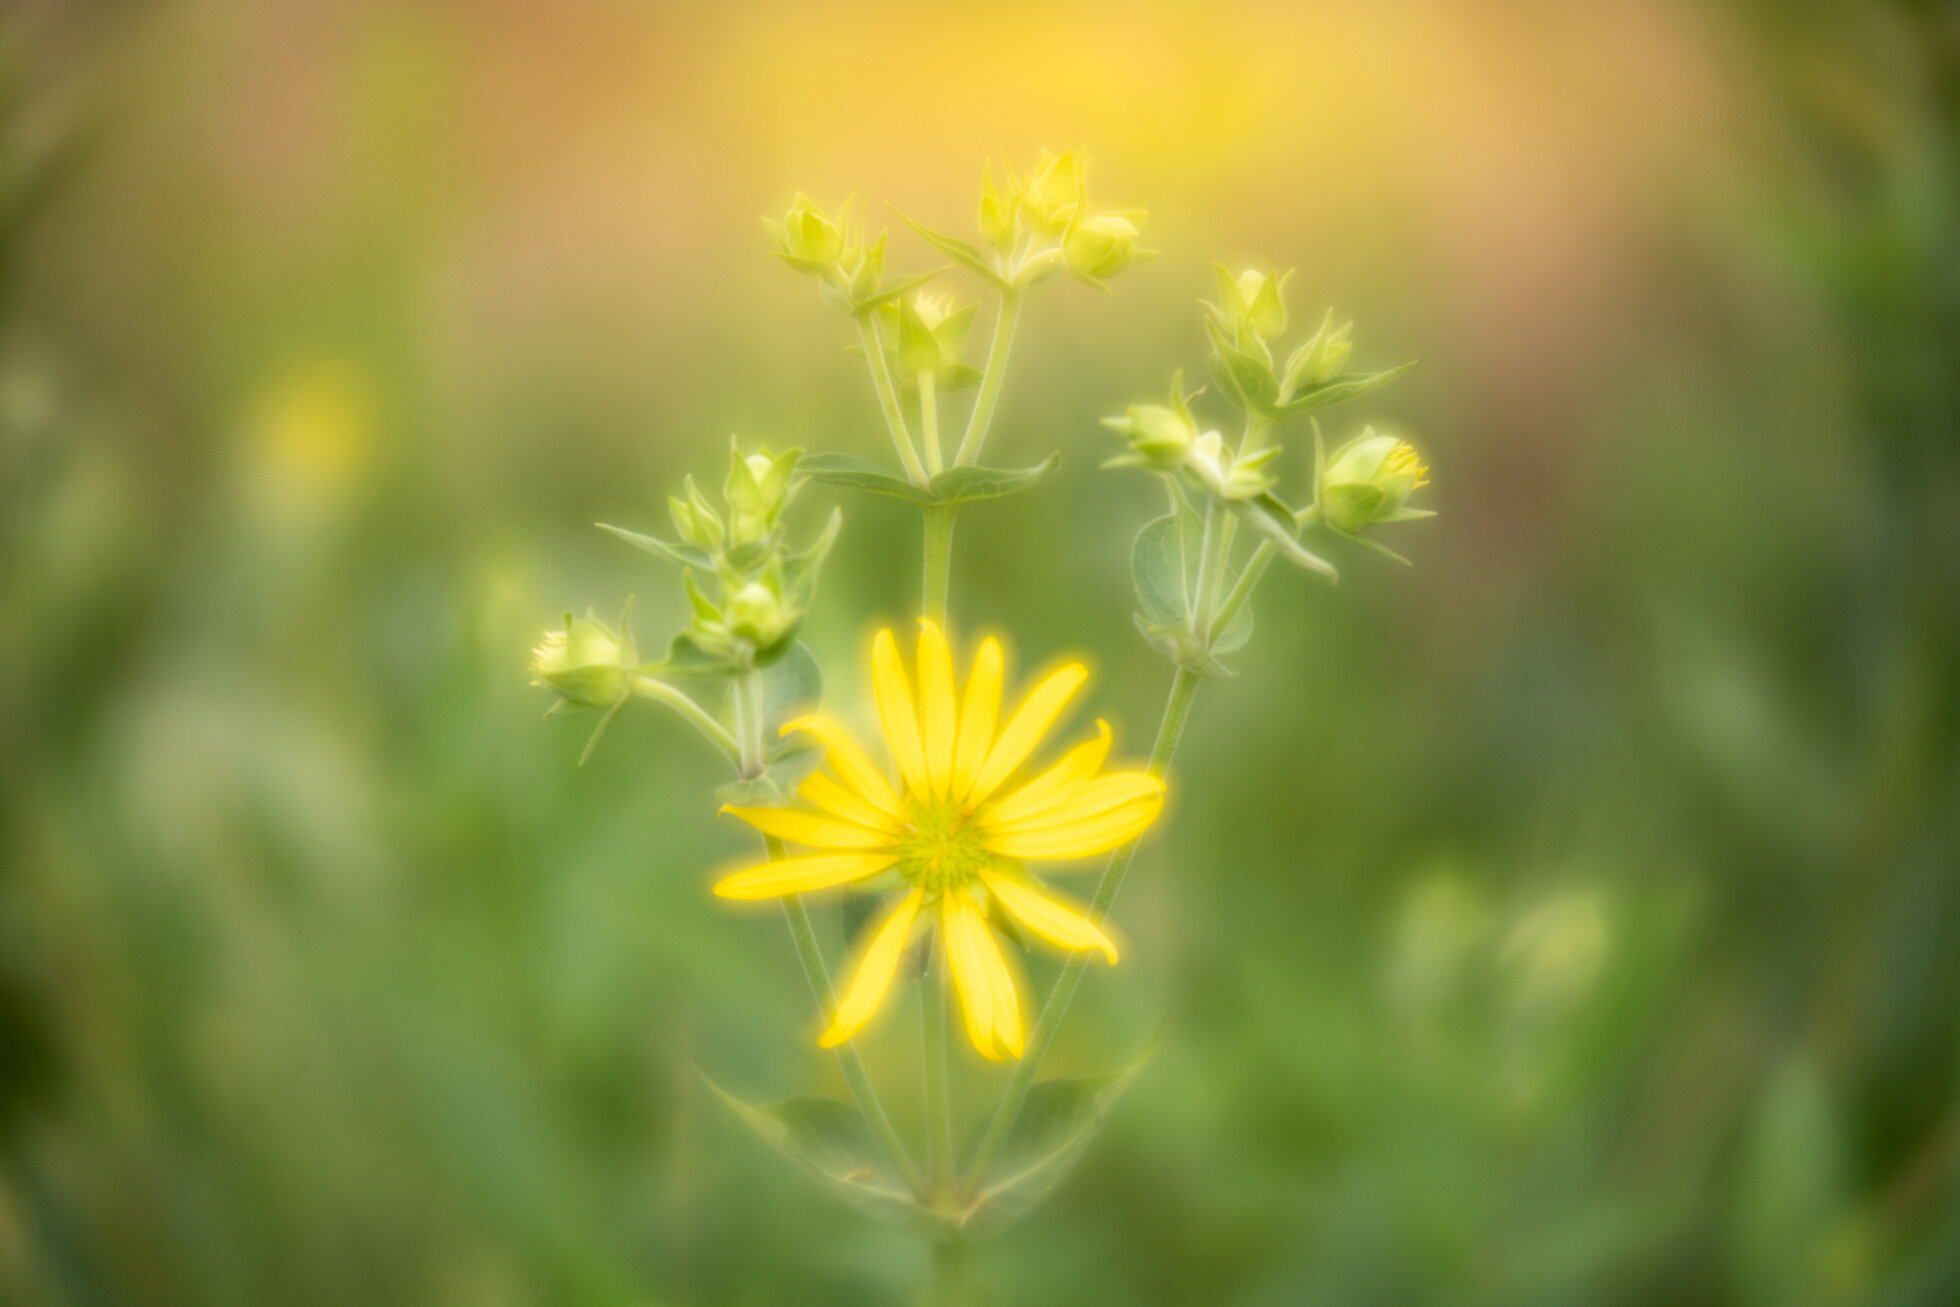
A flower by my pond with the Lensbaby Velvet 56

A flower by my pond with the Lensbaby Velvet 56

A gorgeous Turks & Caicos beach with the Lensbaby Velvet 56

A gorgeous Turks & Caicos beach with the Lensbaby Velvet 56

8) Icebreaker Merino Wool Hoodie - As I began to do more winter shooting, I started looking for some nice warm clothing to layer under my puffy winter coat. I came across this hoodie and fell in love. It is so versatile. It is perfect to put over a base layer and thin enough to wear it under a fleece and outer winter coat. It is quite warm on its on as well and I love to wear it as an outer layer on a temperate spring or fall day. The pockets are zippered making it easy to stash keys or a phone in a pocket without worry of losing them. (Note: my first hoodie was the original Quantum hoodie though they seem to be harder to find now and this is the new one I just ordered. It’s not cheap but I love it that much!)

Thanks for reading! If you have any questions about my favorite things, don’t hesitate to reach out! Happy Shooting!


Kristen Ryan is an award winning and published landscape and fine art photographer and educator residing in the Midwest suburbs of Chicago. All images are available for purchase in the Fine Art Store or by request. Kristen leads ladies landscape photography retreats in the TetonsChicago, and the Canadian Rockies, offers private mentoring and teaches an online landscape photography workshop, The World Around You.

Night Photography Part 1: Preparation

Night photography is one of my very favorite genres to shoot whenever I get the chance. And when I say Night Photography, I mean both Astrophotography and general night photography, such as night cityscapes, light trails, and other night scenes. Today’s tips for preparation apply to all areas of night photography. If you are looking for Astrophotography tips in particular you can visit my past blog posts: 9 Tips for Astrophotography Part 1 and 9 More Tips for Astrophotography Part 2. In this series, later posts will be focused on town & city scenes, light trails and star trails. 

8 minute exposure of the stars over Mt. Rundle at Vermilion Lakes

8 minute exposure of the stars over Mt. Rundle at Vermilion Lakes

I believe that preparation is key to enjoyable and successful night photography. Being prepared with the proper gear, knowing that gear and your location is the best first step toward creating amazing night imagery. 

1 -Invest in a quality tripod - If you already shoot nightscapes even occasionally, you know that a tripod is critical to sharp night photography. The longer exposures you are shooting, the more important that the tripod is strong and sturdy so it won’t move if the conditions are windy. In addition to this, it is important to choose a tripod that is intuitive to you in its use. Being able to easily put the camera on the head and shift its position, especially in the dark is so important. If your tripod doesn’t feel easy for you to adjust, find one that is. It will take so much frustration out of working in the dark. 

2) Pack Your Cable Release/Remote - When photographing long exposures, whether just 1-2 seconds or longer, a cable release will help eliminate any camera shake from pressing the shutter. Get to know your remote and how it works if you will be programming it for a time lapse or long exposure in bulb mode. 

3) Bring a Headlamp and/or Flashlight - Depending on where you will be shooting, be sure to have a headlamp or flashlight to light your way and to help you work with your gear if you get stuck working in the dark. If you are shooting with other photographers, you’ll want to all get set up and try to avoid turning on any lights once you get shooting. Even a little light shining into the foreground can ruin a fellow photographer’s exposure.

4) Know Your Gear Well - Being able to work with your gear in the dark is so important for an enjoyable night shooting experience. If you can adjust your camera on your tripod and access the buttons you need on your camera without fumbling around, you’ll save yourself so much frustration. Know how to change your settings, playback and zoom in to check focus without having to turn on a flashlight. Spending a little time mindfully noticing where all these buttons are can make a world of difference.

Harbour Town on Hilton Head Island as Blue Hour transitions to night.

Harbour Town on Hilton Head Island as Blue Hour transitions to night.

5) Scout your location - Spend time during the day scouting out your location. Being able to see where you will be walking and setting up will help you when it is dark. Additionally, it can help to envision the composition you want to shoot in the daytime. Taking this time will create familiarity with the scene, minimize unexpected obstacles, and aid success in finding an intriguing composition. 

6) Lower Your Screen Brightness & Turn on your Highlight Blinkies - One of the most frequent difficulties with night photography is underexposed images. It is easy to look at your LCD screen on playback and think your image is well exposed when in reality is it underexposed. Lowering the screen brightness is helpful in preventing this mistake. Checking the histogram for proper exposure is the second important step. Using the highlight blinkies on your LCD is another helpful tool to use to ensure the brightest areas of your night scene (e.g. stars, city lights, etc) are not blown out. Check your camera manual to learn how to turn down the brightness and enable the highlight warnings. 

7) Prepare for the Elements - Depending on where you are shooting you may run into various weather conditions. In the summer months, some areas could get buggy at night so you may want to have bug spray on hand. In cooler months, and even in some climates, such as the mountains, the night temperatures get far cooler than the days. Be prepared with layers to keep yourself warm. If you will be in wet areas, waterproof shoes might be helpful, or hiking boots for slippery and uneven terrain. 

8) Be safe - In the city or the wilderness, night time has its dangers. In both cases, it is important to be safe by being aware of your surroundings and it is always best to have a friend for shooting partner with you. 

Chicago River at Night

Chicago River at Night

Night Photography Part 2 coming next week!


Kristen Ryan is an award winning and published landscape and fine art photographer and educator residing in the Midwest suburbs of Chicago. All images are available for purchase in the Fine Art Store or by request. Kristen leads ladies landscape photography retreats in the TetonsChicago, and the Canadian Rockies, offers private mentoring and teaches an online landscape photography workshop, The World Around You. The next run of The World Around You begins August 17!

6 Tips for Capturing Winter's Beauty Part 2

Last week I shared some tips for preparing your camera gear and clothing to survive the cold while shooting in the winter landscape. If you don’t prepare well enough, the shooting adventures are likely to be cut short due to cold and discomfort!

Now that you are well equipped to manage the cold and snow, I have some tips for photographing the winter beauty! There is the most magical feeling that comes with fresh fallen snow or beautiful hoar frost covering the trees and grasses. Winter landscapes are some of my most favorite scenes to photograph.

Falling snow in Grand Teton National Park

Falling snow in Grand Teton National Park

1 - Exposure - As always, I recommend watching your histogram to make sure not to blow out the highlights of the scene to keep texture and detail in the snow. I always look to expose snowy scenes a little bit brighter than my camera tells me to. Exposing at zero, your camera will make the snow look more gray instead of white. I always look to expose snow about +1 to +1 2/3 stops. You can do this manually or by using exposure compensation if you shoot in aperture mode. One easy way to ensure a great exposure is to bracket three exposures at 0, +1, and -1. Again, keep an eye on your histogram to expose to the right without letting it climb the right wall.

2- White Balance - While snow is white, it won’t always appear pure white in a photograph or in real life. Snow reflects the colors and light of a scene. In very low light, the shadows will be quite cool and the snow will have a bluish hue to it. However, in warm sunrise, sunset or golden hour light, the snow may reflect golden, orange, or pink tones. You may want to choose a white balance that enhances these colors or you may want to choose a white balance that neutralizes them somewhat. You’ll likely want to choose a white balance that is representative of the scene and helps to enhance the mood and atmosphere of that moment you clicked the shutter. Unless you are shooting a warm sunrise or sunset, a cooler white balance will typically bring out the cool mood of a winter scene. Using live view when adjusting your white balance can help you see whether you are capturing accurate colors and achieving the mood you envision.

Winter Suburban Sunset

Winter Suburban Sunset

3 - Take Advantage of Falling Snow - Even better than fresh fallen snow is snow that is FALLING!! There is something incredibly magical about a landscape captured with snowflakes falling all around. So grab all your protective gear to keep your camera weather proofed and head out to capture the atmosphere.

4- Get Out When the Snow is Fresh - Whenever possible, head out to capture a fresh fallen snow as early as possible. The earlier you get out, the fluffier the new snow and the less car tracks or footprints will have been made in the snow. Additionally, when you consider your composition, avoid walking around aimlessly as you may end up wanting a composition that includes all the tracks YOU just made!

Snowy Bow Lake 2.jpg

5 - Avoid Condensation & Moisture in Your Gear - Whenever you can, try to avoid changing your lens out in the cold and wet weather. This will minimize any moisture or condensation getting inside the camera. If you have more than one camera body, you could consider choosing a wide angle lens for one body and a telephoto lens for the second. Additionally, while I have never had trouble with my camera having condensation coming in from the cold, placing it in a sealed ziplock bag as it comes to warmer temperatures is recommended.

6 - Pack a Towel - It’s a great idea to keep a towel in your camera bag in case any of your gear does get wet. Choose something soft like a microfiber towel to dry off your gear.

Hope these are helpful tips to add to your winter shooting! Part 3 coming next week! Do you have a favorite winter shooting tip? Tell me in the comments.

Happy Shooting!


Kristen Ryan is an award winning and published landscape and fine art photographer and educator residing in the Midwest suburbs of Chicago. All images are available for purchase in the Fine Art Store or by request. Kristen leads ladies landscape photography retreats in the TetonsChicago, and the Canadian Rockies, offers private mentoring and teaches an online landscape photography workshop, The World Around You.

7 Tips for a Great Sunburst

One of my very favorite techniques for adding drama and impact to landscape images is creating a sunburst when the sun is in the frame. Sunbursts introduce added interest to any frame and are especially fun to add in when you have a completely clear sky.

A starburst of the sun happens as a result of diffraction. Light goes into the small opening of a narrow aperture of our camera and is then bent around the edges of the blades. This disperses the light rays into a starburst.

Schwabacher's Sunburst final.jpg

Here are some tips and thoughts to think about as you capture sunbursts in your shooting!

1) Choose A Wide Angle Lens - Wider focal lengths will produce more rays in the starburst so your best bet will be a focal length in the 14-35mm range. This is not to say you cannot capture a sunburst with a longer lens, but the wider angles are ideal. Keep in mind that regardless of focal length, different lenses create different looking sunbursts. For example, my Nikon 14-24mm lens produces a bit of a circular flare starburst at 14mm (image below) which is different from my Nikon 16-35mm lens at 16mm. (image above) Experiment with your lenses and focal lengths to see which one produces your favorite burst!

Cunningham Starburst_.jpg

2) Close Down Your Aperture - Closing down the aperture will produce more distinctive rays in the sunburst. It is possible to get a sunburst with an aperture wider than f/16 but f/16 or f/18 are my top choices for a great sunburst.

3) Sky Matters - The best conditions for a good sunburst will be a patch of clear sky for a bright and sharp sunburst! Trying to create a starburst through a thin layer of hazy clouds is like banging your head against a wall. When the sky has some thicker clouds amongst clear sky, when the sun hits the clouds, this can create nice potential for a burst of rays into the sky and over the clouds.

4) Consider the Position of the Sun - When the sun is in the middle of a clear blue sky, a nice sunburst can be achieved. Other times, the best sunbursts are created as the sun hits another object, such as a mountain top, horizon, building, tree, etc. This helps the rays to disperse over the object the sun is hitting. This can require patience waiting for the sun to rise or set to the position desired. And sometimes it can require a little movement on your part to line things up.

Cunningham window view_.jpg
When shooting sunbursts through trees, even slight shifts in position can help create a better or more distinct sunburst.

When shooting sunbursts through trees, even slight shifts in position can help create a better or more distinct sunburst.

5) Expose for the Highlights - One of the keys to getting a great sunburst with distinct rays is to be sure that the highlights are well contained. Ideally, it is best to avoid blowing any of the sun highlights except for the circle of the sun. Exposing for the bright sun does mean that the overall image is somewhat underexposed and the shadows will be quite dark.

6) Bracket Exposures - Following #5’s tip for exposing for the highlights to get a great sunburst, consider bracketing your exposures and also taking an image exposed for the shadows and one for the midtones. Then combine them in post processing so you have detail in the full tonal range of the scene. You can bracket manually or program the camera to automatically take several images at different exposures.

Teton golden sunset tighter crop_.jpg

7) Consider Your Position - As mentioned in tip #4, both the position of the sun and your position matter for creating a strong sunburst. Another thing that is impacted by your position is additional flare. Shooting into the sun can bring creative and desirable flare but it can also create unwanted and distracting flare. Look for this unwanted flare as you shoot and in your test shots and consider shifting your position. Sometimes minor adjustments in your position can remove unwanted flare or position it better in the frame where it is less distracting or more easily cloned out. A lens hood can also be a useful tool to avoid unwanted flare. Though sometimes nothing avoids it completely.

1 Golden Meadow.jpg


Kristen Ryan is a landscape and fine art photographer residing in the Midwest suburbs of Chicago. All images can be purchased in the Fine Art Store. Kristen leads ladies landscape photography retreats in the TetonsChicago, and the Canadian Rockies, offers private mentoring and teaches an online landscape photography workshop twice a year.

My Essential Landscape Gear

As I prepare for my first 2019 Ladies Magic in the Tetons Retreat, I thought I would share the tools that I carry in my bag to capture the beauty around me. Landscape Photography is a genre that tends to be heavy on gear. And quite often I will weigh down my shoulders in order to have all the creative options available to me. If you read my recent article on the Best Lenses for Landscape Photography, you know that there is not just one lens that works best for every scene. Add in tripods and filters and my bag gets pretty full! Keep reading and you can learn about my favorite and most used gear and why each is essential to my landscape work.

1. Promaster City Backpack

I absolutely love my Promaster bag. It has a big main section that fits 2 camera bodies plus several lenses. The top flap has a thin compartment that is perfect for carrying an iPad, small laptop, or important papers or items to stash away in a safe area while out and about. There are several zippered compartments perfect for holding my other gear I will share below such as an intervalometer, filters, extra batteries and memory cards. One side has a pocket perfect for my water bottle or coffee thermos and both sides have straps to hold a travel tripod.

2. Nikon D850 & Nikon D810

My D850 is my workhorse camera and it is the main body I use to capture the majority of my images. It has incredible resolution and is super sharp. The tilt and touch screen is amazing for capturing unique perspectives and all the buttons are so intuitive and easy to adjust settings with ease. My D810 is my well loved second body and I always have it with me not only as a back up but to be able to set it up for a time lapse or shoot fast shutter speed images while my D850 is shooting long exposures.

3. Tripod

My tripod is an essential item in my landscape bag. I have two lightweight carbon fiber tripods that travel with me for my landscape photography trips. My lightest and most compact tripod is my Gitzo GIGT1555T Traveler Series 1 Carbon Fiber Tripod. It is extremely light and compact and can fold up to fit in a carry on roller bag. My other tripod is a Promaster Specialist Professional Tripod and it is also very light with flip lock legs. I love that there is a soft foam area on one tripod leg for carrying as the tripod legs can get extremely cold in frigid weather. A tripod is essential to have for long exposures, night photography and time lapse photography. I will often have two tripods so that I can do time lapse and long exposures at the same time.

4. Nikkor 16-35mm f/4G

This wide angle lens spends a lot of time on my camera. I love a wide angle that showcases dramatic skies or the jaw dropping expanse of a mountain range. 16mm can capture an extensive scene while 35mm is still a wide angle but brings the scene closer to what our eyes experience in real life. It is a perfect range for capturing the incredible landscapes of the world.

16mm

16mm

5. Nikkor 24-70mm f/2.8

My 24-70mm lens is my go to lens when I go on a hike and just want to carry my camera with one lens. At 24mm, you can get a nice wide expanse. At 70mm you can zoom in and get more detail. In the mid range, the images beautifully represent the landscape the way our eye experiences the scene.

24mm

24mm

60mm

60mm

6. Nikkor 70-200 f/2.8

I adore my 70-200mm f/2.8. The lens is extremely sharp and captures those beautiful details that are far away from me. This telephoto lens allows me to capture the beauty of light hitting a mountain peak or filling my frame with details and texture that draw me in. While the wide angle focal lengths capture the great expanse of the whole scene, the telephoto captures those far off details.

200mm

200mm

7. Sigma 14mm f/1.8 & Nikkor 14-24mm f/2.8

These two lenses are my go to lenses for astrophotography. Both of these lenses are extraordinary choices for shooting the night sky. Not only do their ultra wide angles capture an incredible number of stars but they are also fast, allowing me to keep my ISO lower as I open up the aperture. One might ask why have two lenses for astrophotography but I love to set one to take a time lapse while I experiment with compositions with my other camera & lens.

14mm

14mm

8. Sigma 150-60mm

This lens is a beast of a lens but it is perfect for capturing those very far off details like the tip of a mountain top, a tree with beautiful light across a lake or wildlife in which you must keep a safe distance.

550mm

550mm

9. Breakthrough Photography Filters

Filters are an essential technical and creative tool in my landscape imagery. Polarizers, Neutral Density Filters, and Graduated Neutral Density Filters are each helpful in their own way. Polarizers cut out haze and glare and give greater definition to clouds and vibrance to colors. They also cut glare off of water when shooting rivers, waterfalls, and lakes.

Graduated Neutral Density filters cut out light from part of the frame, such as a bright sky, to allow you to brighten your exposure and capture more detail in the shadows without blowing out the highlights of the scene. This filter is extremely helpful scenes with a large dynamic range.

Neutral Density Filters cut light from the entire frame. You can purchase neutral density filters in varying degrees of strength. I own 6 stop, 10 stop and 15 stop filters. Depending on the ambient light and the creative effect I am going for, I choose which filter will help me create my art.

Natural Bridge.jpg

10. Intervalometer

My remote intervalometer is one of my most used tools. A remote trigger is helpful to avoid any camera shake when the shutter is pressed. I use my intervalometer for shooting long exposures and time lapses.

11. Headlamp & Flashlight

If I am headed out at night, I have a headlamp and a flashlight for both lighting my way in the dark and locating necessary gear or buttons. It is so helpful for night photography to know your gear well in the dark, but sometimes you need a little extra light. A strong headlamp light is not only helpful but is also comforting in the pitch black as you get to your shooting location.

Lake Louise at night.jpg

12. Extra Batteries & Memory Cards

There is nothing worse than discovering your camera is missing its memory card or battery, finding them run down or out of space at the beginning or middle of a shoot. I keep several extra batteries and memory cards in my bag so that I have back ups in case of an emergency.

13. L Bracket

My L Bracket on my D850 allows my camera to sit tight in my tripod whether I am shooting vertically or horizontally.

14.. Extras

Some additional items I often carry in my bag are clean microfiber clothes & Zeiss Lens wipes for cleaning my lenses, extra AA batteries for my intervalometer, hand warmers for colder weather, and a coffee thermos and/or water bottle!

Folly Beach Sunset.jpg

Beautiful landscape imagery can be captured with whatever gear and camera you own, so don’t let what’s in YOUR camera bag stop you from getting out and capturing the beauty. But if you are looking for new tools, I hope these favorites of mine will help you out!

Kristen Ryan is a landscape and fine art photographer residing in the Midwest suburbs of Chicago. All images can be purchased in the Fine Art Store. Kristen leads ladies landscape photography retreats in the TetonsChicago, and the Canadian Rockies, offers private mentoring and teaches an online landscape photography workshop twice a year.