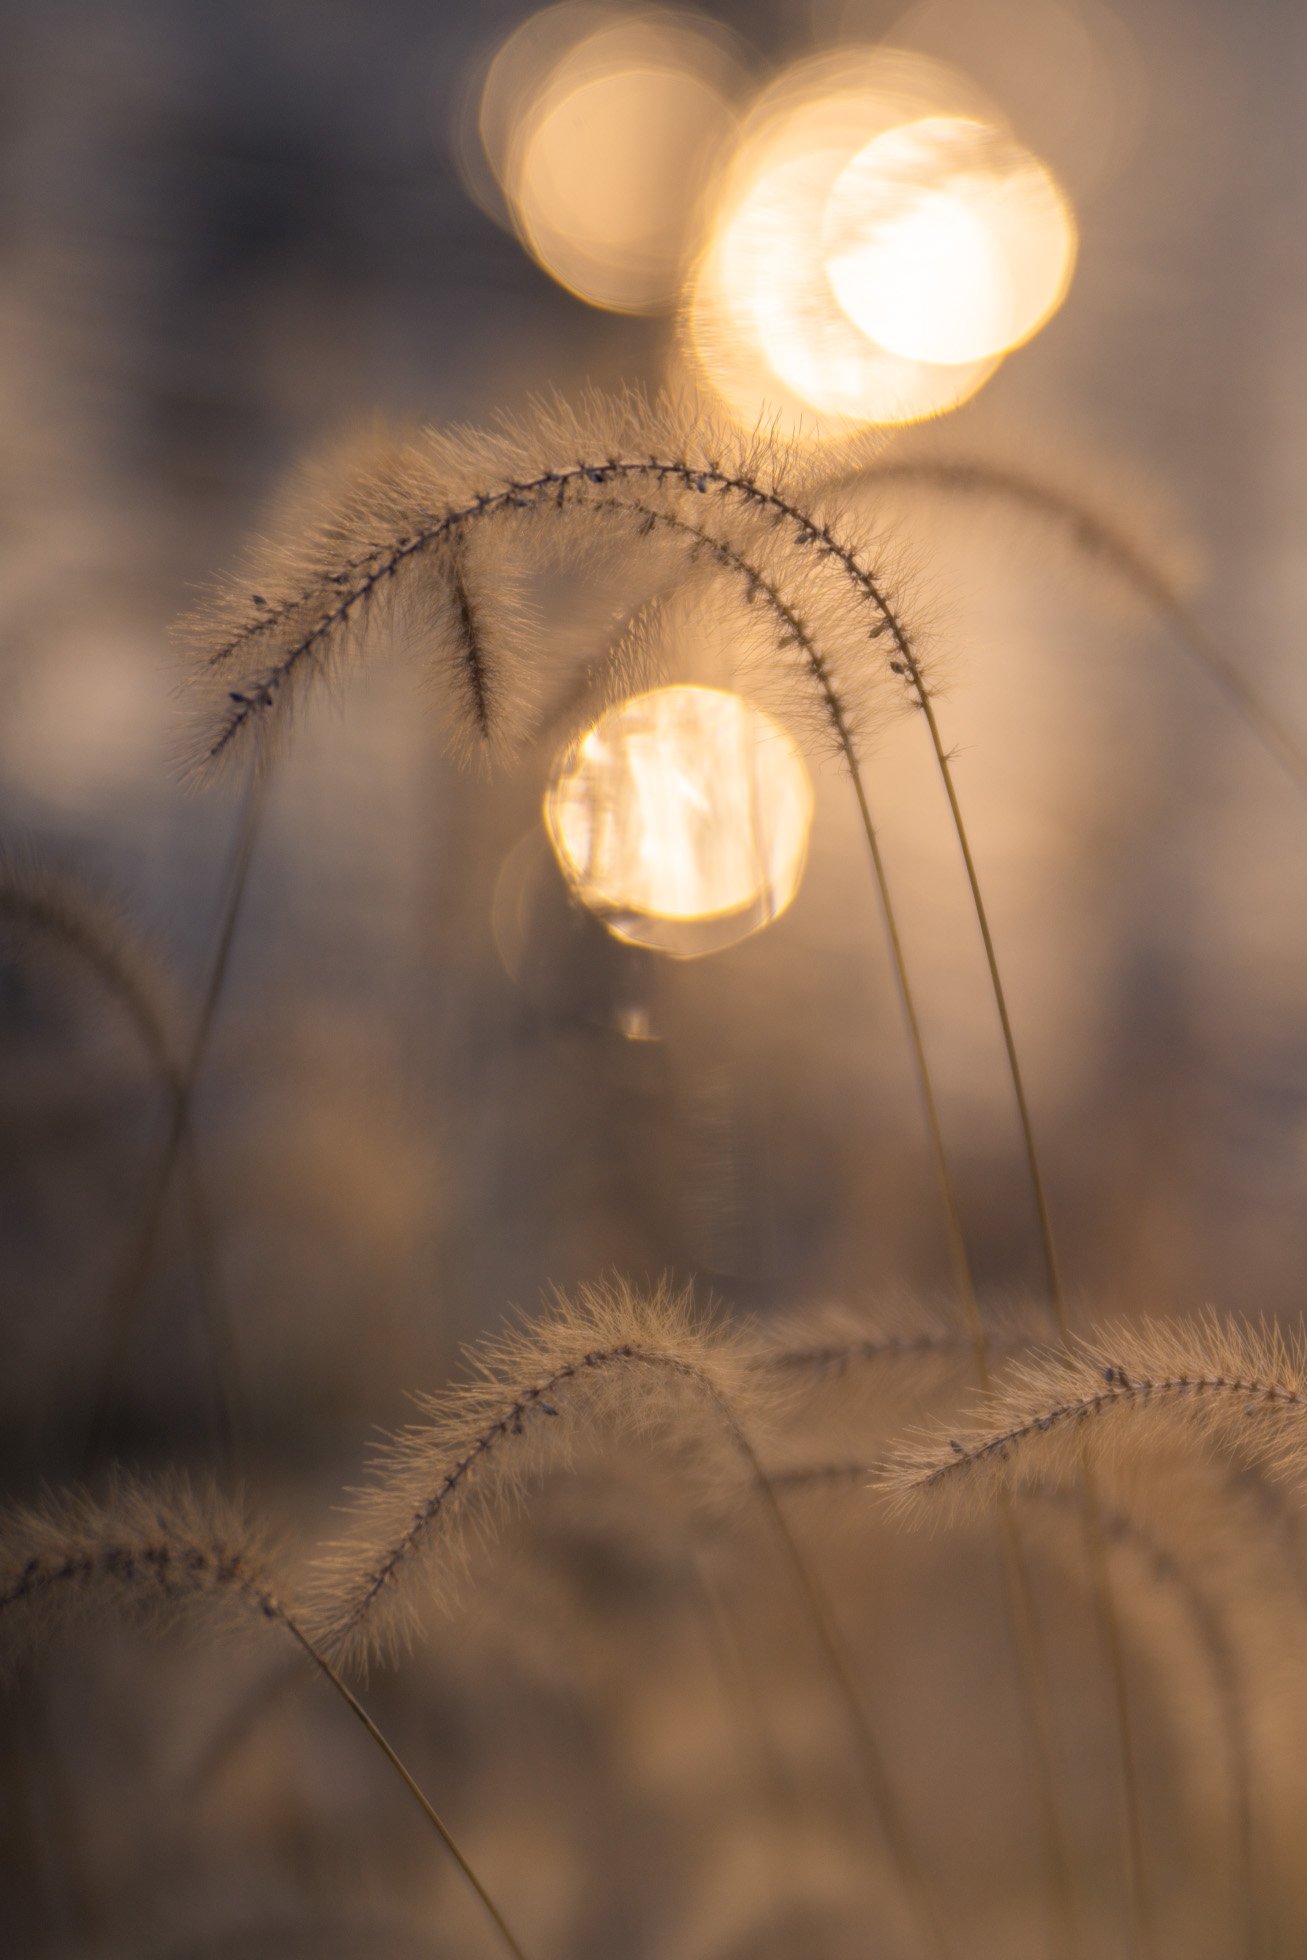


One of the top filters used by landscape photographers is a circular polarizer. This filter screws on to the end of your lens and twists to create a polarizing effect. What does this mean exactly? Think about looking at a scene with your naked eye and then putting on a pair of sunglasses. Notice the way the glare is diminished and colors are enhanced? That is what the polarizing filter does for the view your camera will capture.

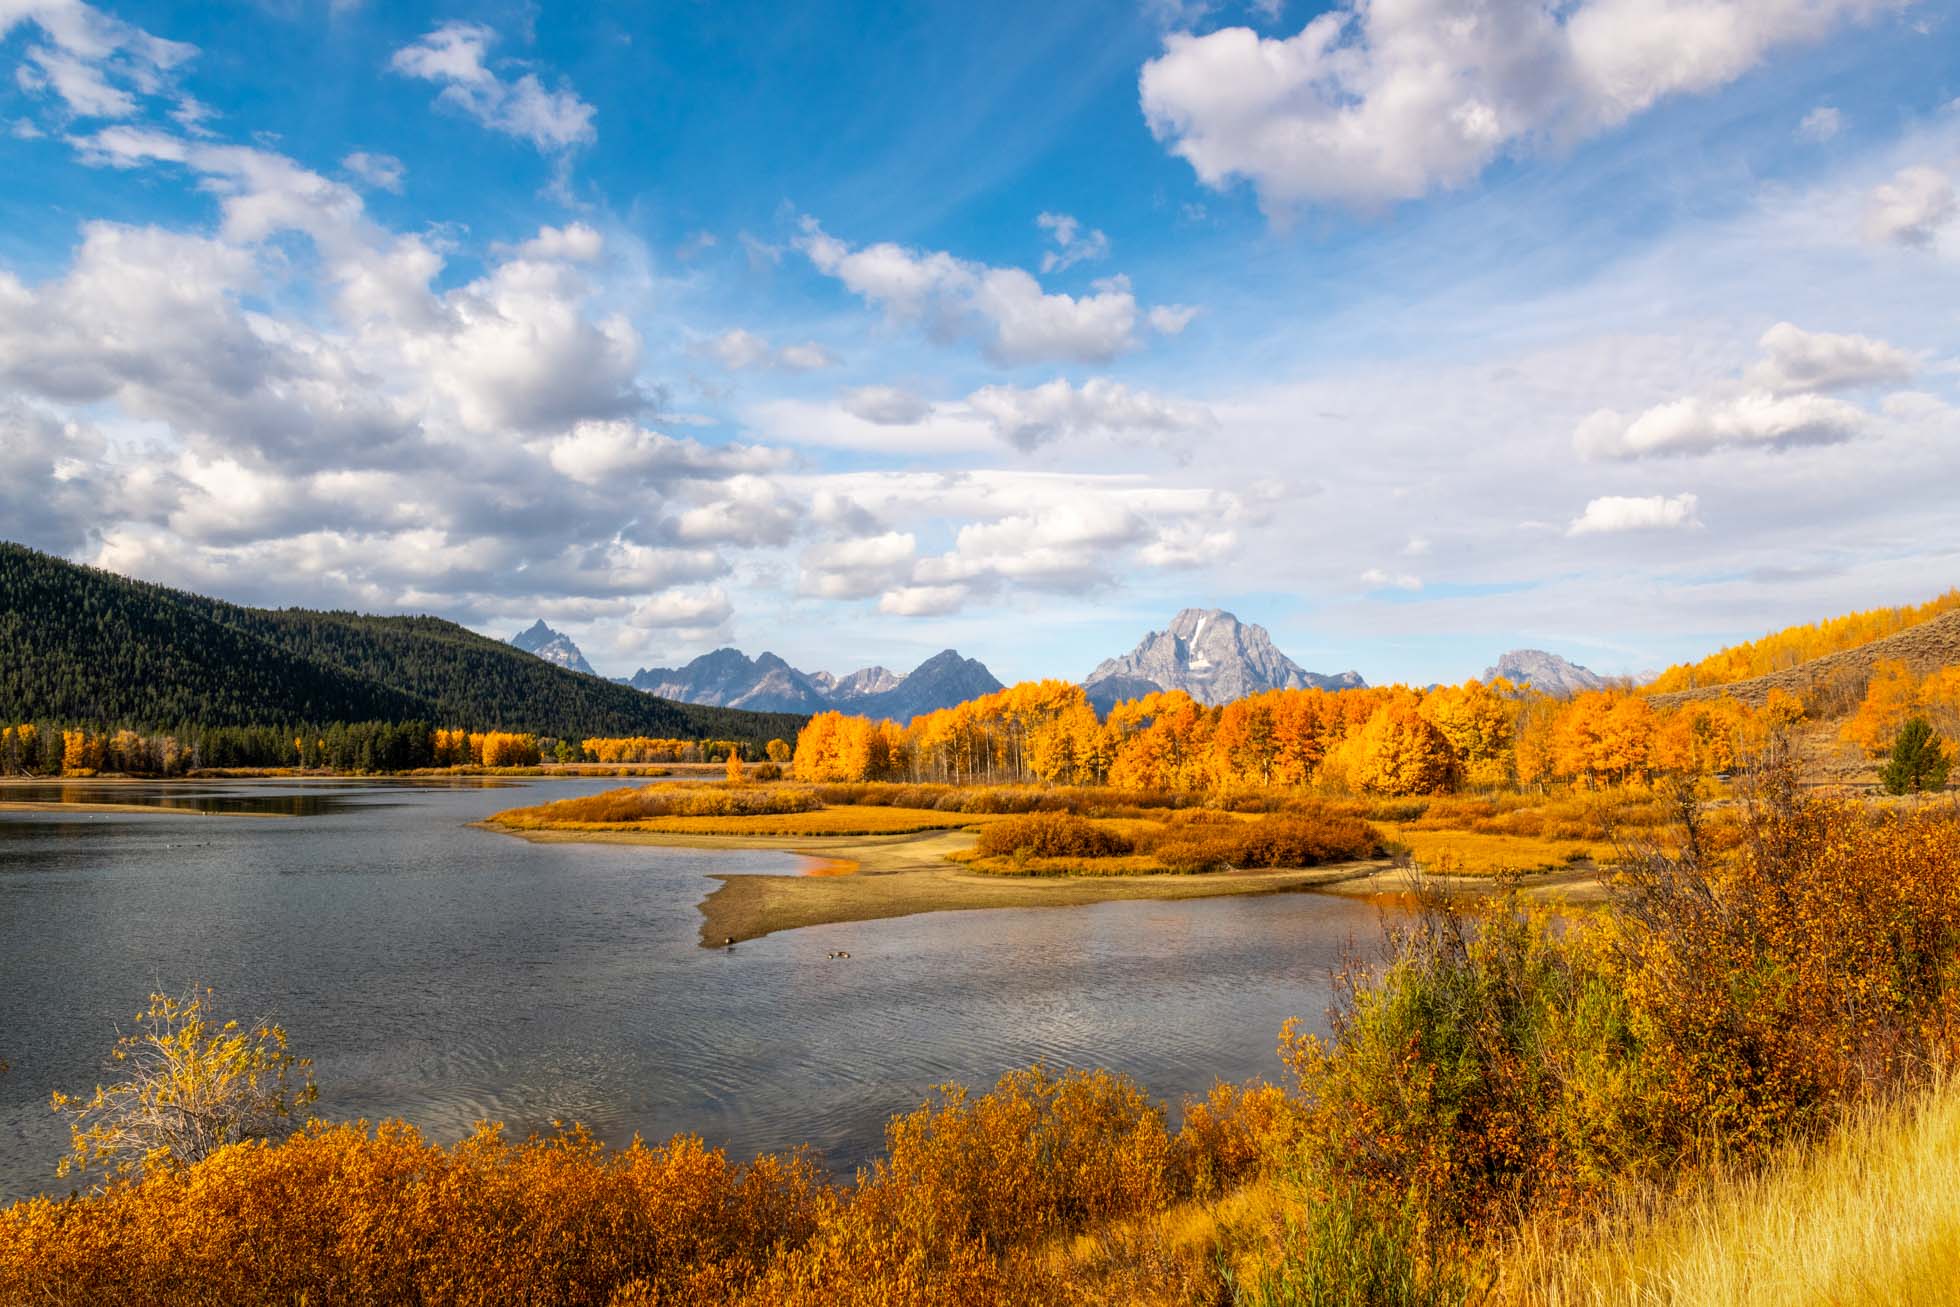
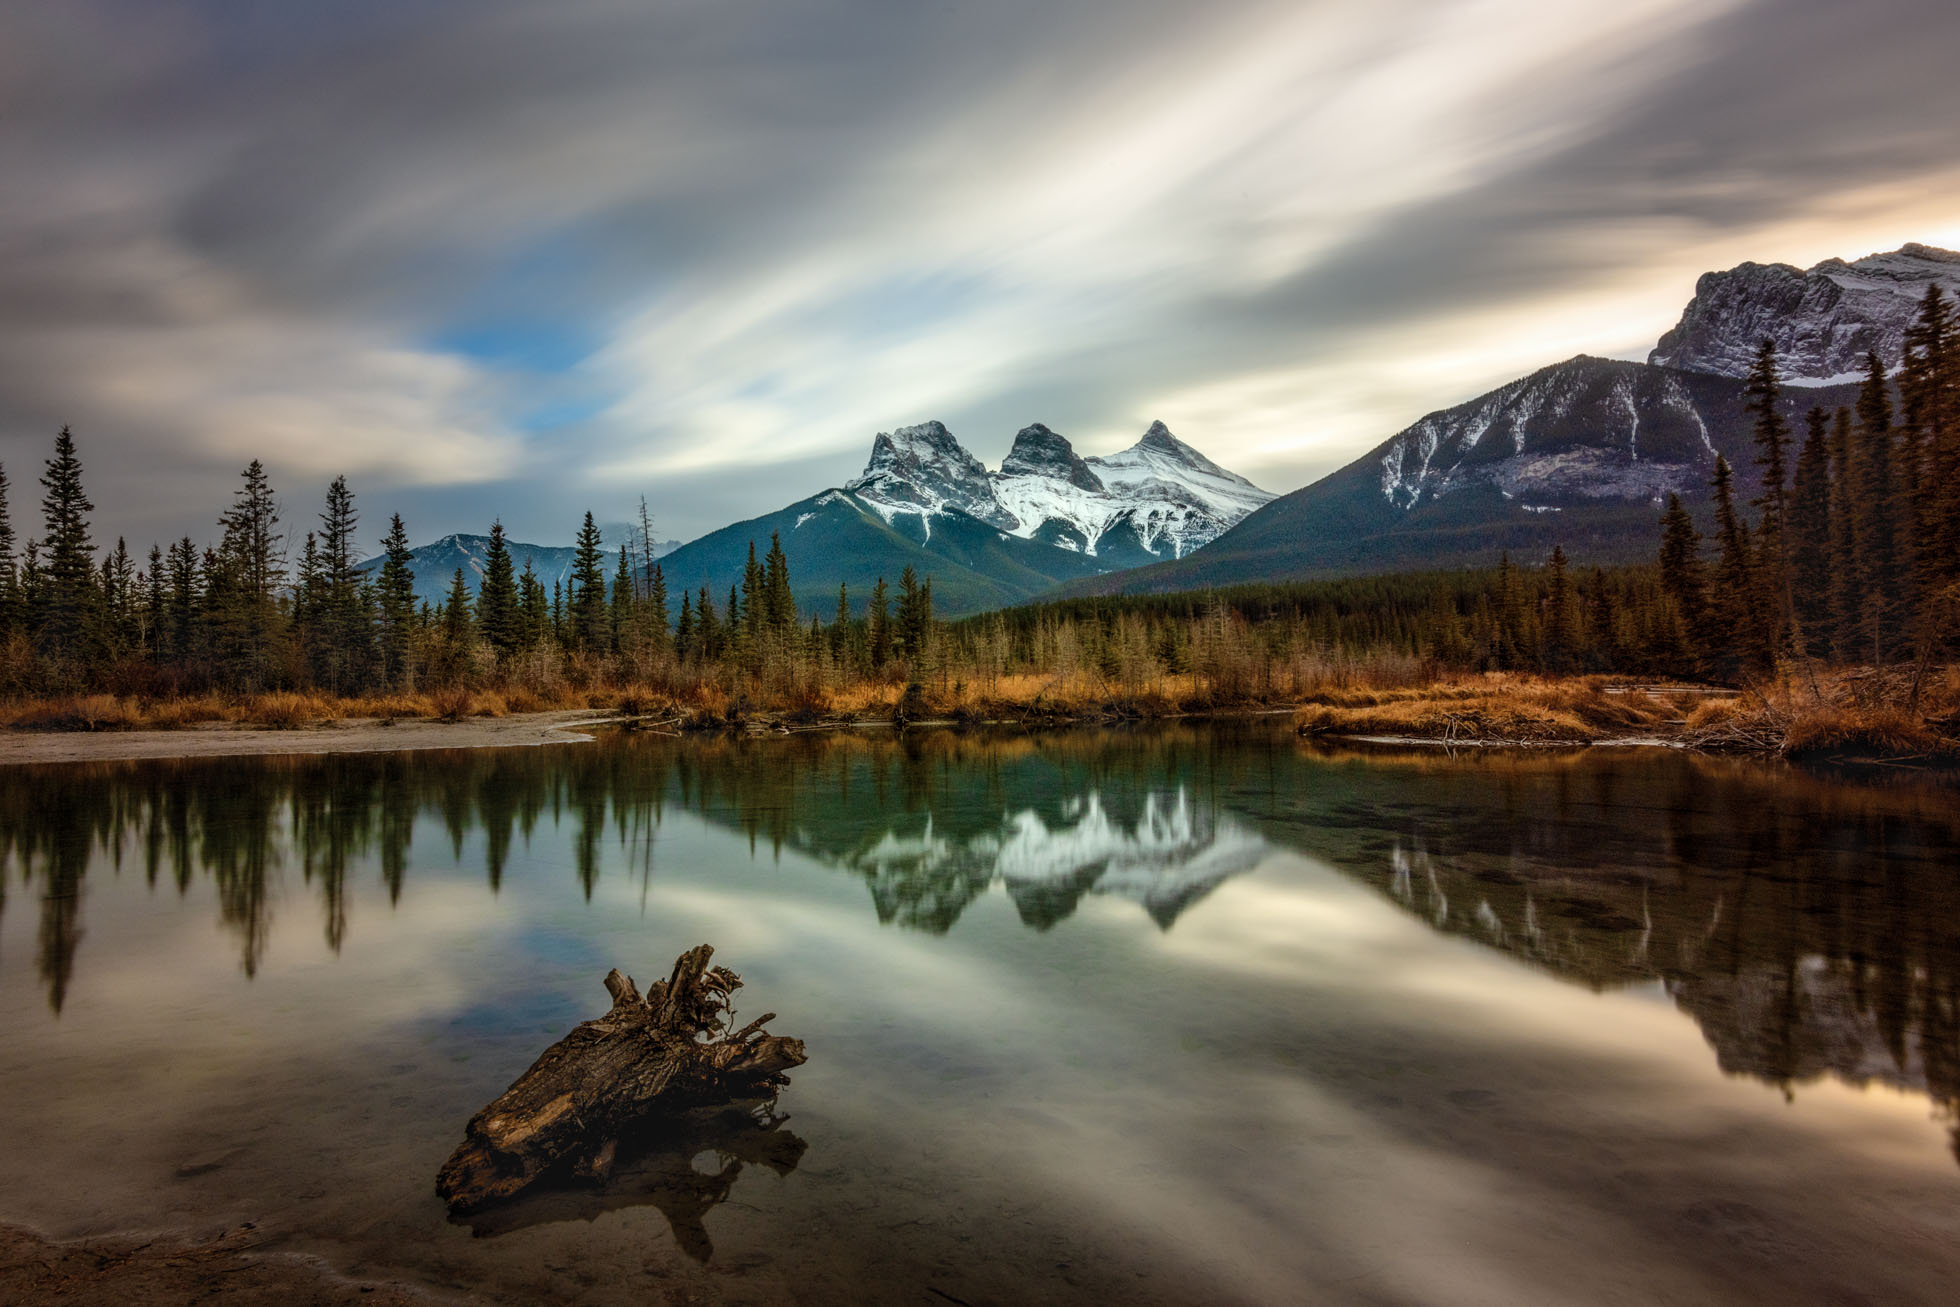
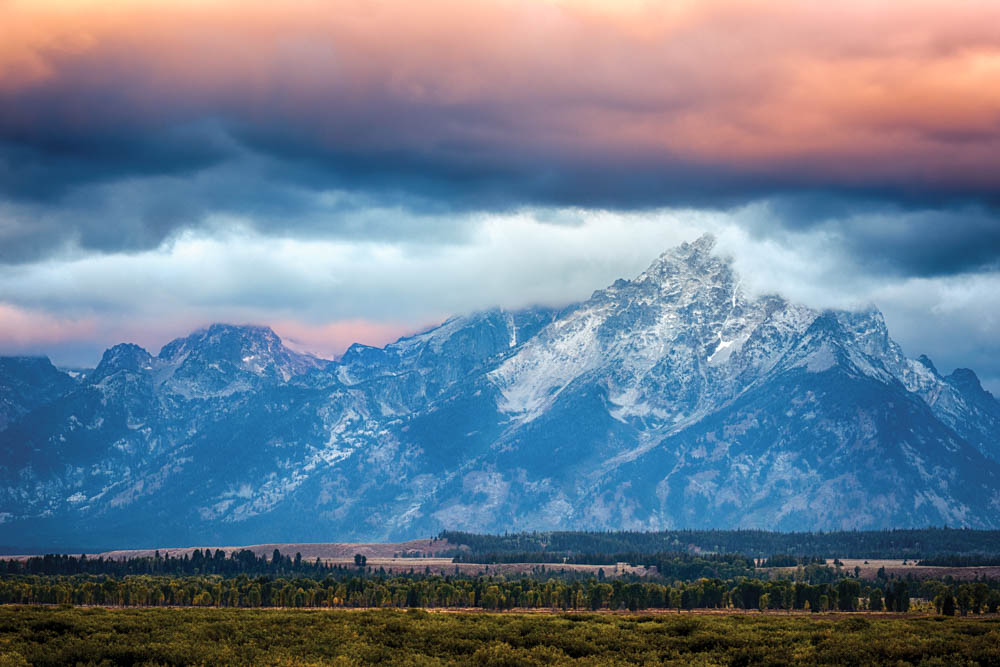
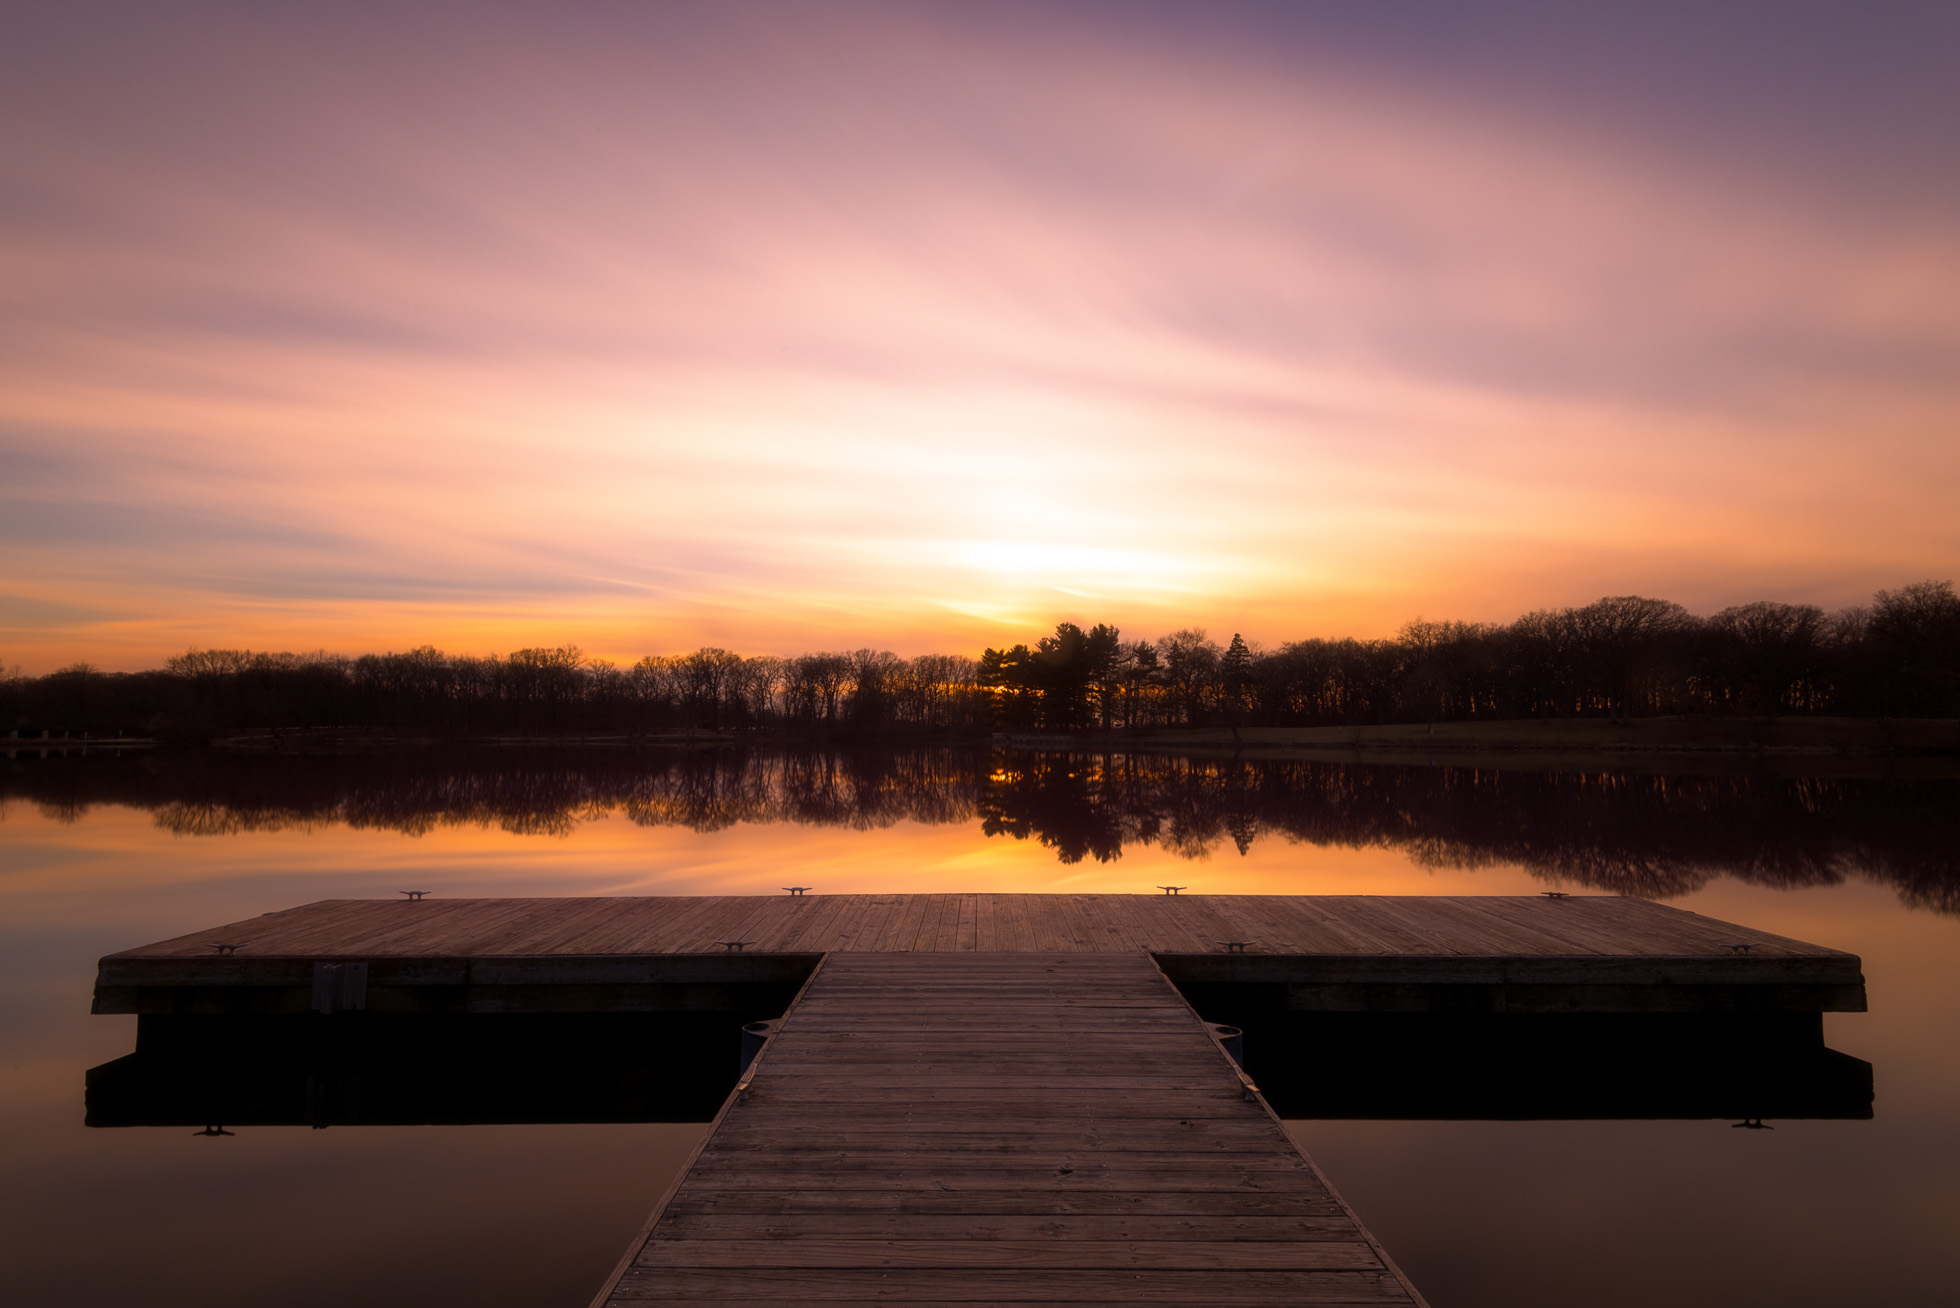
Image colors and sky enhanced by using a circular polarizer.
Why would you want to use a polarizer? Here are a few desirable ways the polarizer will impact your landscape imagery:
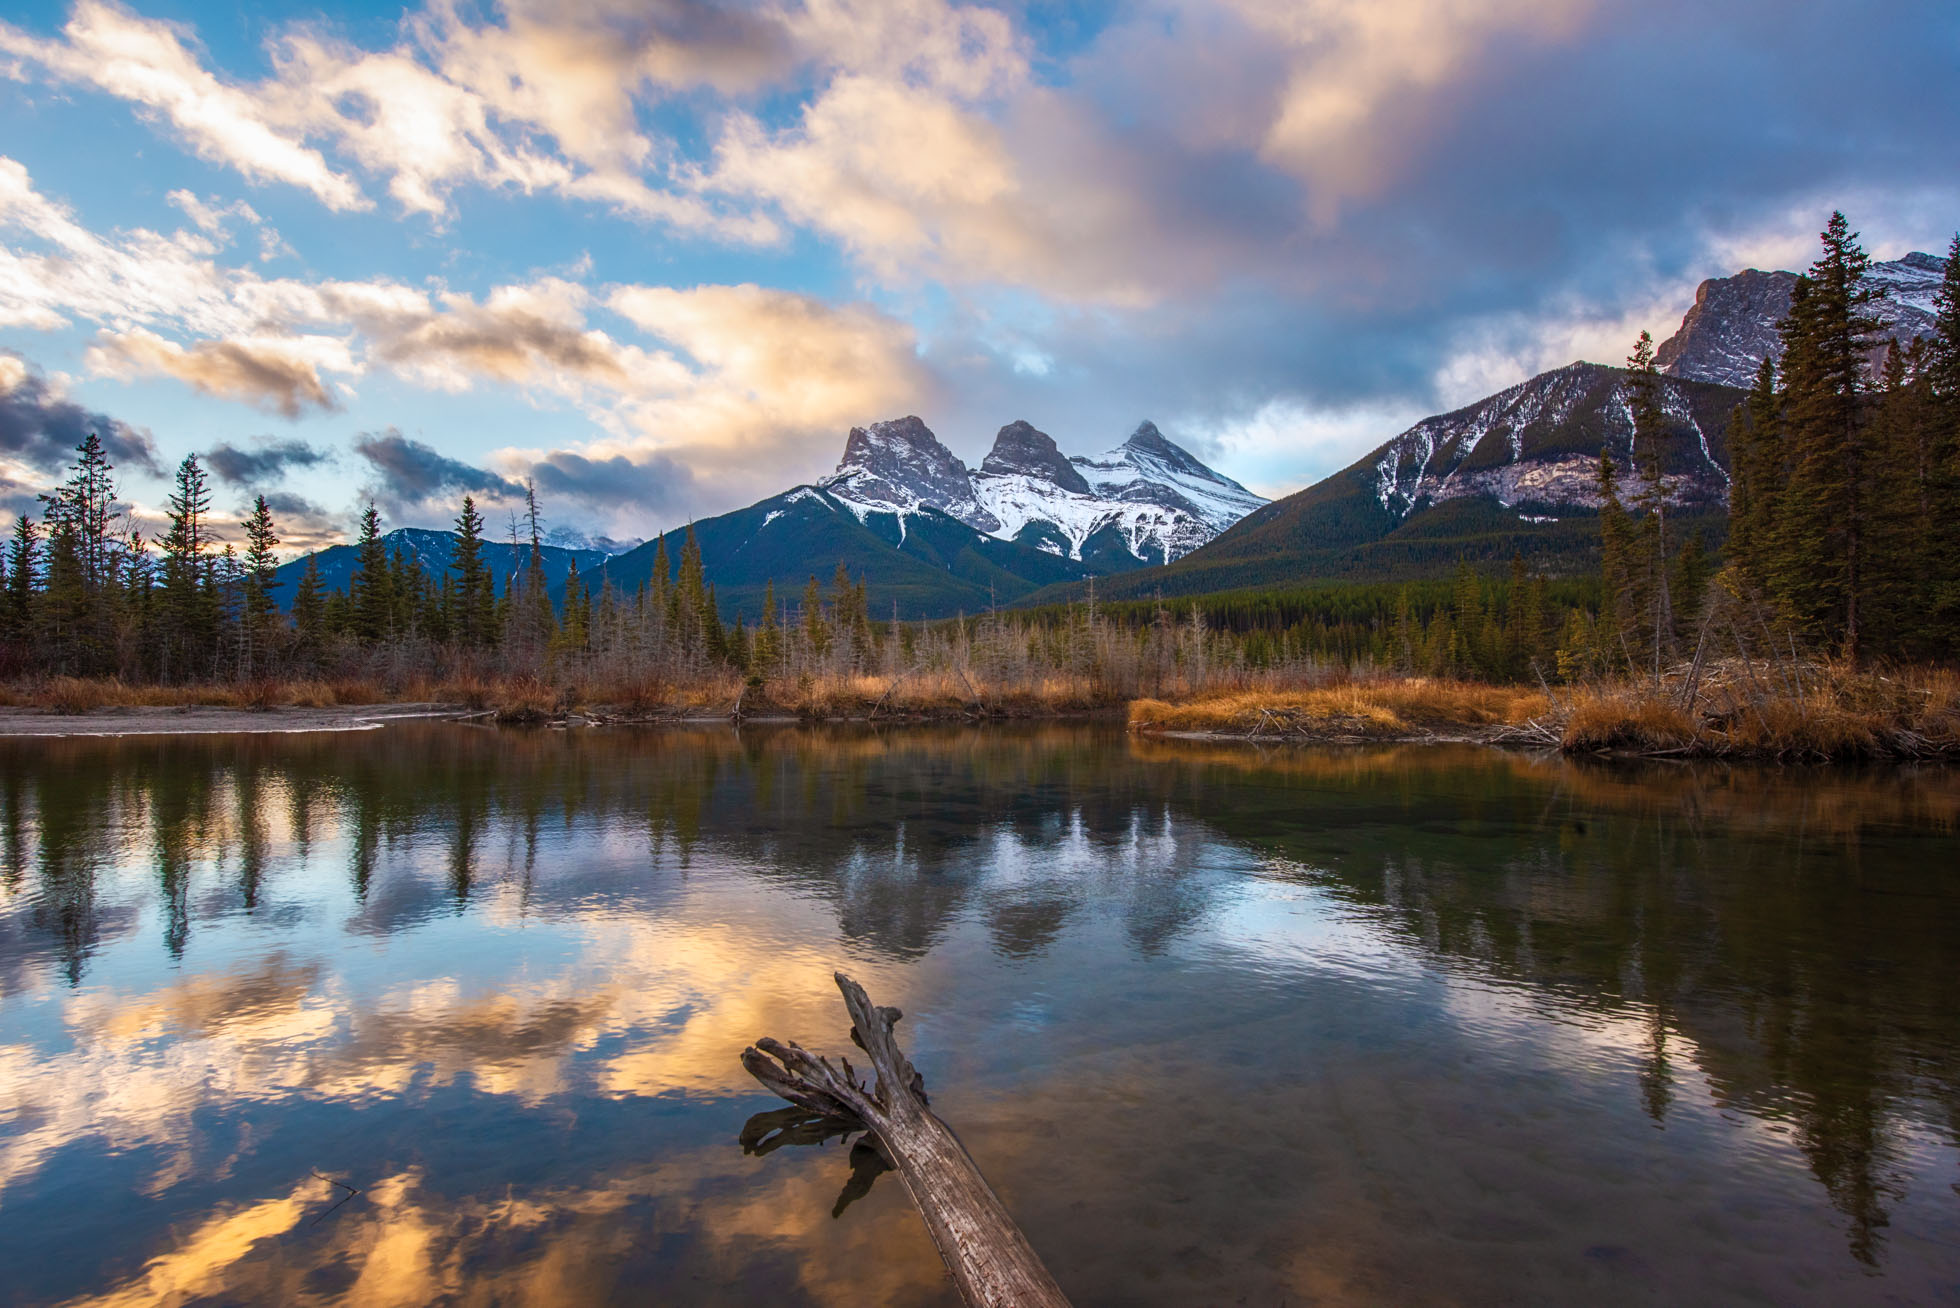
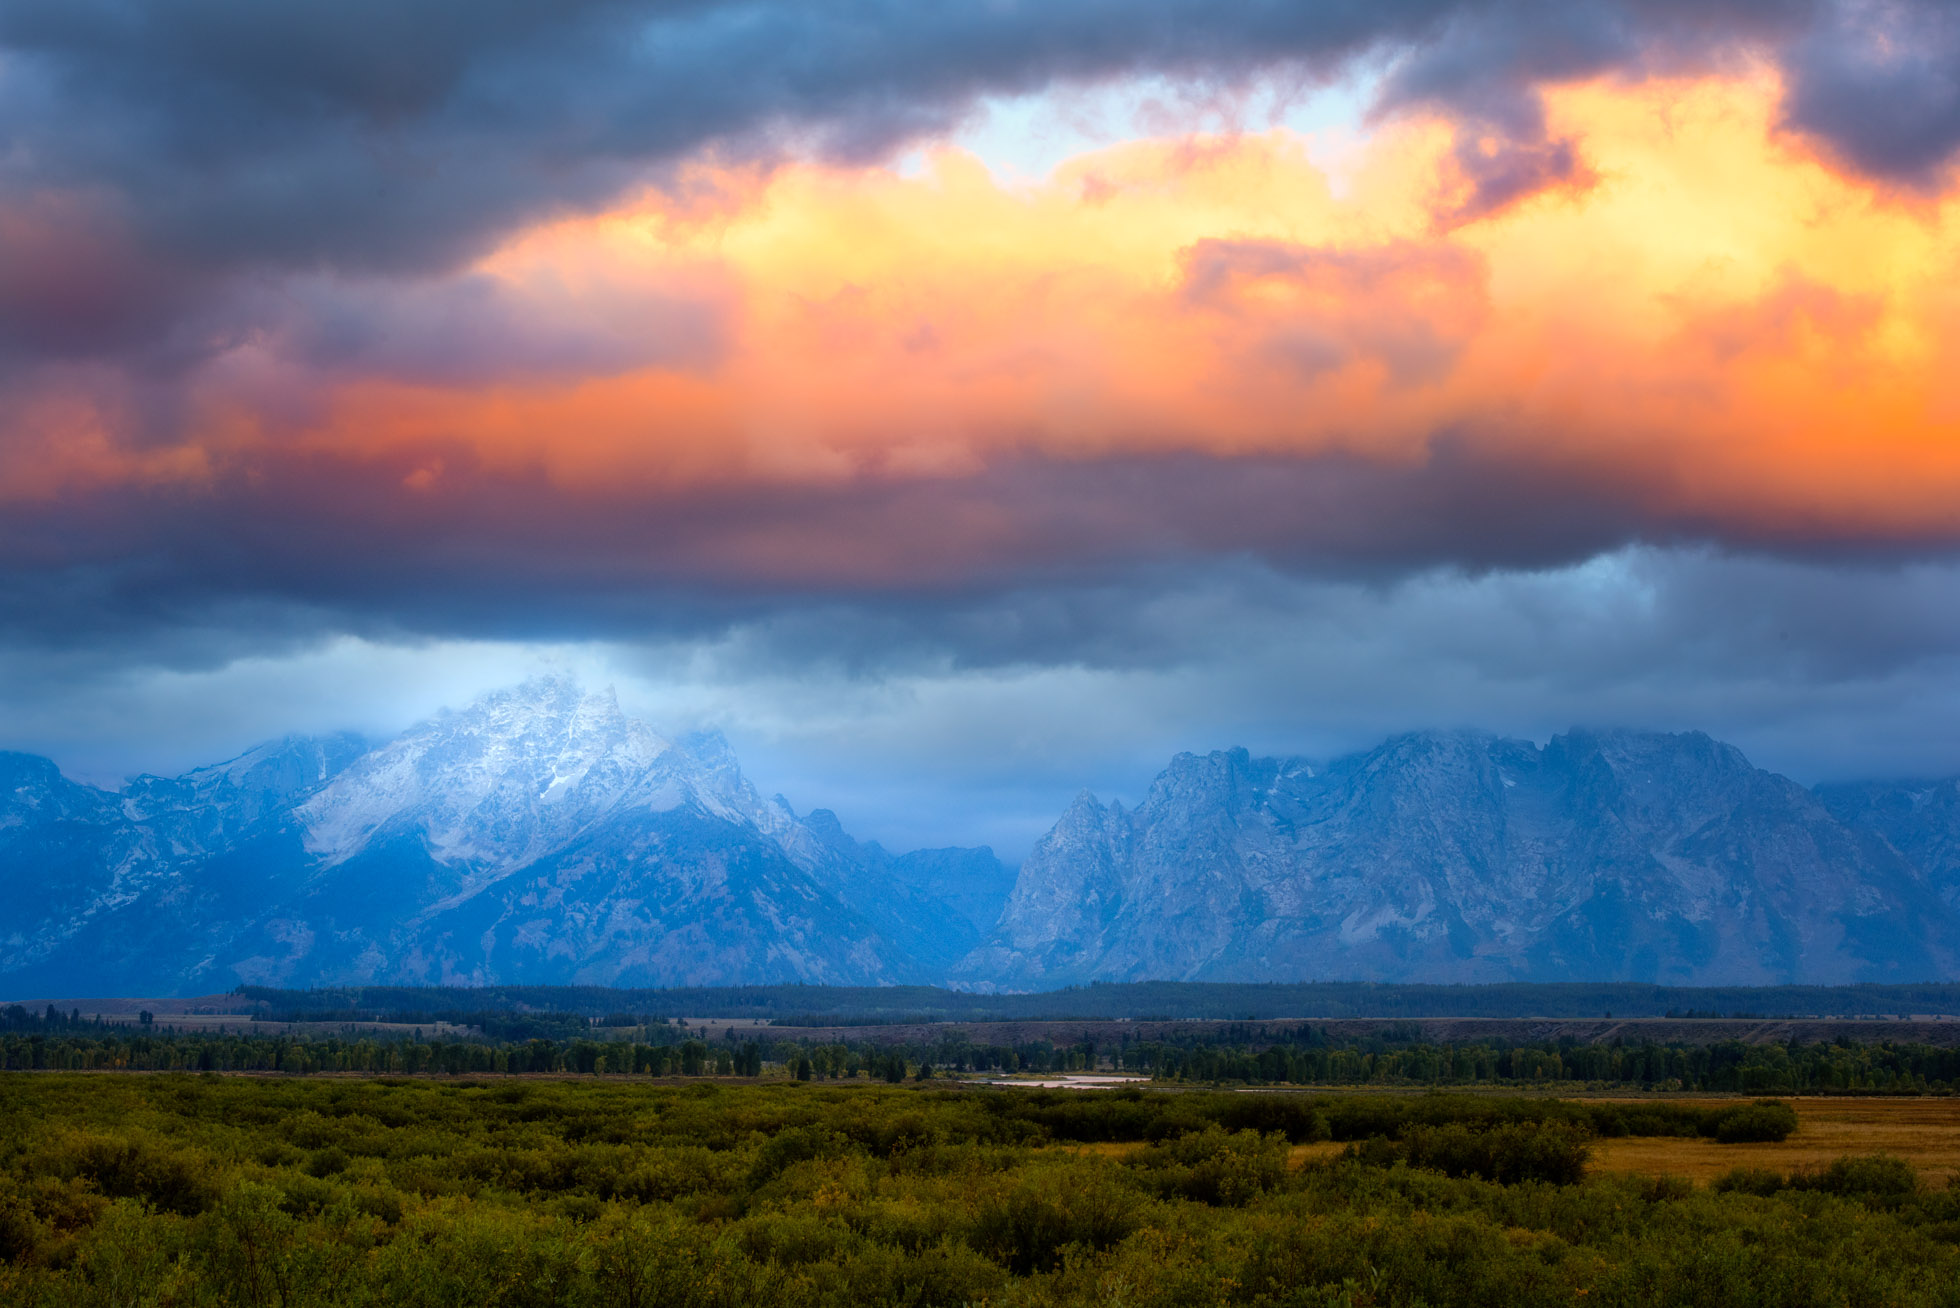
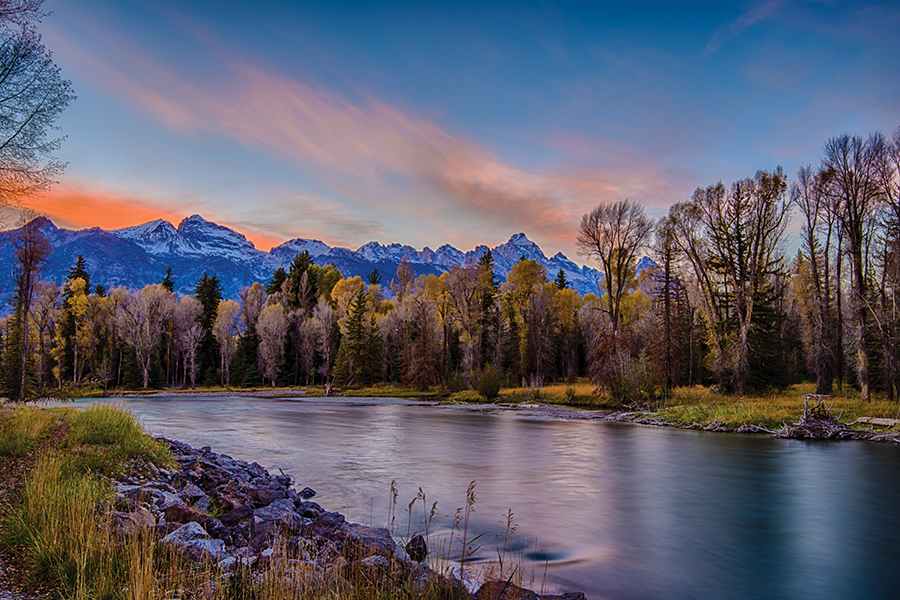
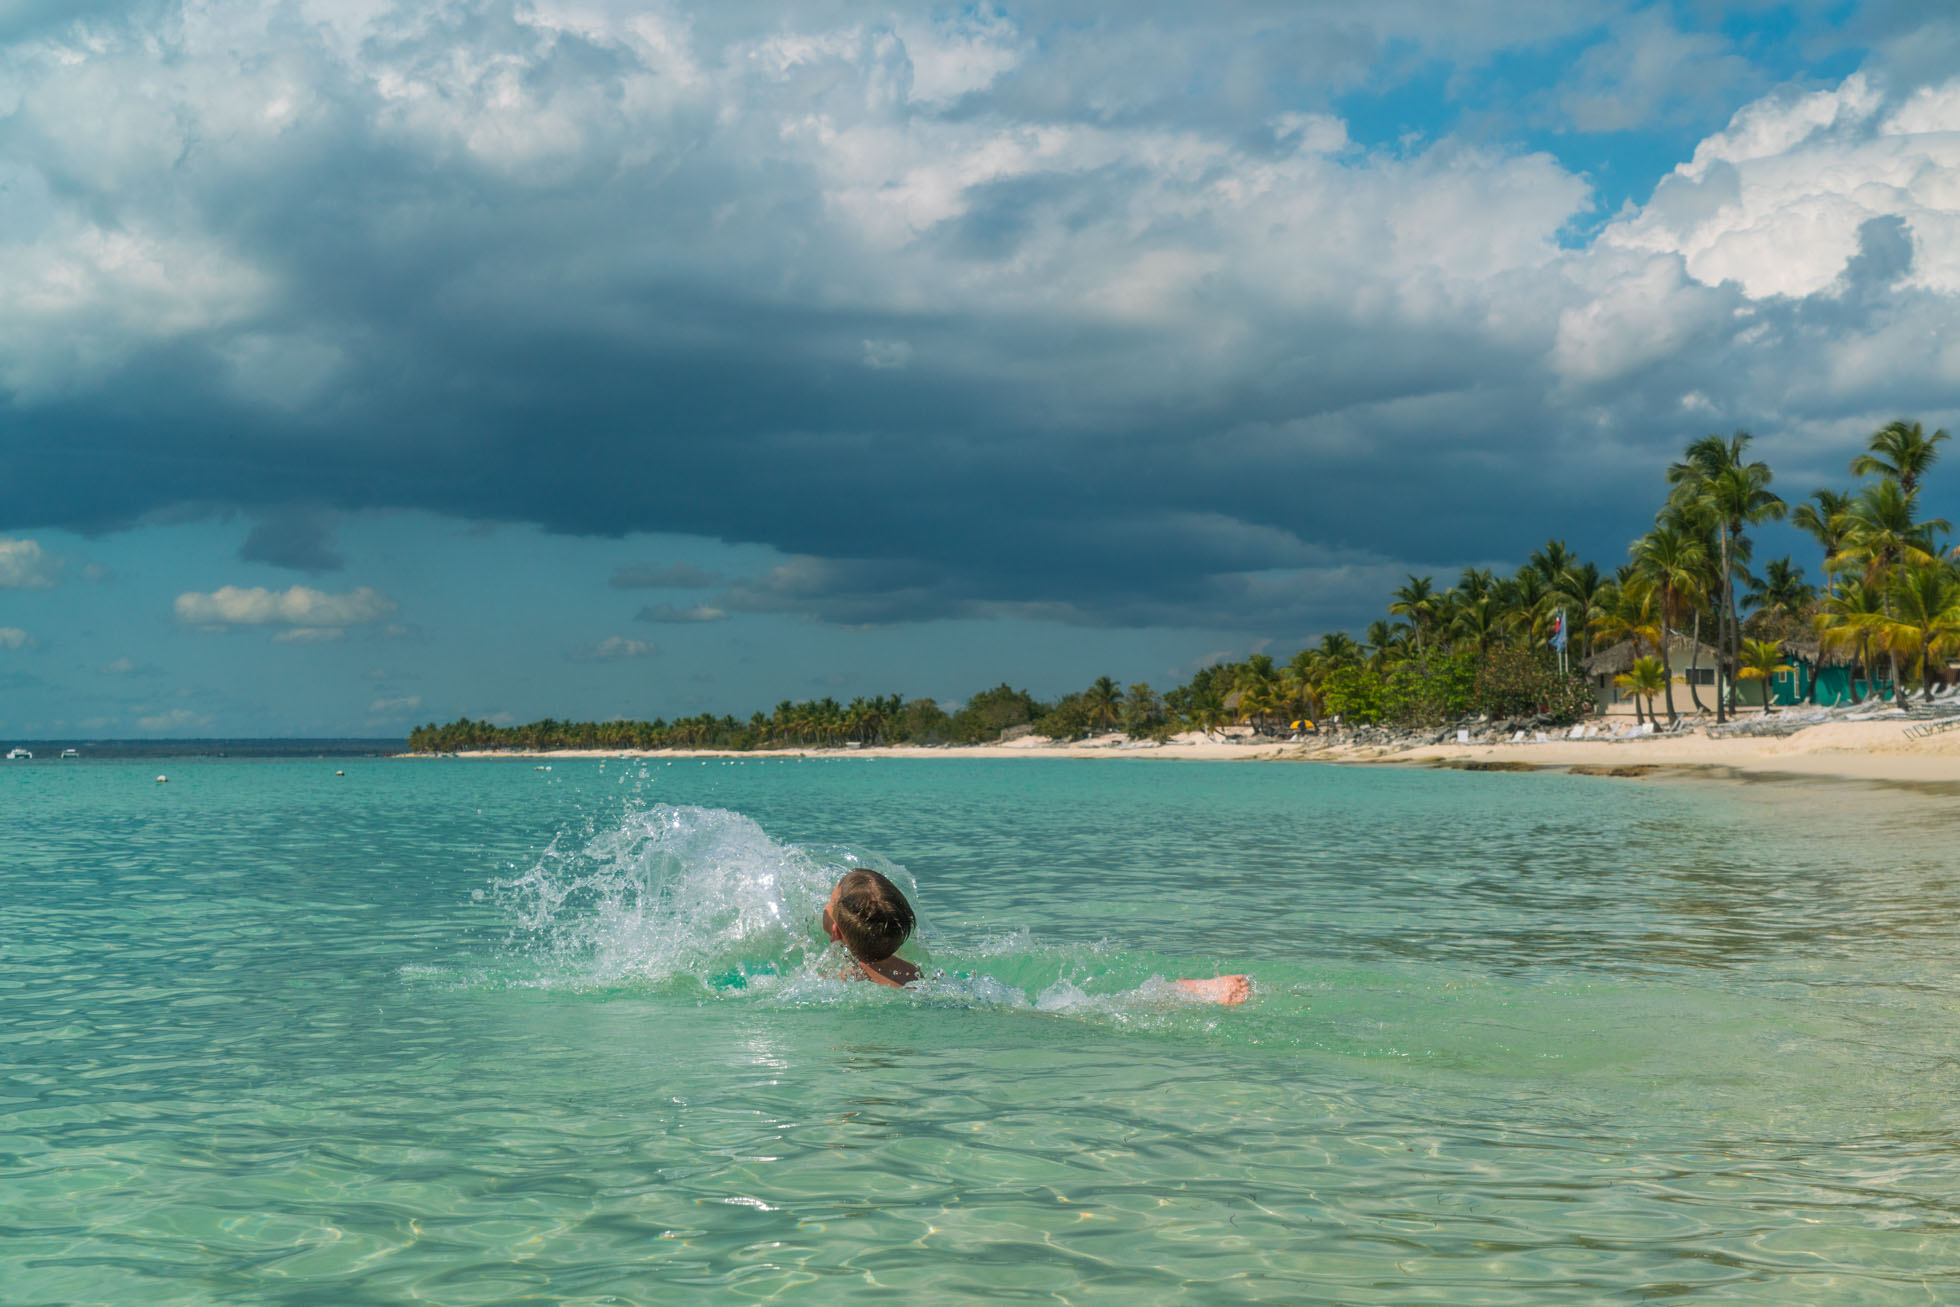
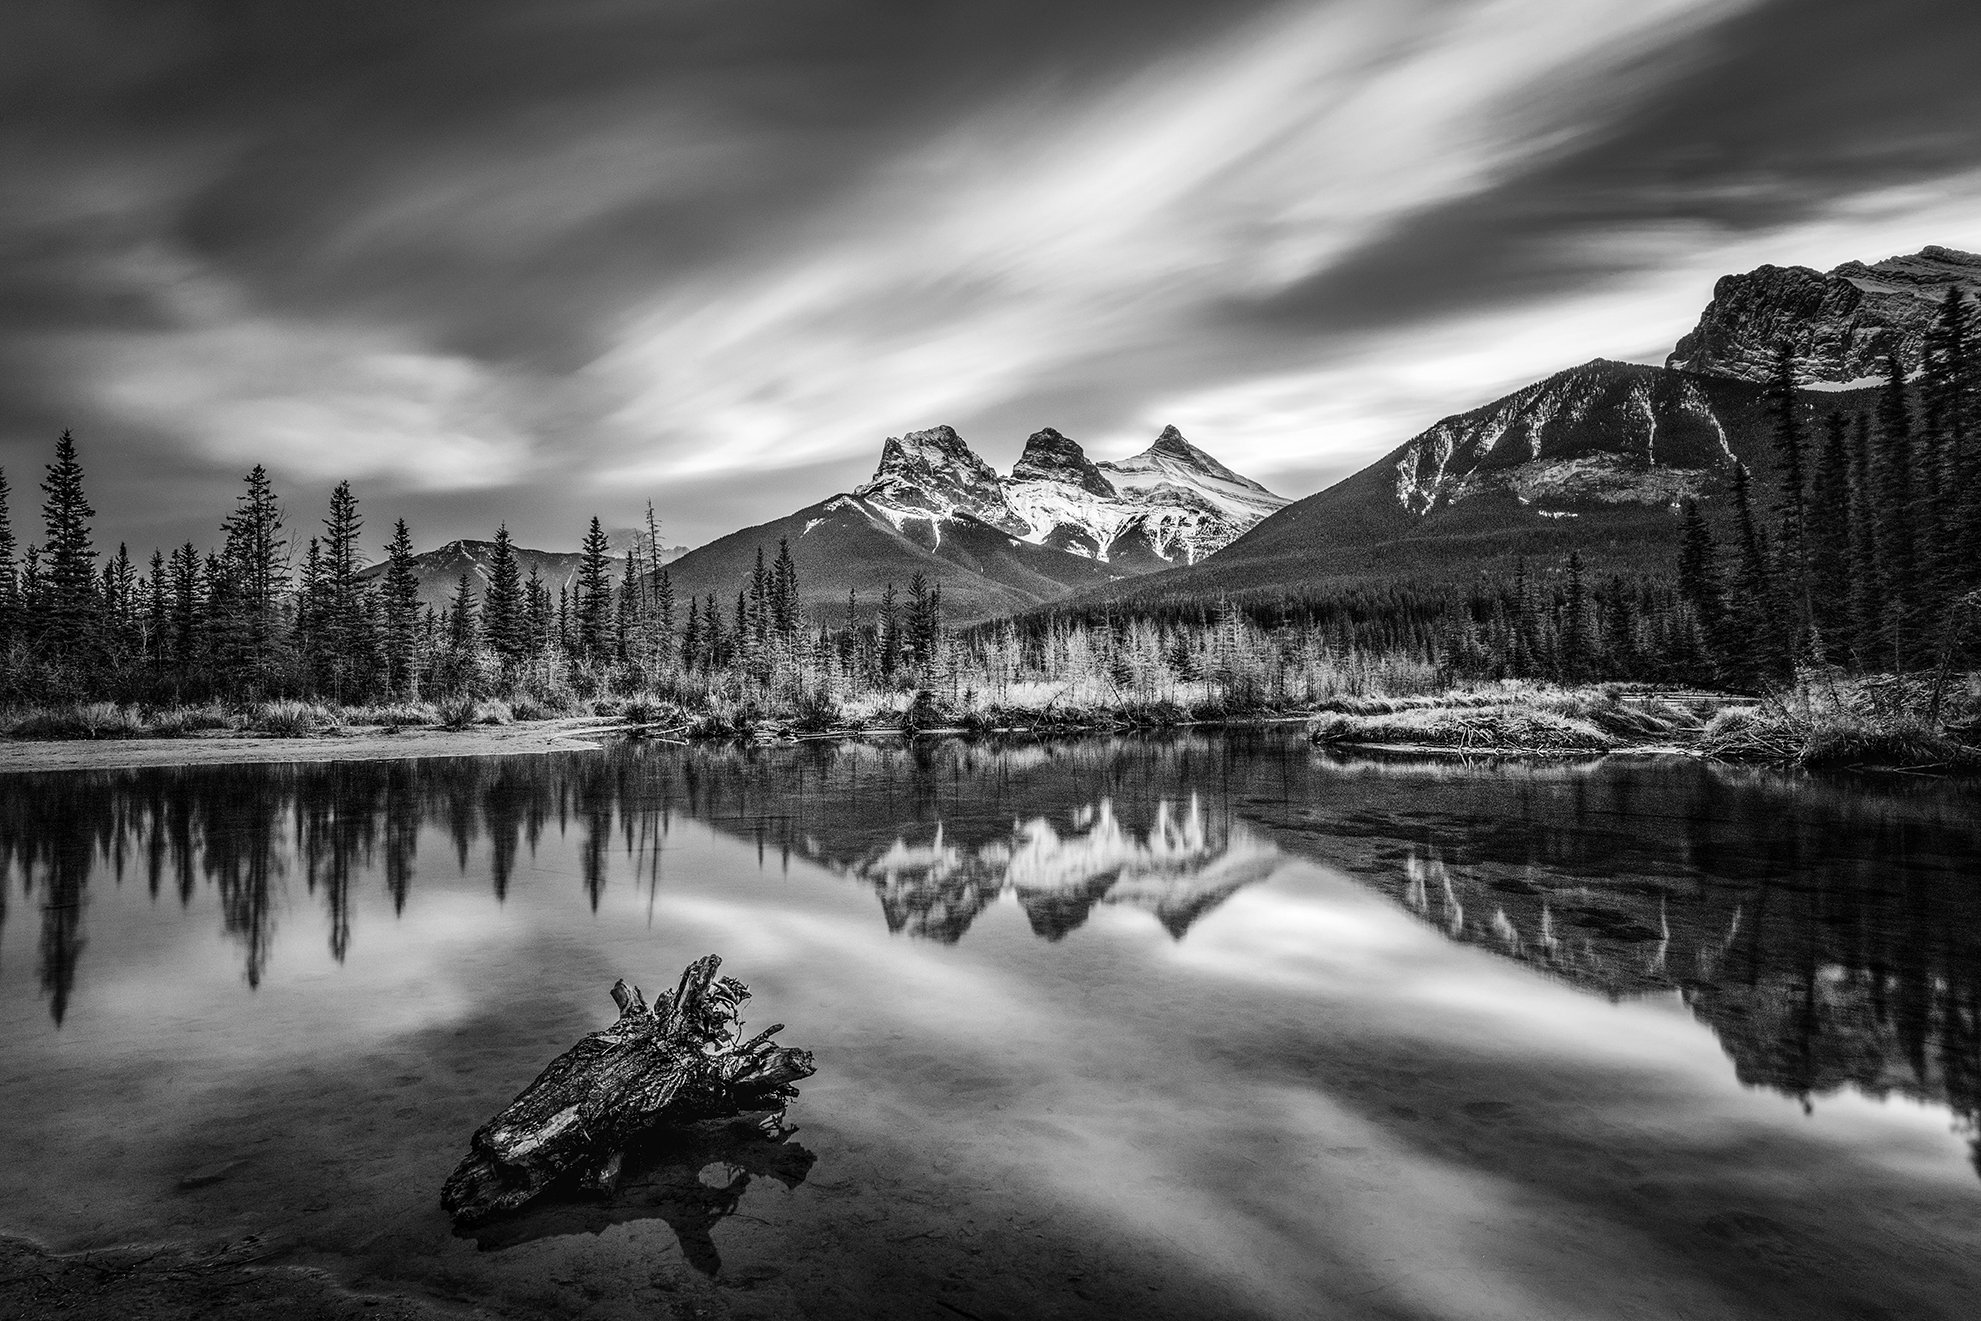
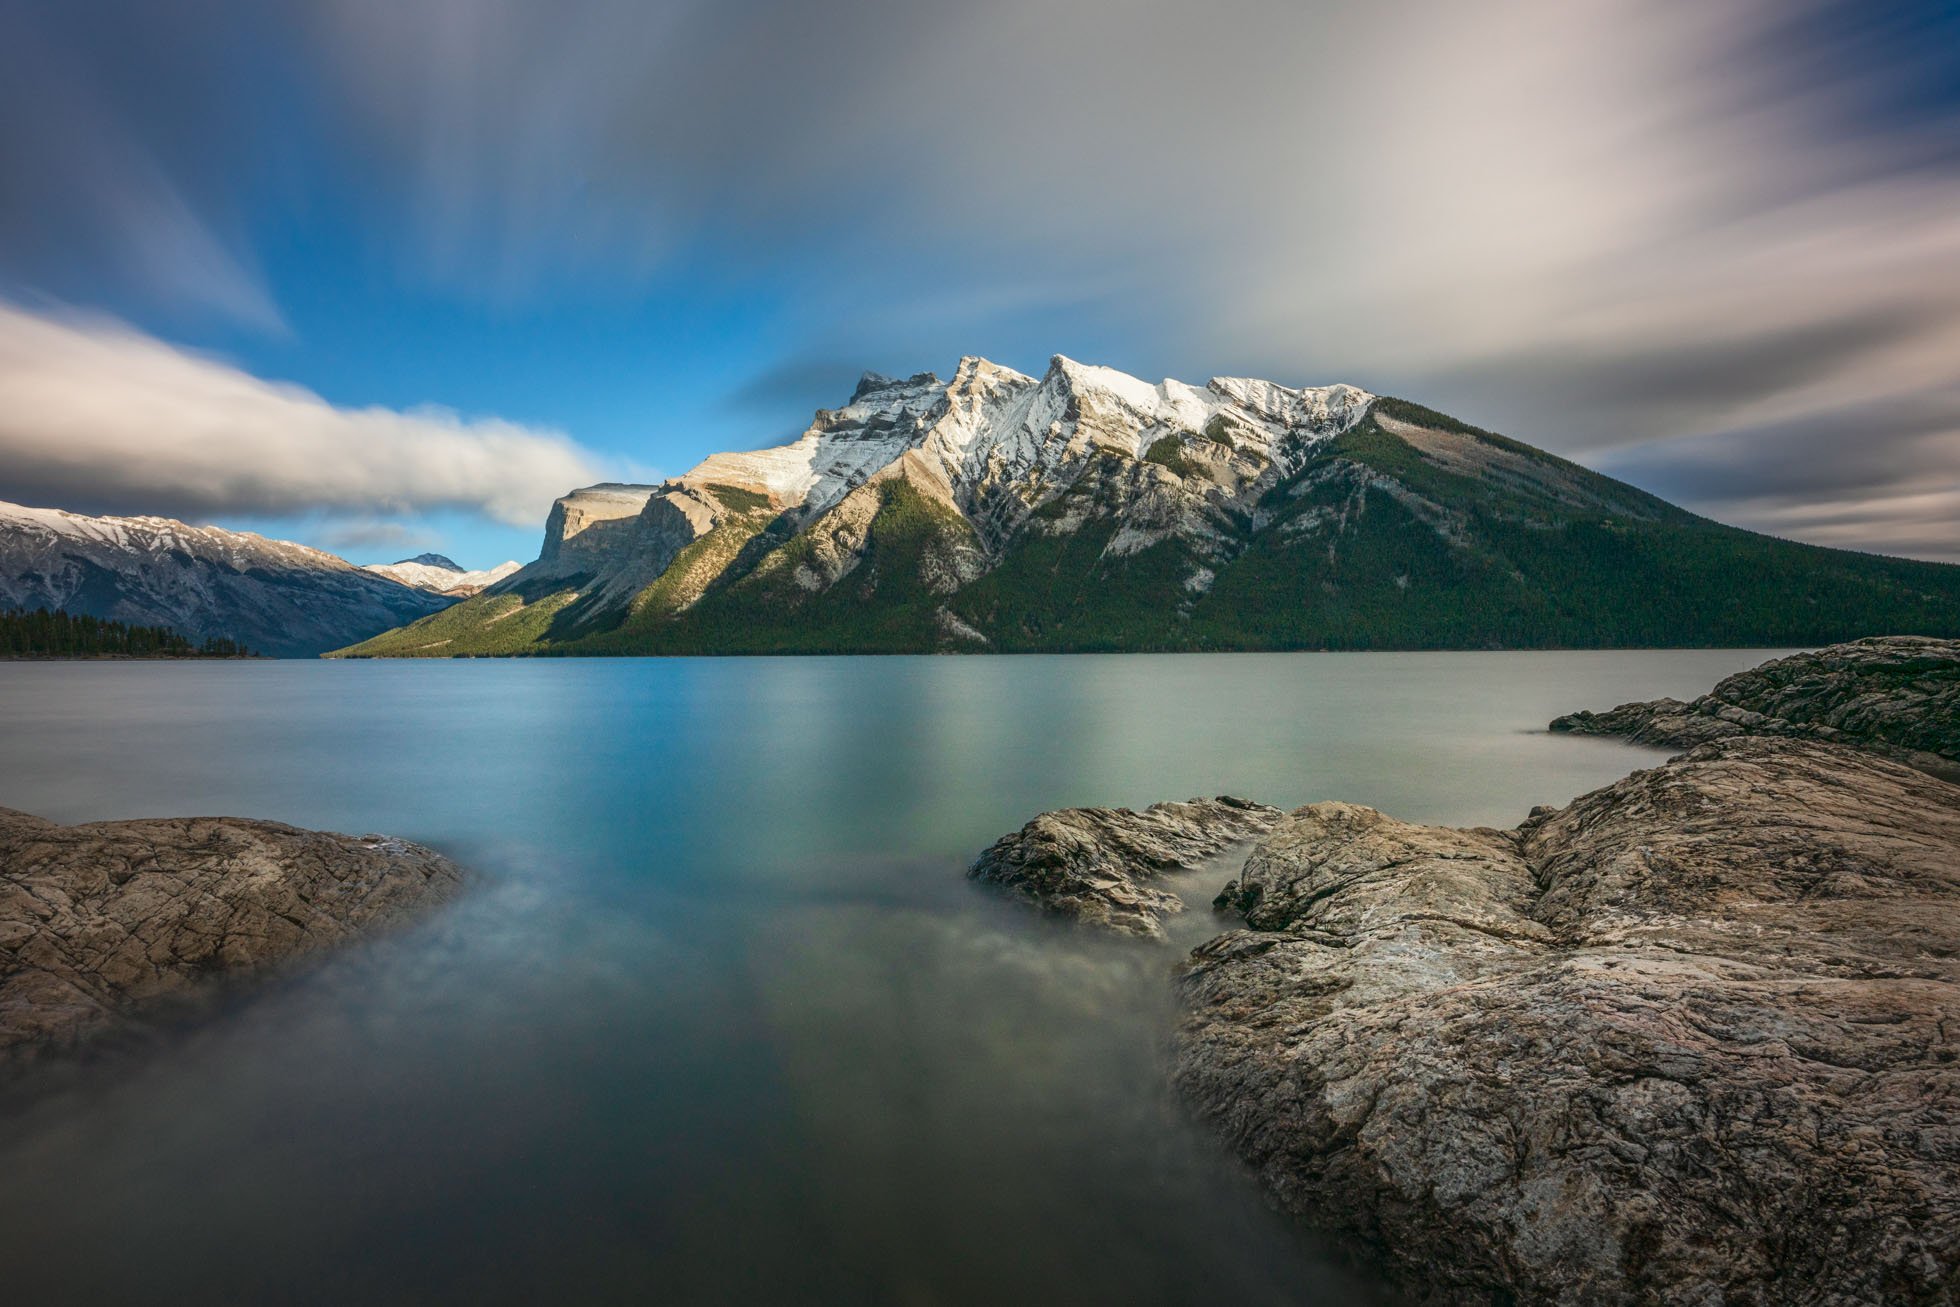
Enhance color and contrast in the sky - Using a polarizer will turn light blue skies to deep blue skies. It will add beautiful contrast to daytime skies and bring out the definition in the clouds against the blue sky.
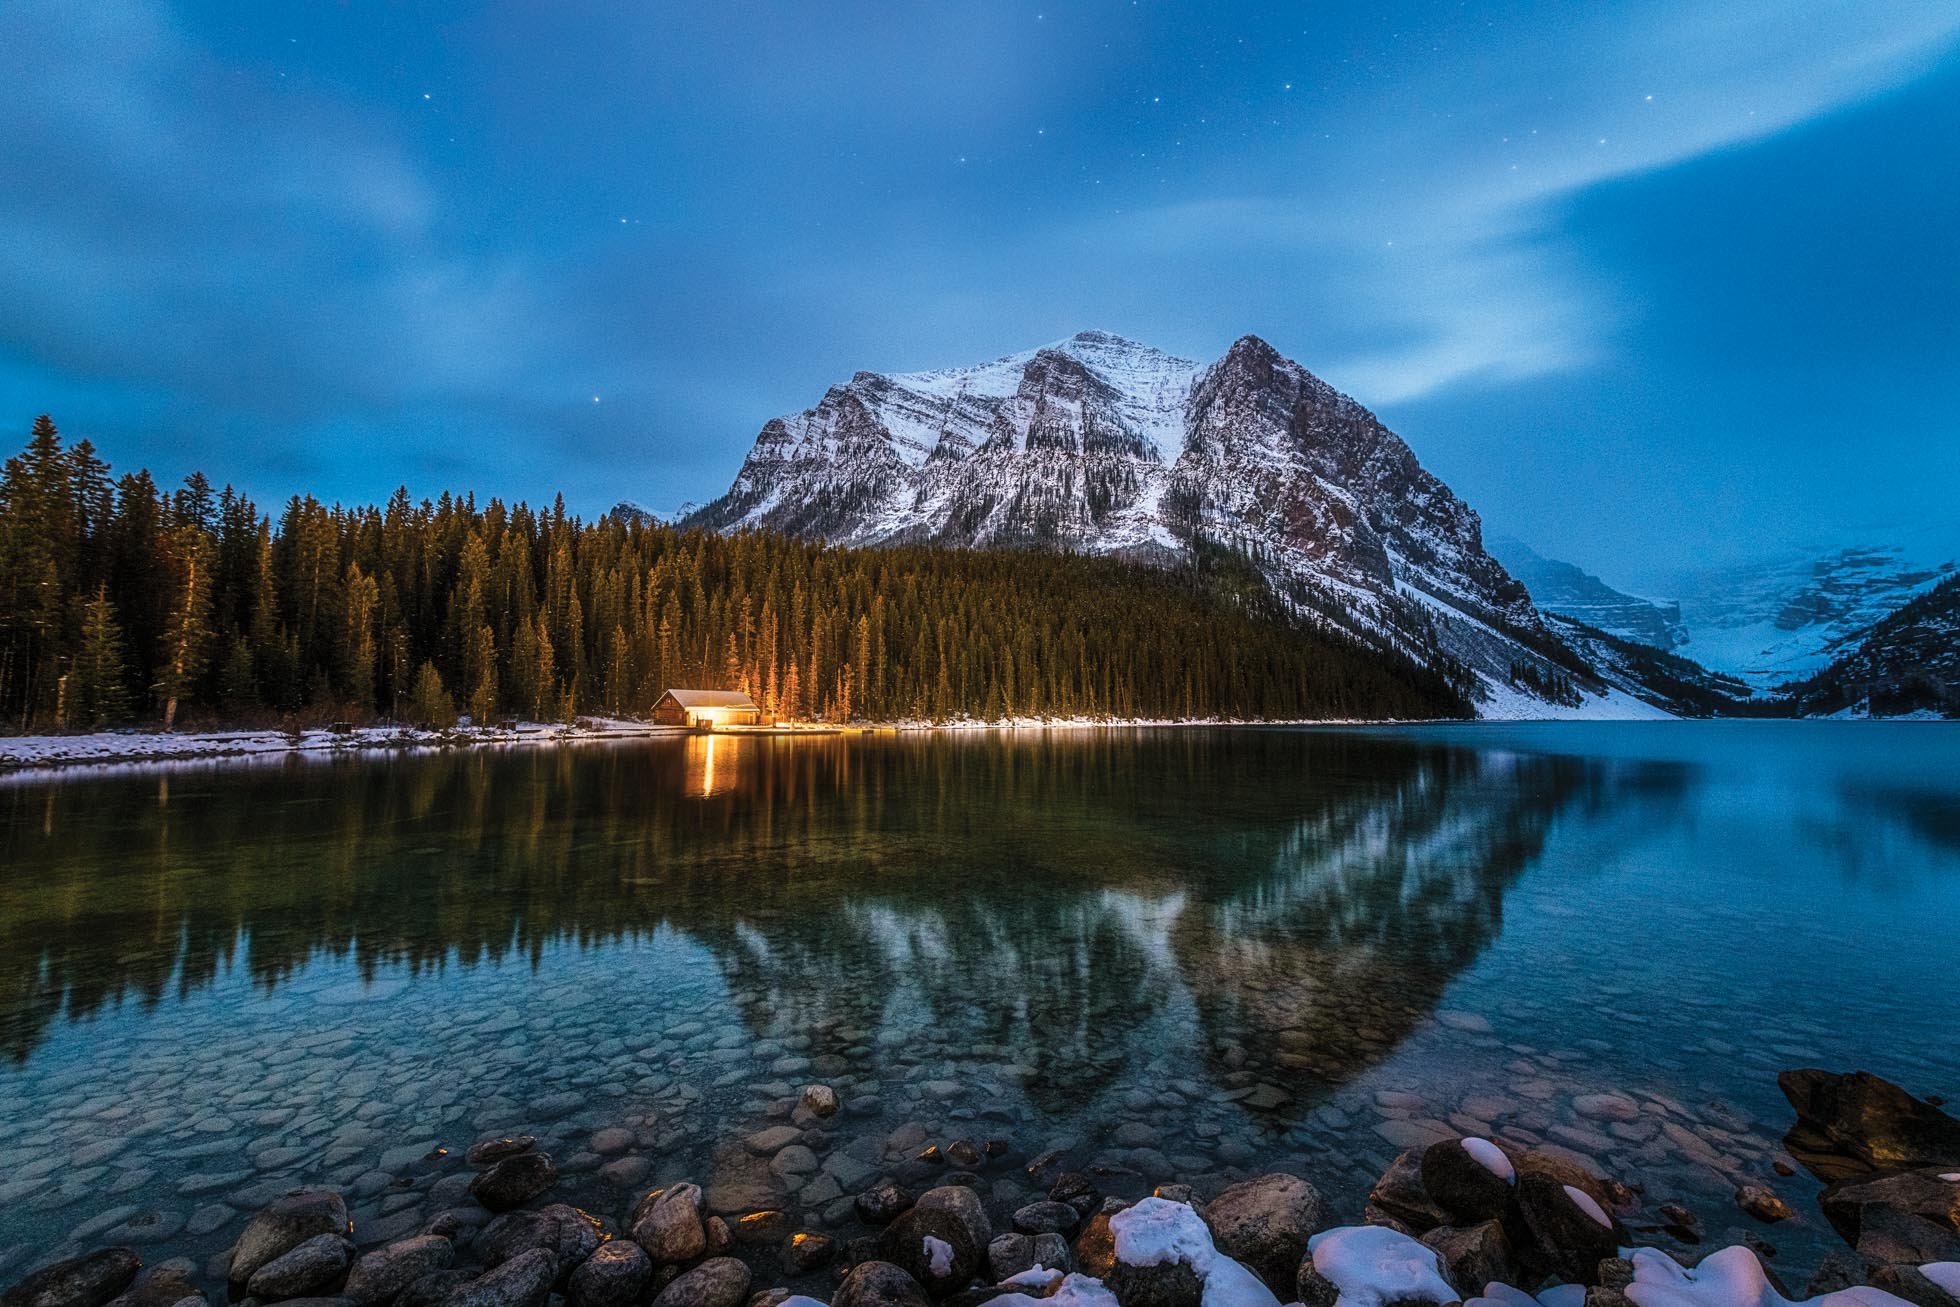
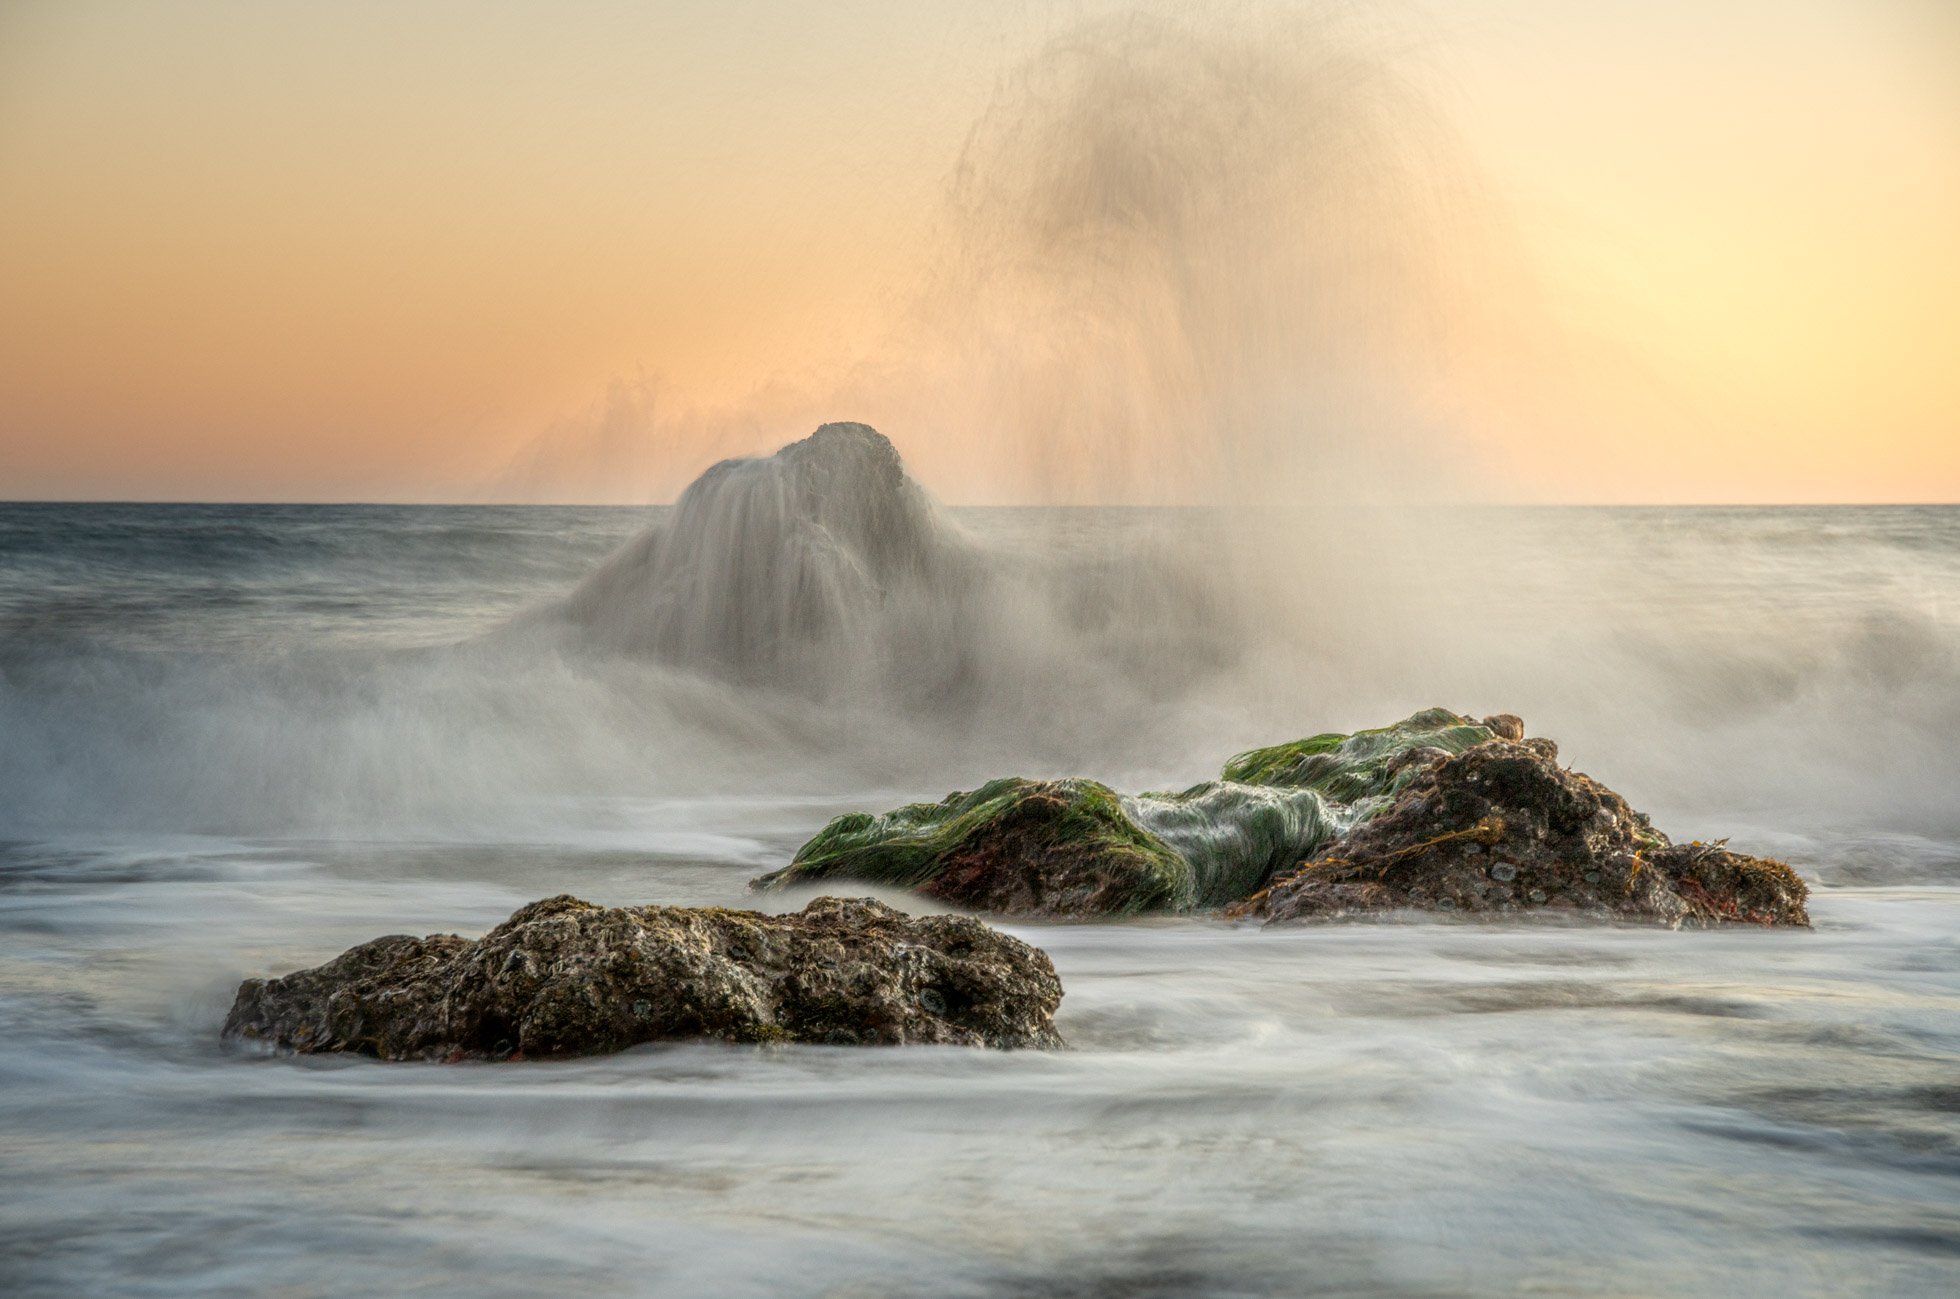
Reduce unwanted glare & reflections -In reducing some of the rays of light, the polarizer reduces glare and reflections. This is extremely beneficial when working in scenes with water. Using a polarizer helps to bring a crispness and remove glare from foliage allowing the colors to shine.
Cuts through haze - In some cases, polarizers can help with hazy skies and scenes. Details and colors will be enhanced.
When purchasing a circular polarizer, it is important to buy one that fits the diameter of your lens. For example, many of my Nikon lenses are 77mm in diameter, so I have a 77mm circular polarizer that fits those lenses. If you have lenses of varying diameters you can purchase step up rings to use a bigger filter with lenses of smaller diameters. For example I have an 82mm filter that fits my Sony 16-35mm lens and I use a 67mm step up rings to use the same filter with my 24-70 lens.
How do you use a polarizing filter?
To use a polarizing filter, you screw the filter onto the end of the lens. There is a second ring on the filter that twists to create the polarizing effect. As you twist, you can see the change in your scene. Twist until you get the desired result. It is important to note that the polarizer works best facing 90 degrees from the sun. So sun at your left or right when you are shooting. Be careful with wide angle lenses too as the polarizing effect will be inconsistent through the frame and you can end up with a sky that is really dark in some areas and less so in others.
It’s also important to keep in mind that because the polarizer blocks some rays of the sun, it reduces the exposure by a stop or two. You will want to account for this exposure change by reducing the shutter speed, increasing ISO or opening up the aperture.
When might you want to use a circular polarizer?

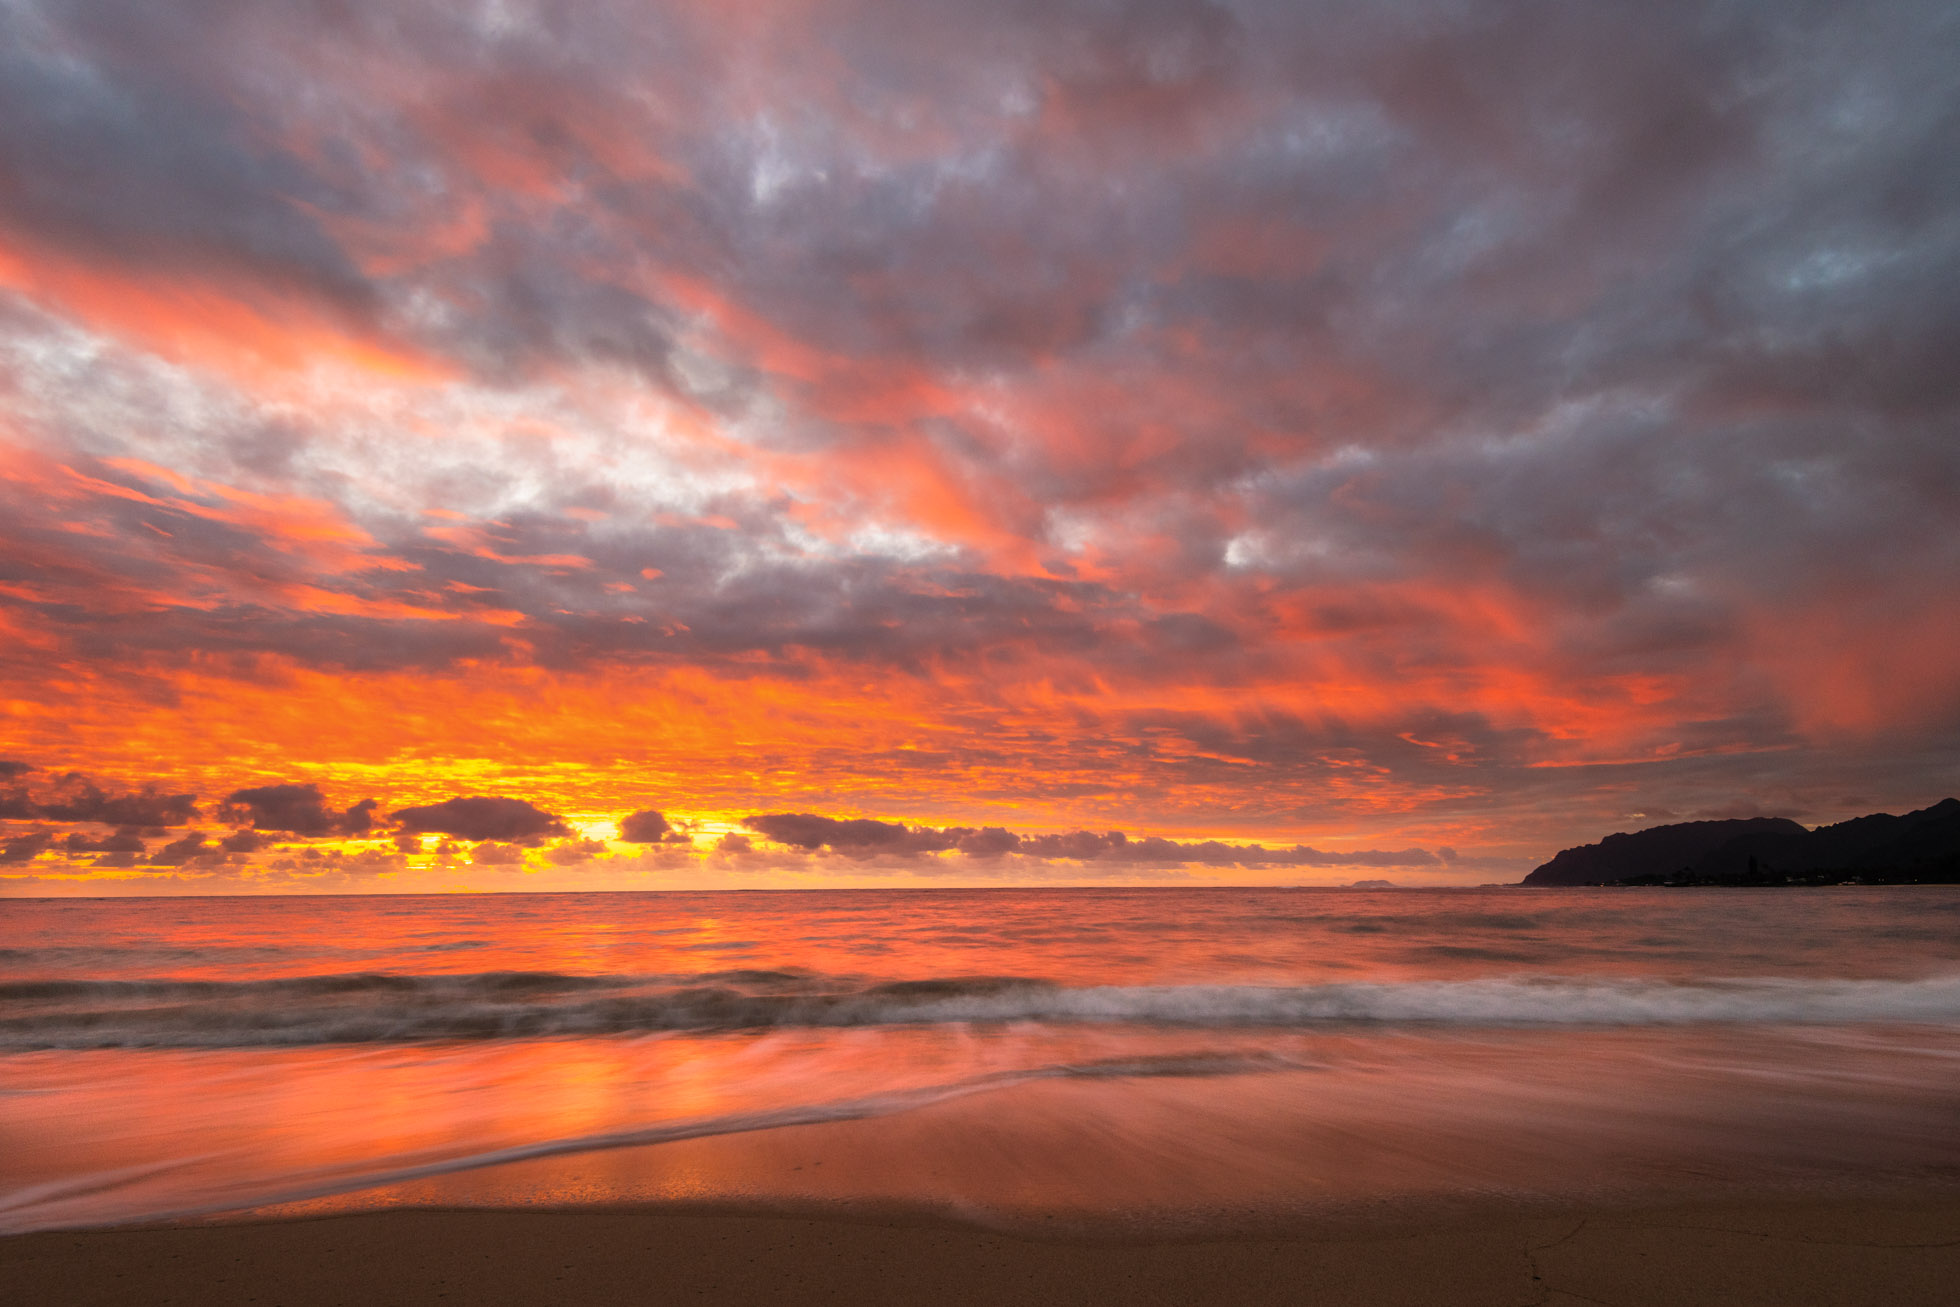
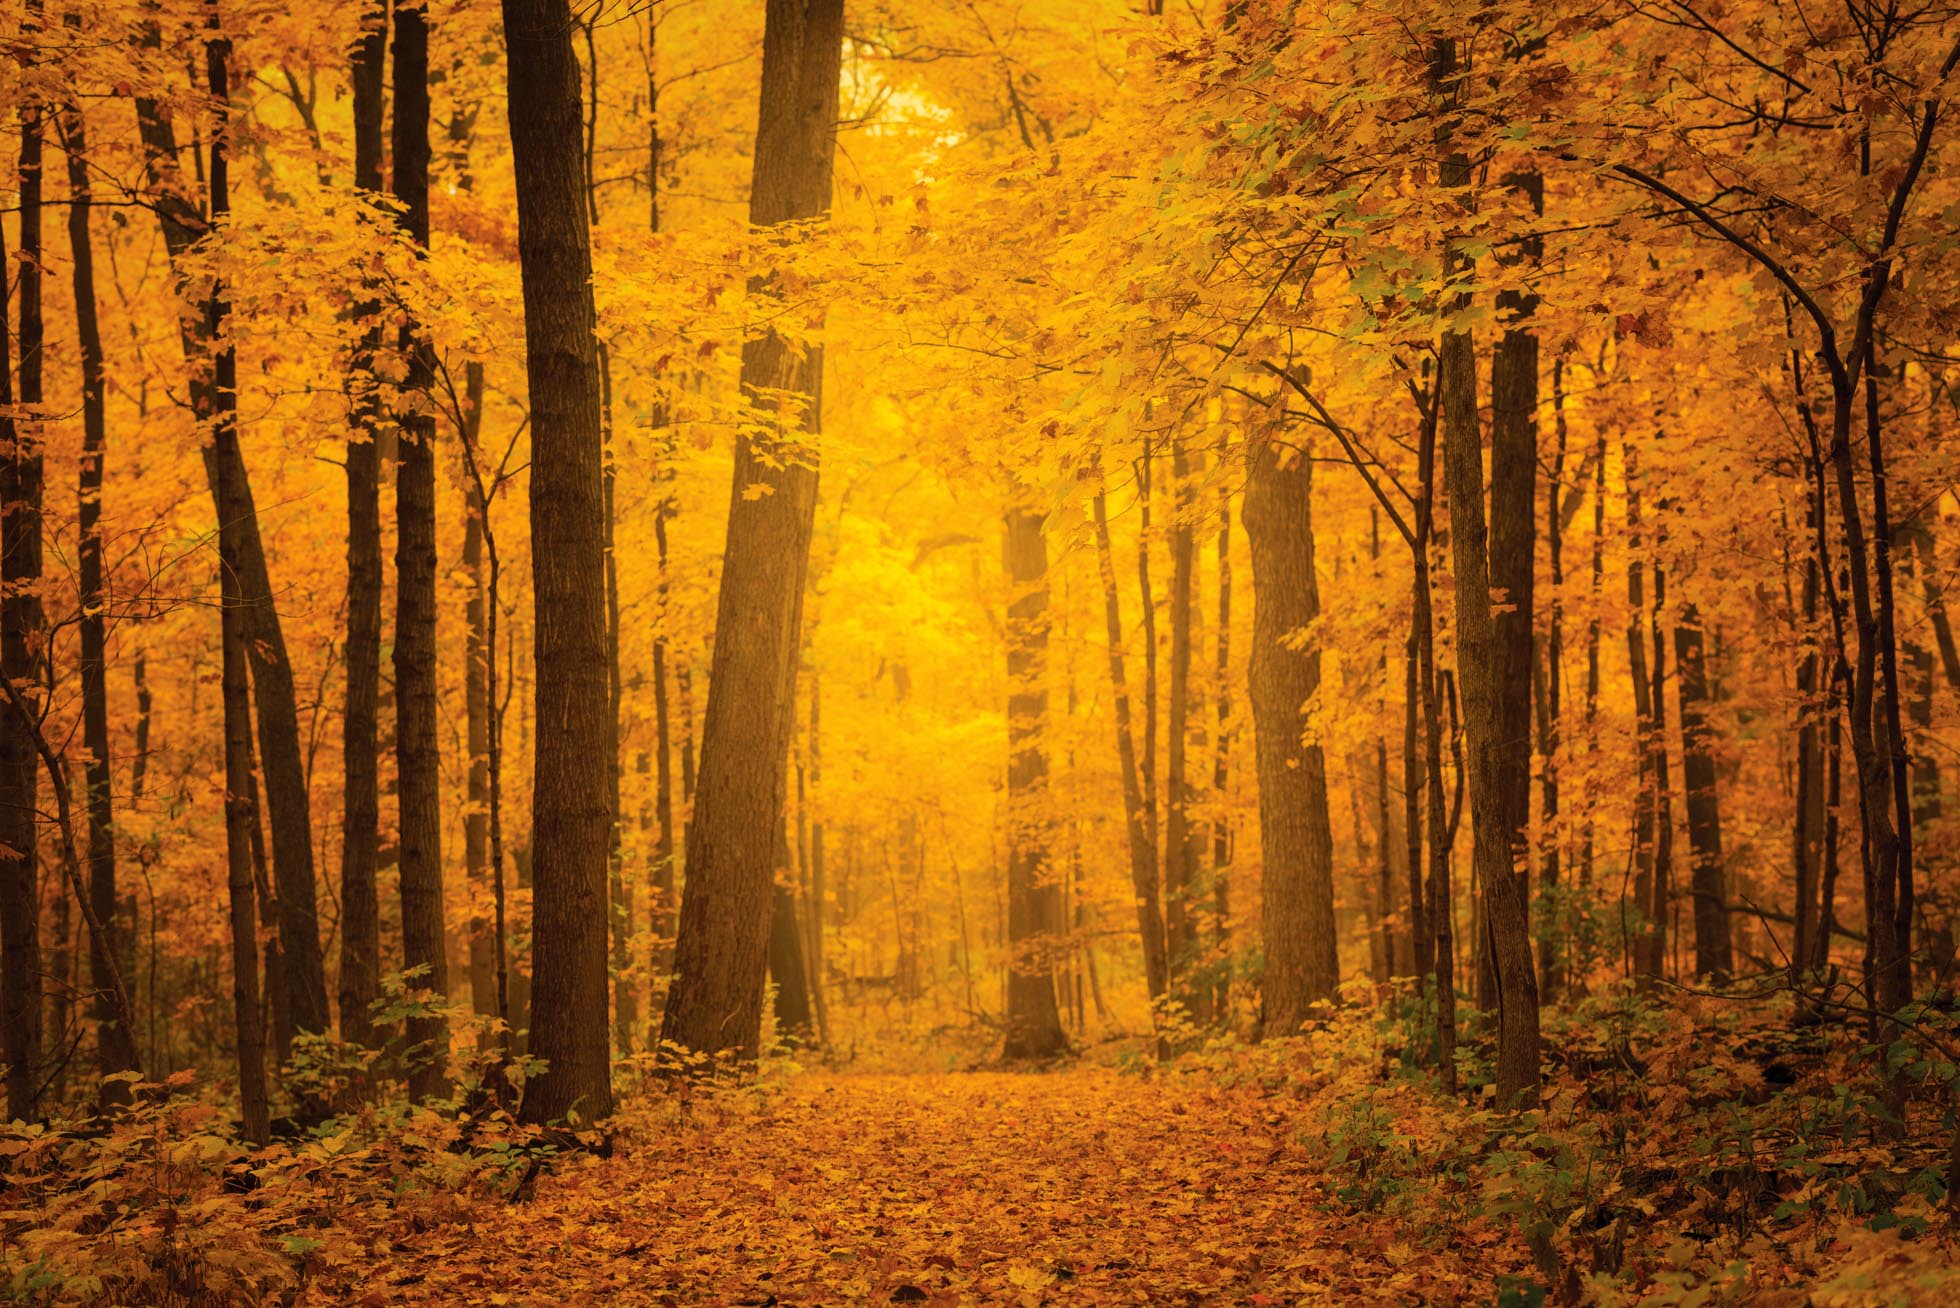
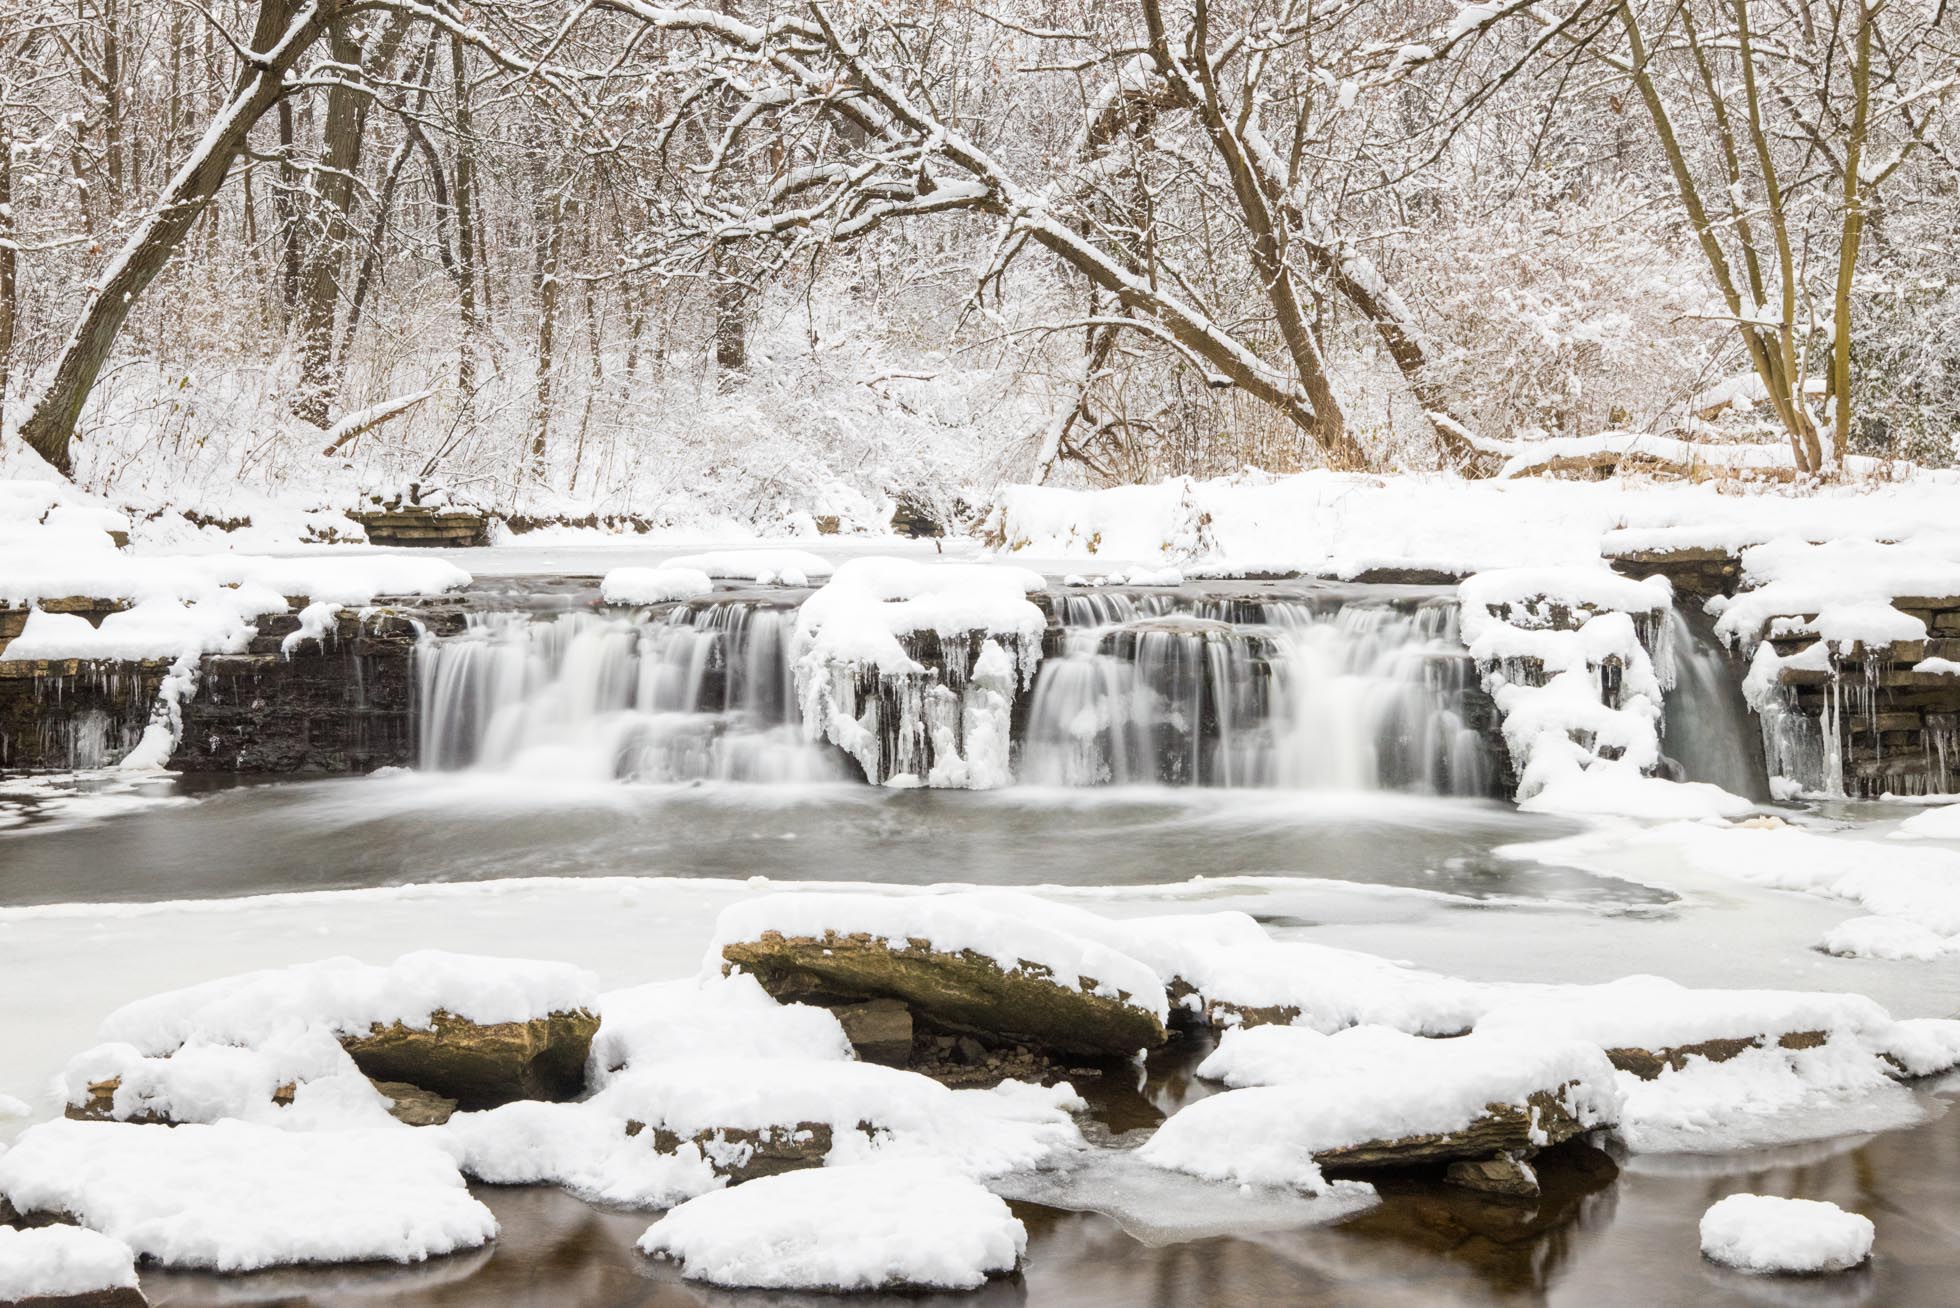
Without polarizer
Photographing Waterfalls - Polarizers are an invaluable tool for waterfall photography. The polarizer will help cut glare off the water and enhance the colors of the surrounding scenery. See the two examples of this small waterfall at Waterfall Glen in Illinois. You can see very clearly the way the polarizer helped cut the glare on the leaves in the foreground and allowed its autumn color to shine.

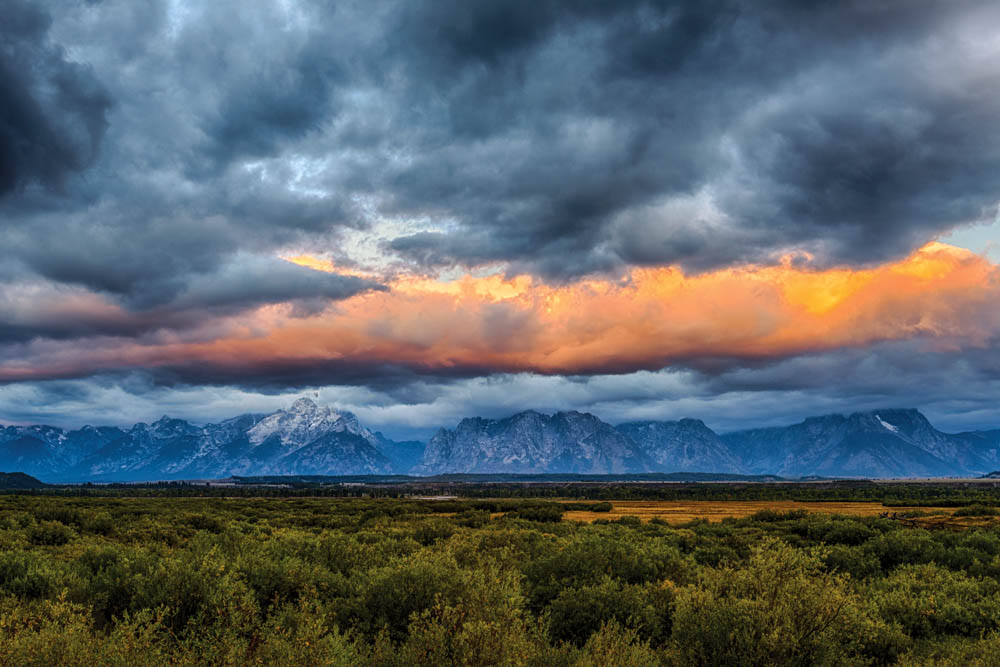
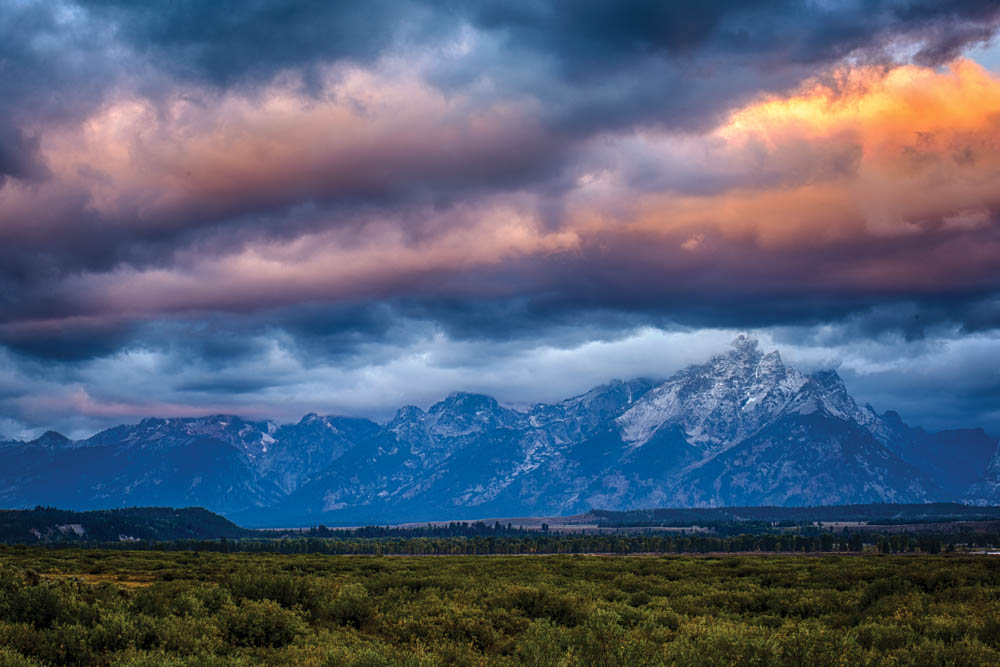
With polarizer
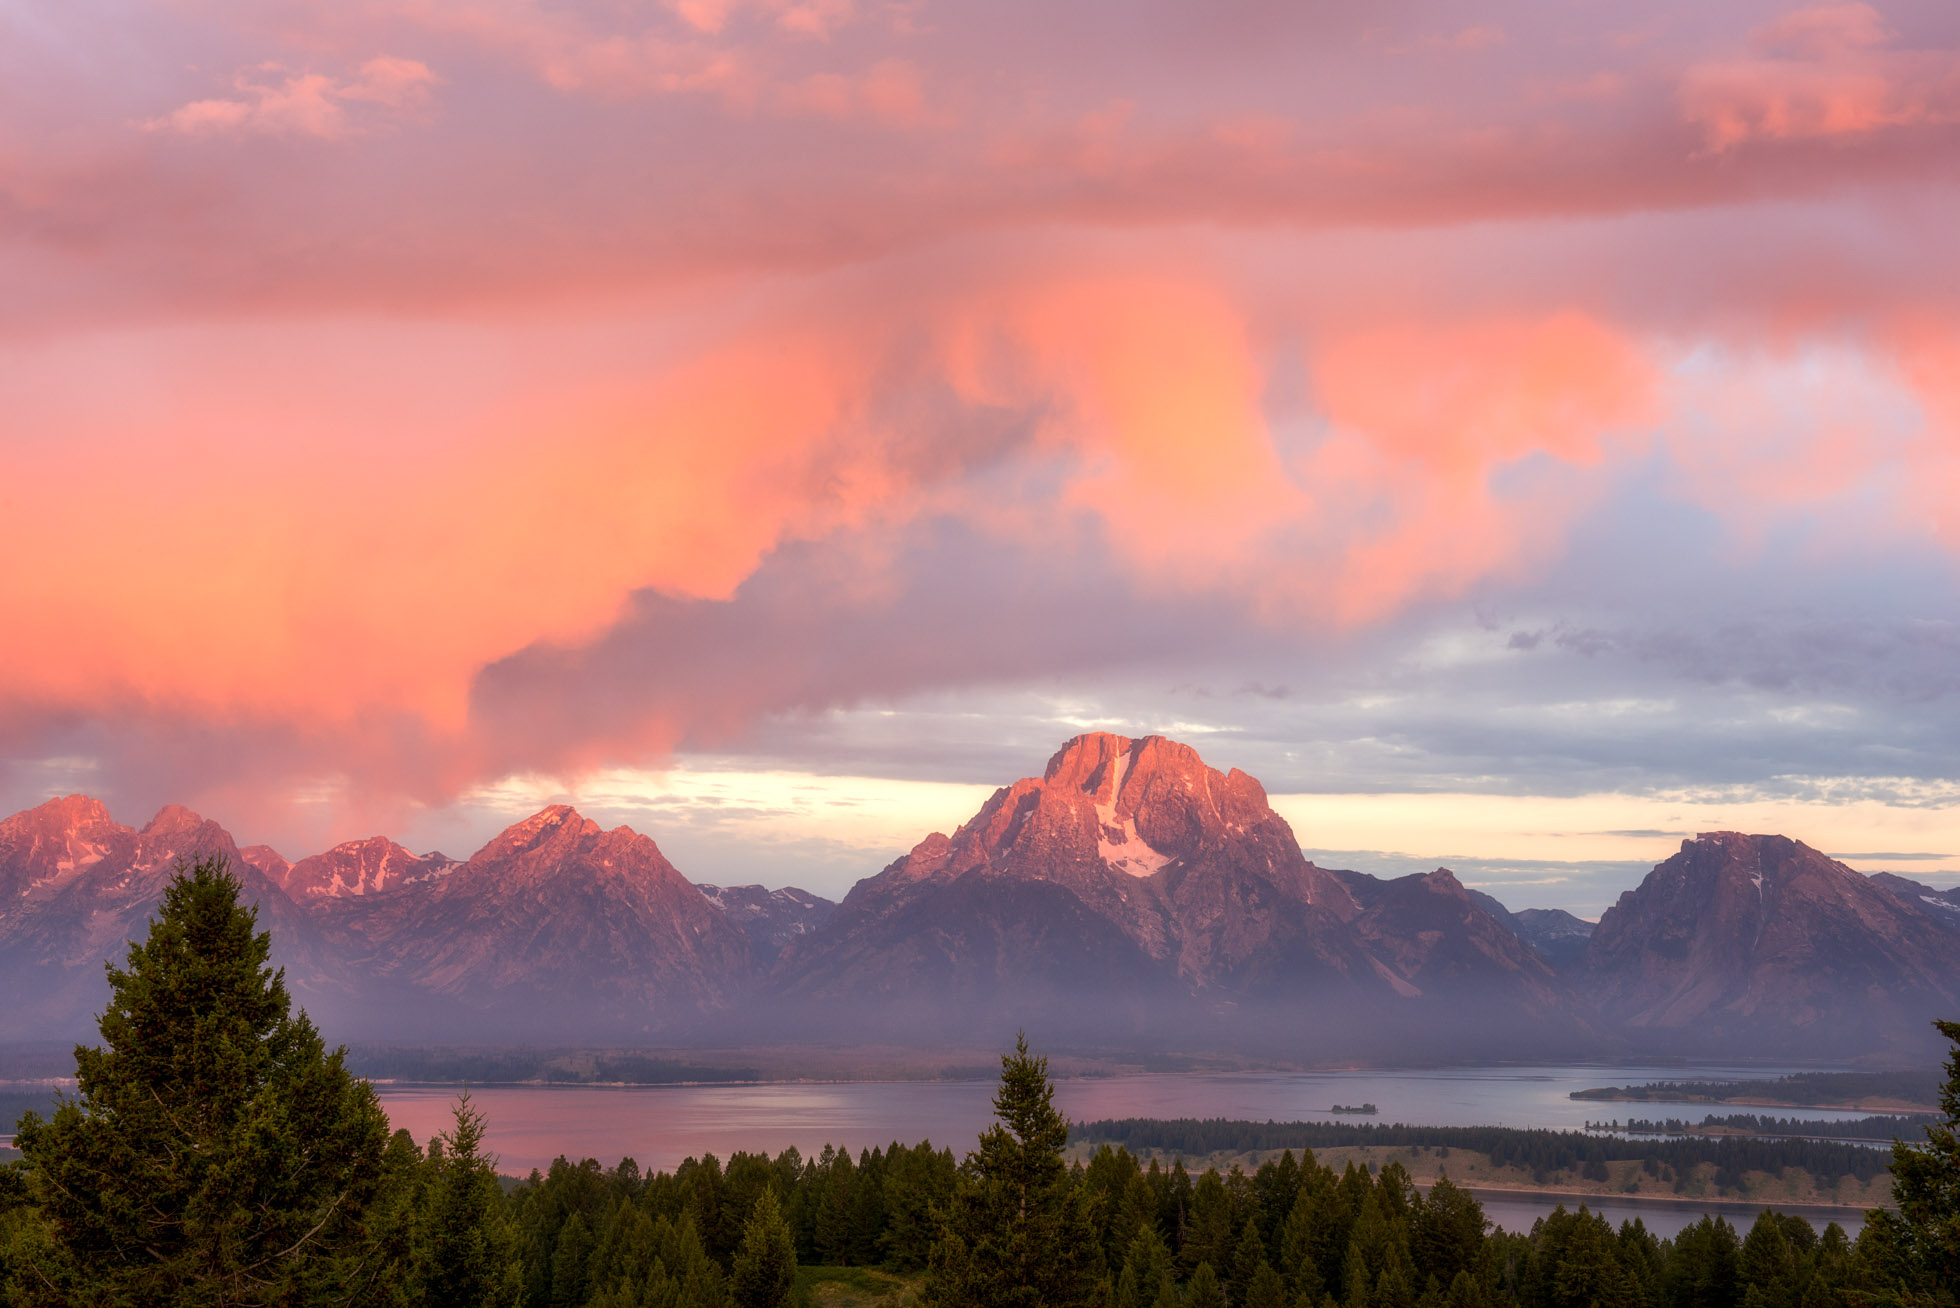
2. Daytime photography - Daytime photography is a perfect time to pull out the circular polarizer. Enhance the colors of the landscape and bring out the definition of white puffy clouds again the blue sky.
3. Shooting through glass - If for any reason you are shooting through glass, the polarizer will help to cut out the glare and reflections.
A circular polarizer is a great tool to have in your bag for landscape photography. I have used several different brands of polarizers over the years but my current go to polarizer is by Breakthrough Photography *.
Have any questions about polarizers or other filters, feel free to reach out!
Kristen Ryan is an award winning and published landscape and fine art photographer and educator residing in the Midwest suburbs of Chicago. All images are available for purchase in the Fine Art Store or by request. Kristen leads ladies landscape photography retreats in the Tetons, Chicago, and the Canadian Rockies, offers private mentoring and teaches an online landscape photography workshop, The World Around You.
*Affiliate Link